Sony Cyber-shot F717 retro review
-
-
Written by Gordon Laing
Back in 2002, Sony launched the Cyber-shot F717, the fourth model in the series to use an L-shaped design with a twisting body. Like the 505, V and 707 before it, you rested the chunky lens barrel in your left hand, leaving your right to angle to body and screen up and down, allowing more comfortable shooting at waist-level and low angles, or over the heads of crowds.
In addition the 717 featured a 5 Megapixel CCD sensor, a 5x optical zoom branded by Carl Zeiss, an electronic viewfinder and screen for composition, as well as the chance to frame, focus and shoot in complete darkness.
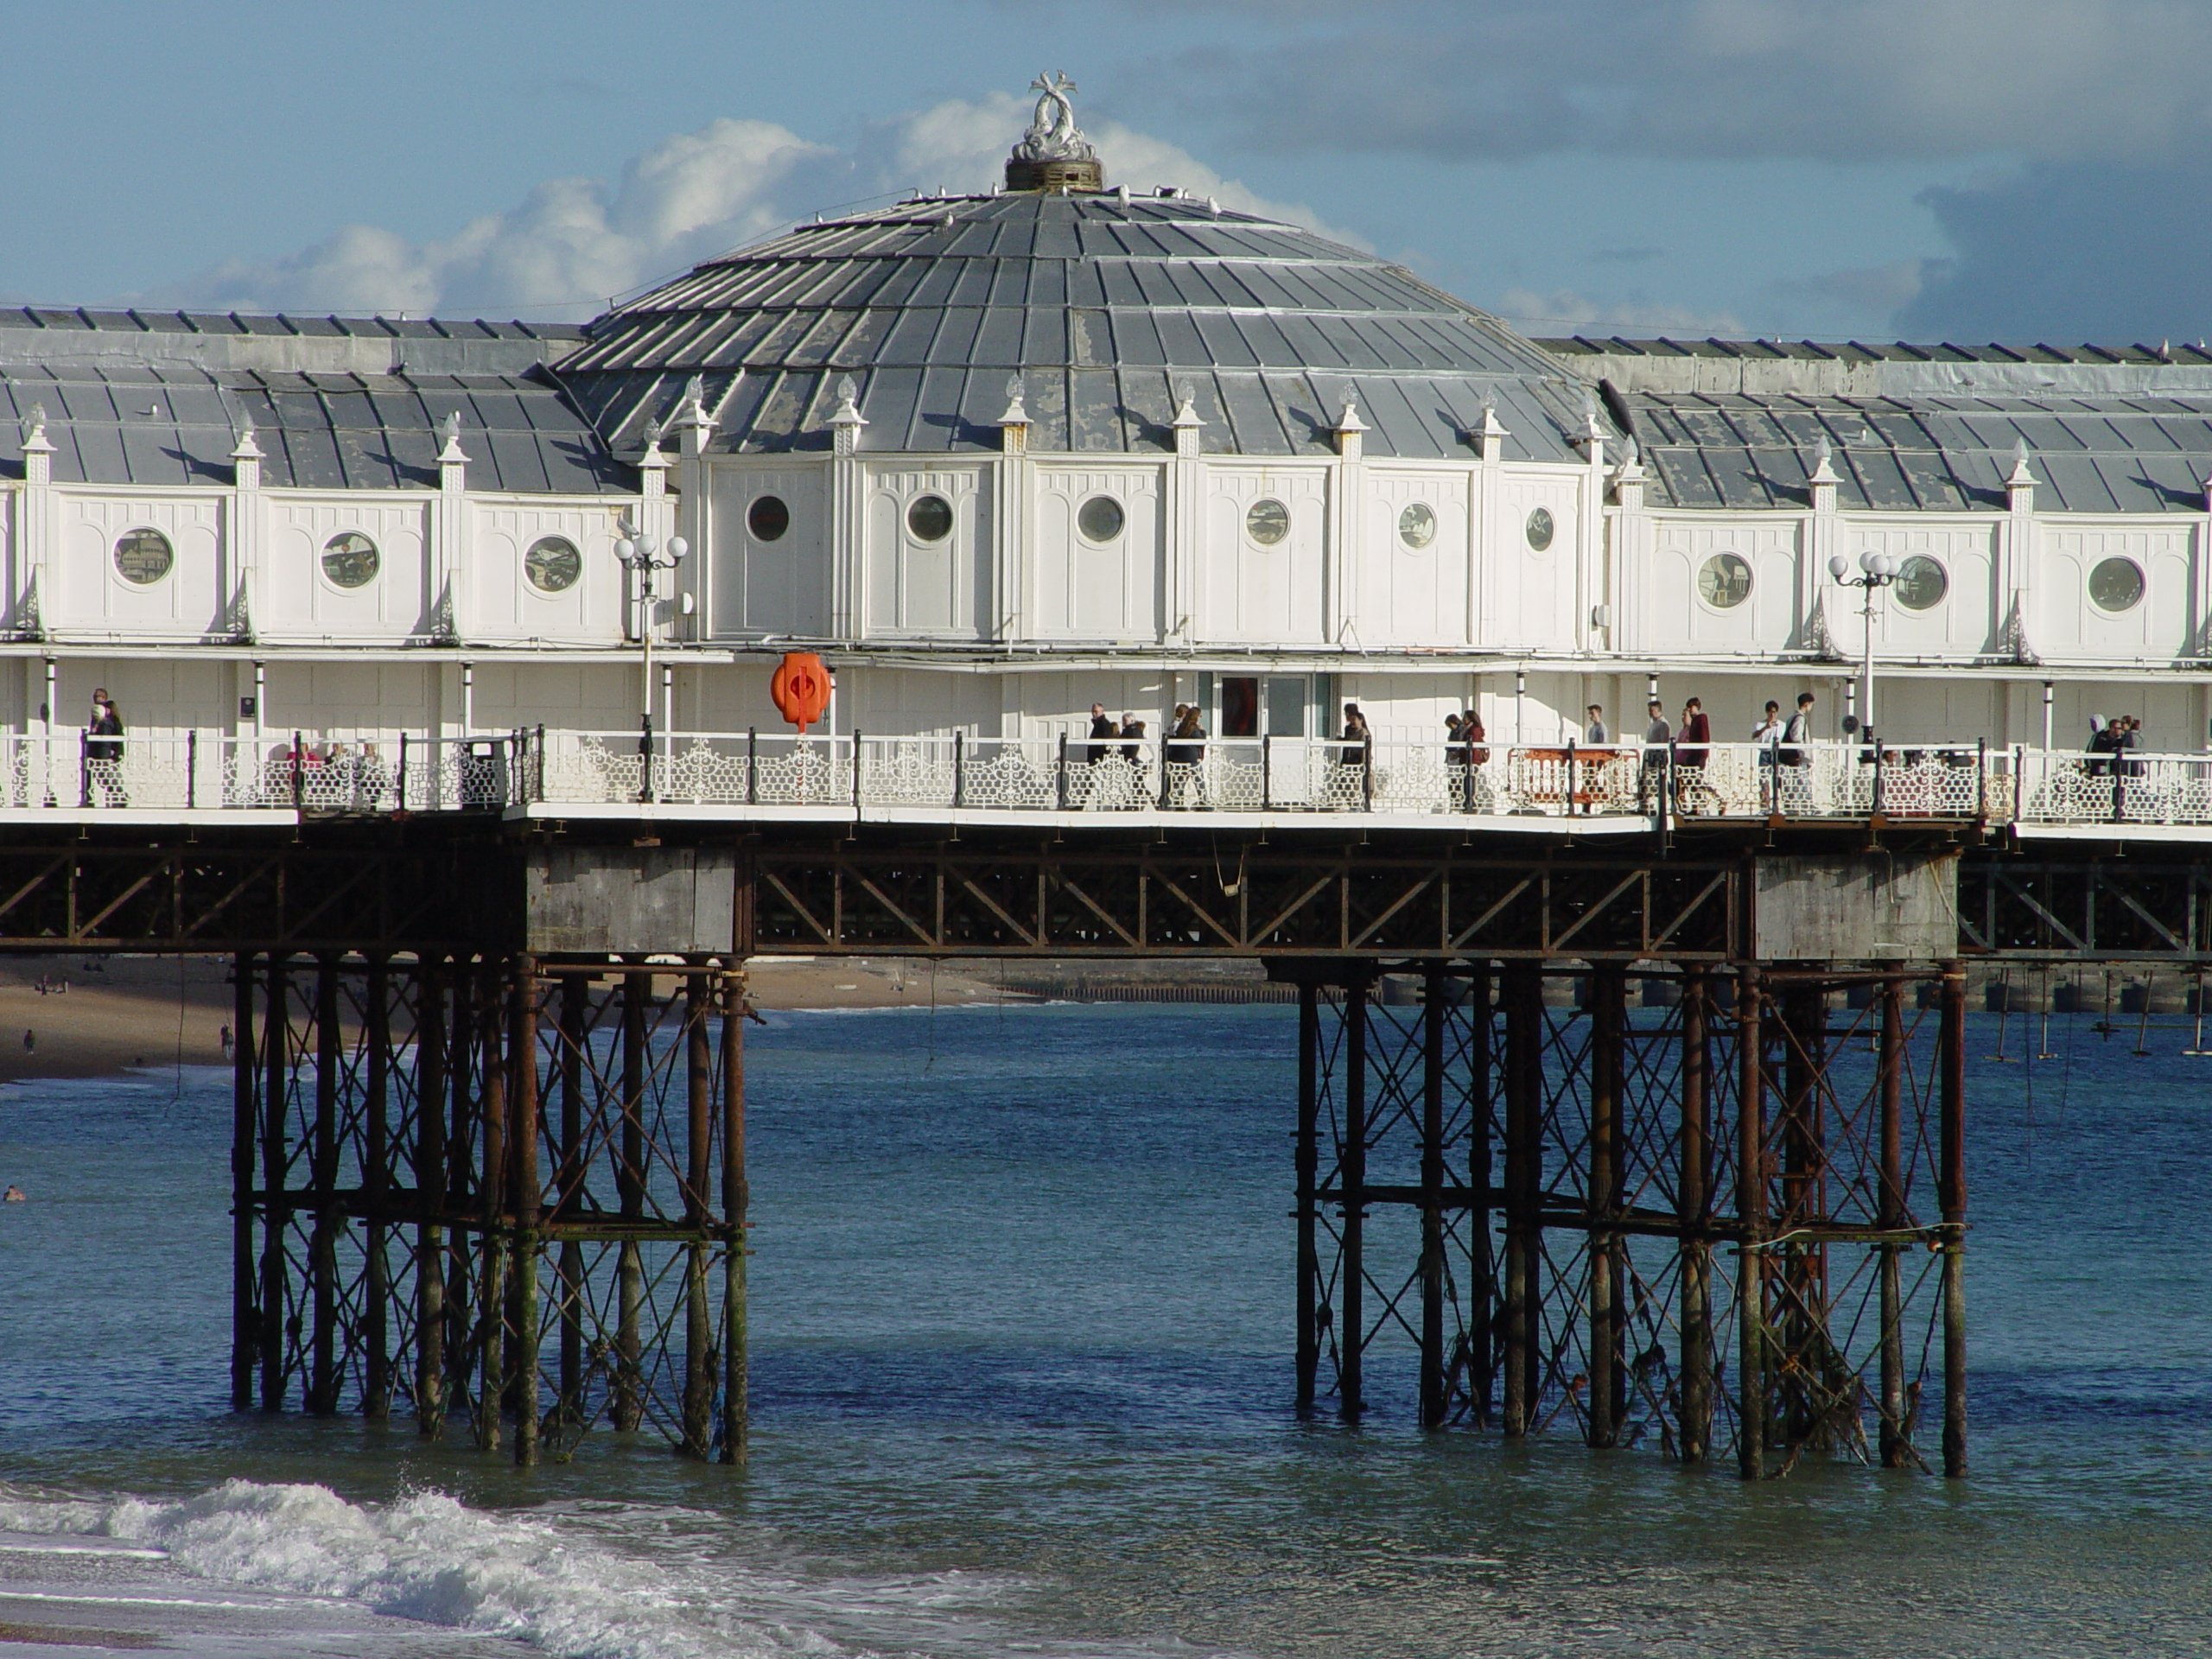
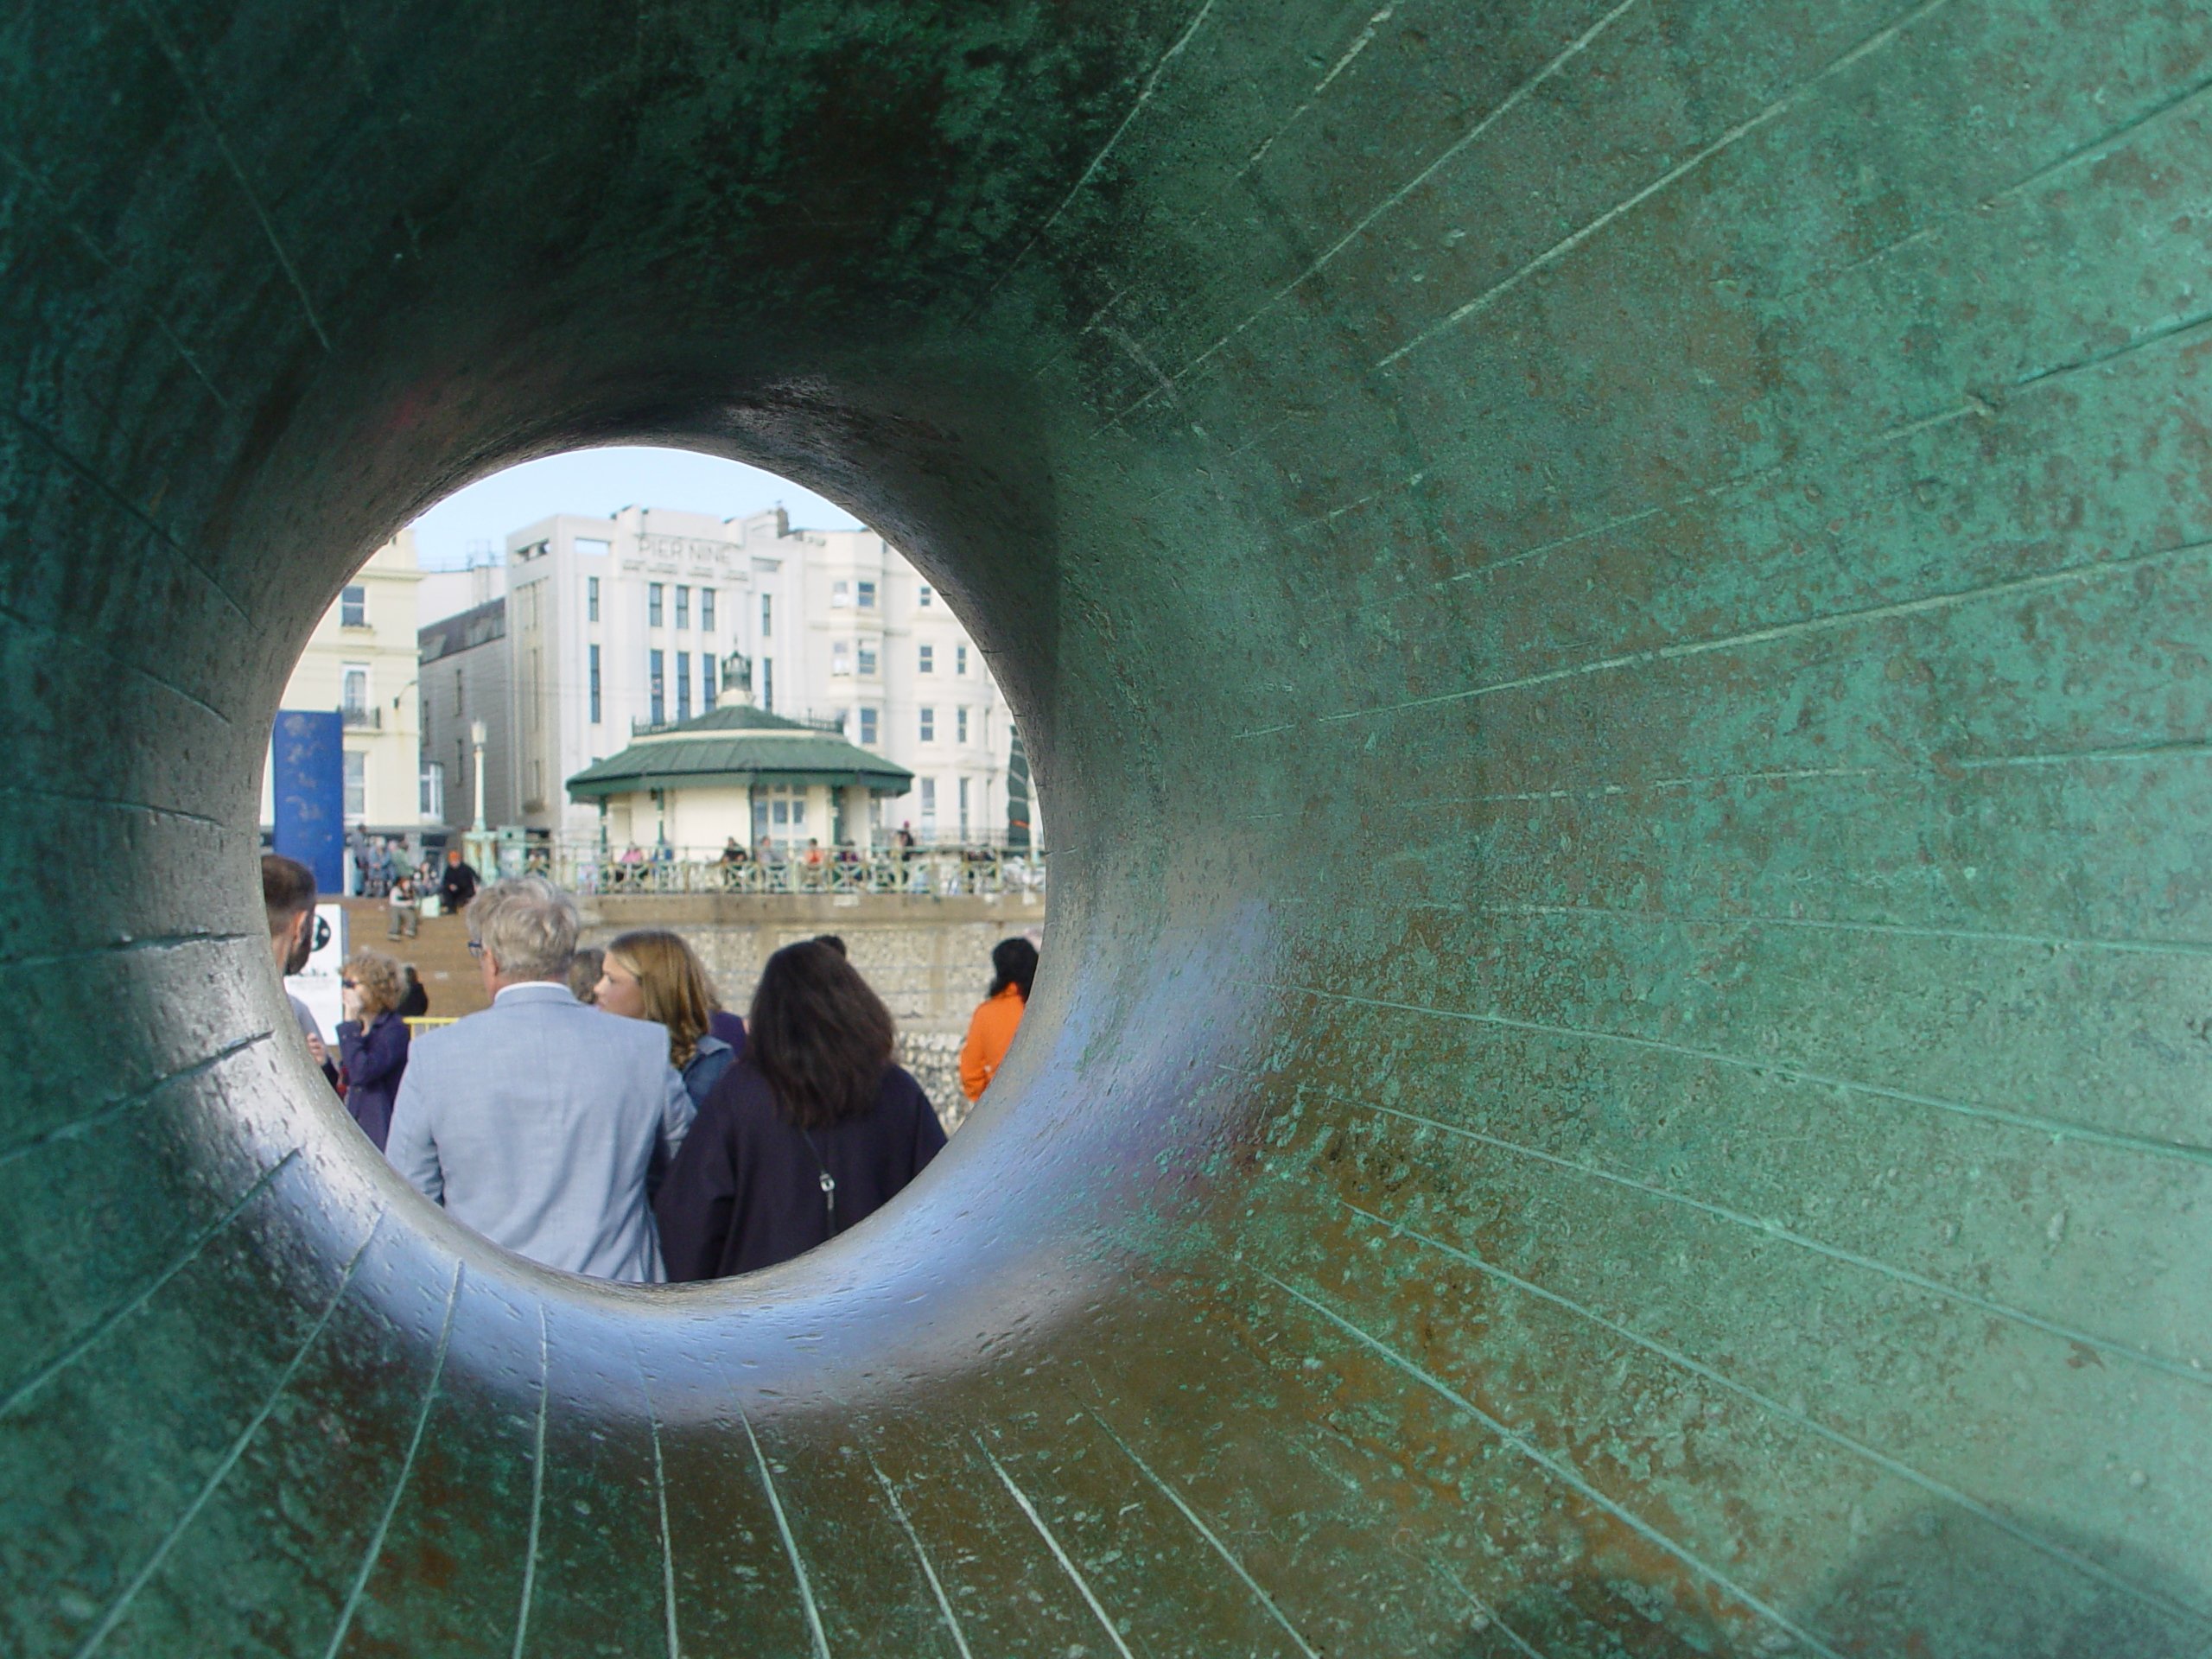
Impressive stuff, albeit essentially the same core spec and body of the F707 which preceded it a year earlier. But the F717 built on this model, tweaking controls, refining features and addressing a couple of issues, making it the most desirable in the series to date. In my video below I take it to the streets of Brighton and London 22 years after it was launched to see if it remains one of my favourites in the series (not to mention trying the infra red and magnet hacks), but if you prefer to read the written highlights, keep scrolling!
I remember reviewing the F717 for PC Advisor magazine in the UK when it first came out, at a price of just under $1000 or pounds. Back then I reckoned it was one of the best cameras you could buy for under a grand, and it became my favourite in the F series: a step-up over the previous models in terms of features, but without the bulk and complexity of the later 828, not to mention the R1 which I like to include as an honourary member.
So it’ll come as no surprise I wanted a working F717 for my own collection, but this proved harder than expected. I buy most of my vintage cameras from eBay where long-lost or dead batteries mean they’re generally sold as untested or for parts and spares. That said, out of over 50 old cameras I’ve taken a punt on over the years, the vast majority have sprung back into life given a new battery with one big exception: yep, you guessed it, the F717.
My first had a broken sensor. My second was plagued with memory card errors regardless of what I inserted or formatted. My third was apparently working for the seller, but arrived displaying the same errors as the last one. There was actually also a fourth model which never even arrived. But after a couple of days of charging and power-cycles, number three suddenly started working, and has mostly behaved ever since. I paid £35 for this one, and it’s the model I’ll be showing you in this review.

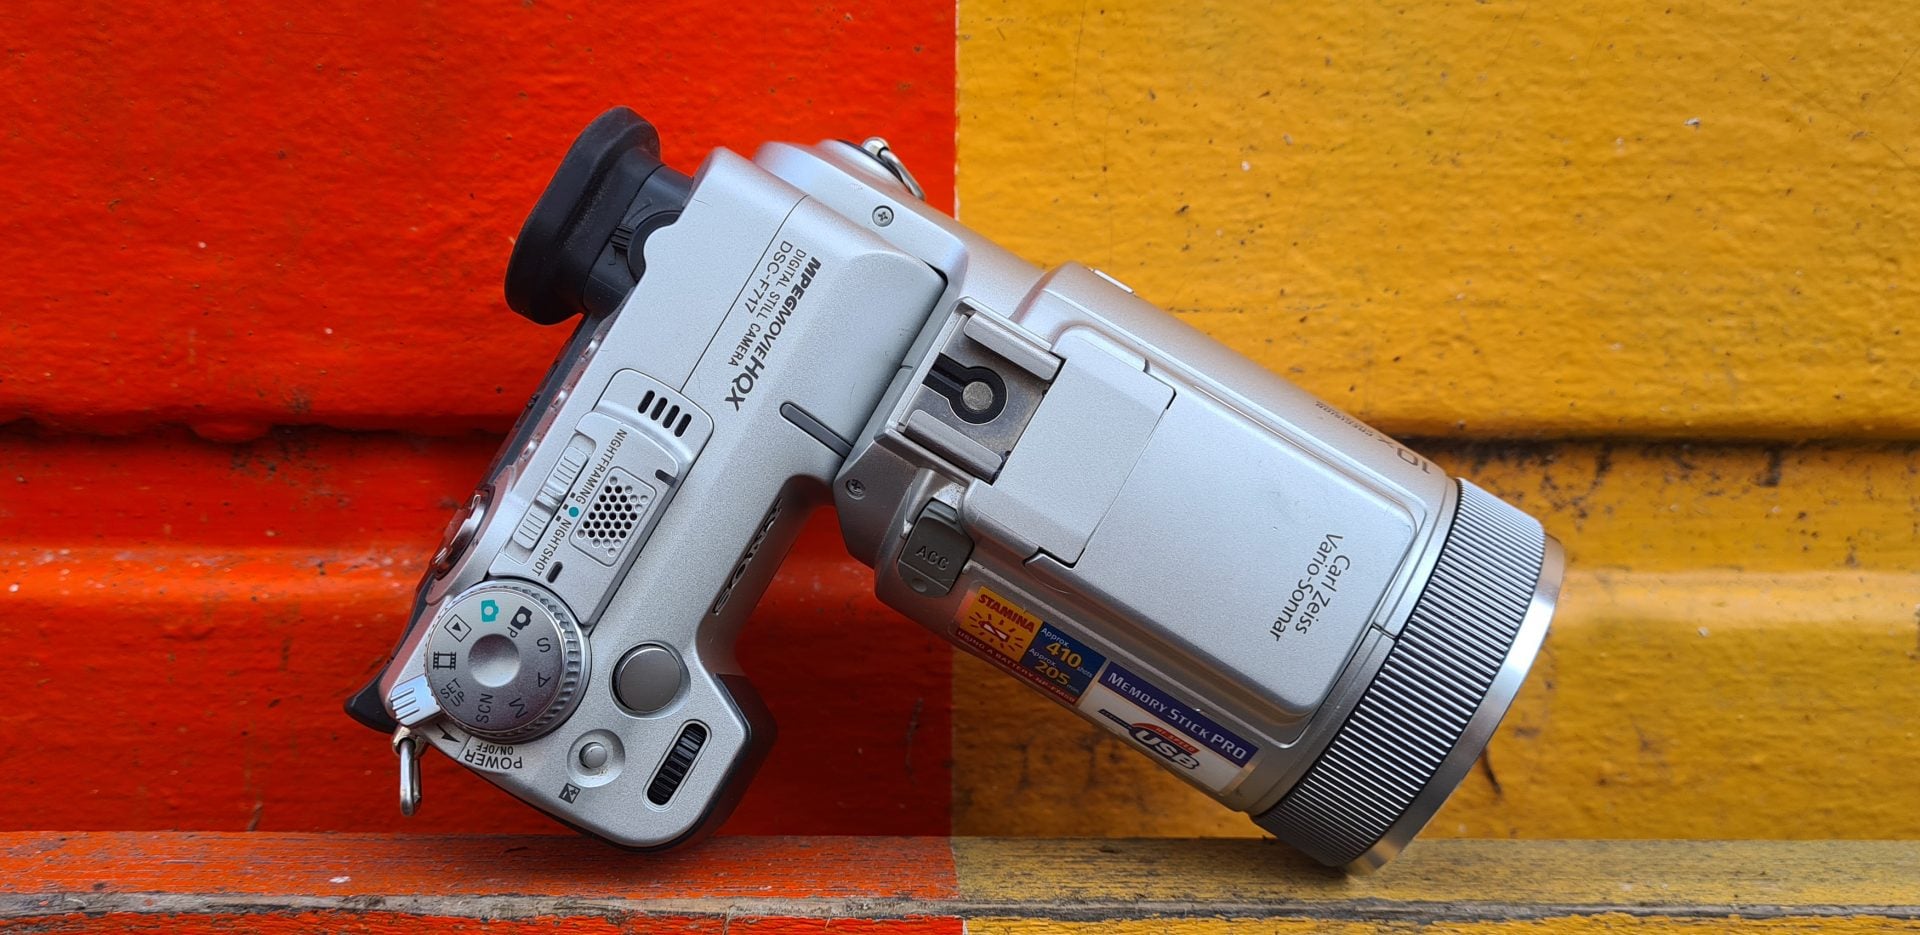
At first glance the F717 looks identical to its predecessor, and both share essentially the same body and controls, not to mention much the same internals too. But place them side-by-side and you’ll begin to notice some differences. First the 717 trades the grey coat of the 707 for a lighter, silver finish.
Second, while both have accessory shoes behind the popup flash, the basic cold-shoe of the 707 is switched for a more useful hotshoe on the 717 with a sync pin. Third, the control ring at the end of the barrel now has finer ridges and can be used to either manually focus the camera or adjust the zoom when set to autofocus. The 717’s zoom rocker on the side of the barrel has also shrunk and turned by 90 degrees.
The 5 Megapixel CCD sensor remains the same, but there’s improvements in white balance, colour reproduction, as well as autofocus sophistication and speed. Eagle-eyed Sony fans may also notice the labeling on the top mentioning MPEG Movie HQX versus MPEG Movie EX on the 707. Both cameras may share the same video resolutions and frame rates, but the 717 dispenses with the short clips of its predecessor at 320×240 and can now keep recording in this – ahem – best quality mode until you run out of memory.
And speaking of memory, the 717 looked to the future, supporting much larger cards up to 2GB in size even if they weren’t available at launch, and finally, the USB port’s upgraded from 1.1 to v2, allowing the camera to read the cards more quickly.
In general operation though, the 717 is much the same as its predecessor. With the lens barrel resting in your left hand, it’s easy to twist and compose with the rear body. If you’re using the screen to compose at waist height, you’ll naturally twist the body up by about 60 degrees, where the camera feels very comfortable, but the ability to also face it directly upwards becomes invaluable when framing close to the ground or even pointing directly upwards.
Alongside traditional PASM modes, the main dial offers full Auto, a selection of scene presets, the movie mode, as well as playback and access to the five pages of setup menus. Meanwhile a spring-loaded power collar satisfyingly flicks the camera on and off. The 717 has access to shutter speeds from 1/1000 to an impressive 30 seconds, and there’s fine control over the aperture from f2 to f8 in one third increments. A faster shutter of 1/2000 is available in Program and Aperture Priority modes, but only when coupled with an f5.6 or smaller aperture as they share the same mechanism. Strange it’s not available in Manual though.

Perched atop the front of the grip are the shutter release, a tiny recessed button dedicated to exposure compensation, and a single finger dial with a push-to-click action. The dial is used to scroll between the things you can change in a particular mode, before a push selects one, after which the dial can actually change the setting. In classic Sony style of the era, this can be a little fiddly in use with tiny text fonts and unnecessary clicks – for example in Aperture Priority it’s great you can also change the compensation and focus area, but I feel the dial should simply adjust the f-number by default without having to select it first.
Round the back there’s a four-way joypad for direct access to the flash, macro mode and self-timer, as well as a left click to review the last image without having to turn the mode dial to playback. Meanwhile pushing the Display button cycles between increasingly busy information views, now including an optional brightness histogram available in both composition and playback.
Behind a flap on the lower left corner are a 3.5mm composite video output and a jack for the supplied AC adapter which charges the battery in-camera. For data transfer, there’s a standard Mini USB port behind its own flap on the lens barrel, and again this is now faster than the 707. By the hotshoe there’s also a 2.5mm accessory jack for an off-camera flash or cable release.
As before, the battery and memory card are housed in the same compartment behind a large flap on the right side, making it easily accessible when mounted on a tripod. The 717’s powered by an NP-FM50 Info Lithium pack which displays the minutes of power remaining on-screen. Meanwhile like all Sony’s of the time, the 717 saves its files to full-length Memory Sticks which resemble sticks of chewing gum. At launch, the largest 128MB Memory Sticks fell behind rival formats in capacity, but the 717 would at least support future cards up to 2GB in size, including the smaller Duo cards inside an adapter.
Composition is inherited directly from the 707, so you’re getting a 180k dot electronic viewfinder or a 1.8in backlit LCD screen. In the absence of an eye-detector, you need to switch between them with a control by the viewfinder.
The 717 also inherits the same optics as its predecessor, a Carl-Zeiss branded 5x optical zoom with a useful equivalent range of 38-190mm and a bright maximum aperture of f2-2.4. The motorised zoom also operates in fine increments, avoiding the lurching of many digicams.

Set to macro mode, you can get as close as 2cm from the subject, reproducing about 40mm across the frame, albeit with substantial barrel distortion and shadows cast from the barrel itself. For better results move a little further away and zoom the lens in a tad – you’ll still get much the same magnification.
Pushing the menu button during composition lets you change the ISO sensitivity, now available up to 800, adjust the image resolution, choose from two levels of JPEG compression, access TIFF, burst and bracketing options, adjust the flash brightness level, apply one of three Picture effects: Negative Art, Sepia and Solarise, and finally adjust the in-camera sharpening level. Strangely there aren’t any saturation or contrast adjustments though.

By inheriting the same 5 Megapixel CCD sensor of its predecessor, the 717 shares the same top resolution of 2560×1920 pixels, with best quality JPEGs measuring around 2MB each. Uncompressed TIFFs are also available, but at around 14MB each they tie-up the camera while recording and in my tests didn’t offer any quality or flexibility benefit over the JPEGs. Shame Sony didn’t include a smaller and more flexible CCD RAW mode like some of Canon’s rival models.
As before, one of the most unique aspects of the 717 is its ability to frame, focus and shoot in darkness. To demonstrate, I tested the camera outside in complete darkness where I was invisible to the camera’s normal visible light modes. Switch the camera to Night Framing though, and the 717 activates a pair of infra-red LEDs at the end of a barrel to illuminate nearby subjects, while also flicking the standard IR-blocking filter out the way of the sensor. Bingo, the camera can now see the subject, allowing you to frame.
Meanwhile the Holographic AF system projects a fine pattern on the subject, allowing the camera to focus, before then letting you take a shot with the flash and the IR-block back in place for normal colours. This makes it ideal for parties and dimly-lit events.
Alternatively you can switch to Nightshot, which again moves the IR-blocking filter out the way and uses infra-red LEDs to illuminate a nearby subject, but this time the camera captures the eerie greenish night vision style image rather than using the flash for normal colours. I say night vision style, as this isn’t the same technology as Military night vision goggles. Sony’s simply exploiting the fact most camera sensors are already sensitive to infra red light, but filter it out during normal operation.

In the two night modes, the 717 simply moves this blocking filter out the way and activates infra red LEDs to illuminate the subject without disturbing the visible darkness. Sony then applies a greenish tint to mimic night vision goggles. It’s meant as a fun novelty, but enthusiasts quickly discovered it could also be used for full-spectrum or infra-red photography in daylight without permanently modifying the camera.
Switch the 717 to Nightshot mode and the internal blocking filter is removed, turning it into a full-spectrum camera. Screw on an IR filter which blocks visible light and you then have a camera that’s only recording infra red light. Unfortunately Nightshot is only available in auto exposure modes and only operates at shutters and apertures optimised for darkness. Try it in daylight and your image will become hopelessly overexposed with no means to correct it manually. But by simply screwing-on a neutral density filter, you’ll be able to use Nightshot mode in daylight, capturing full-spectrum images or infra-red light only with an additional IR filter.
Above: Sony F717 in Nightshot mode with ND filter and IR filter fitted
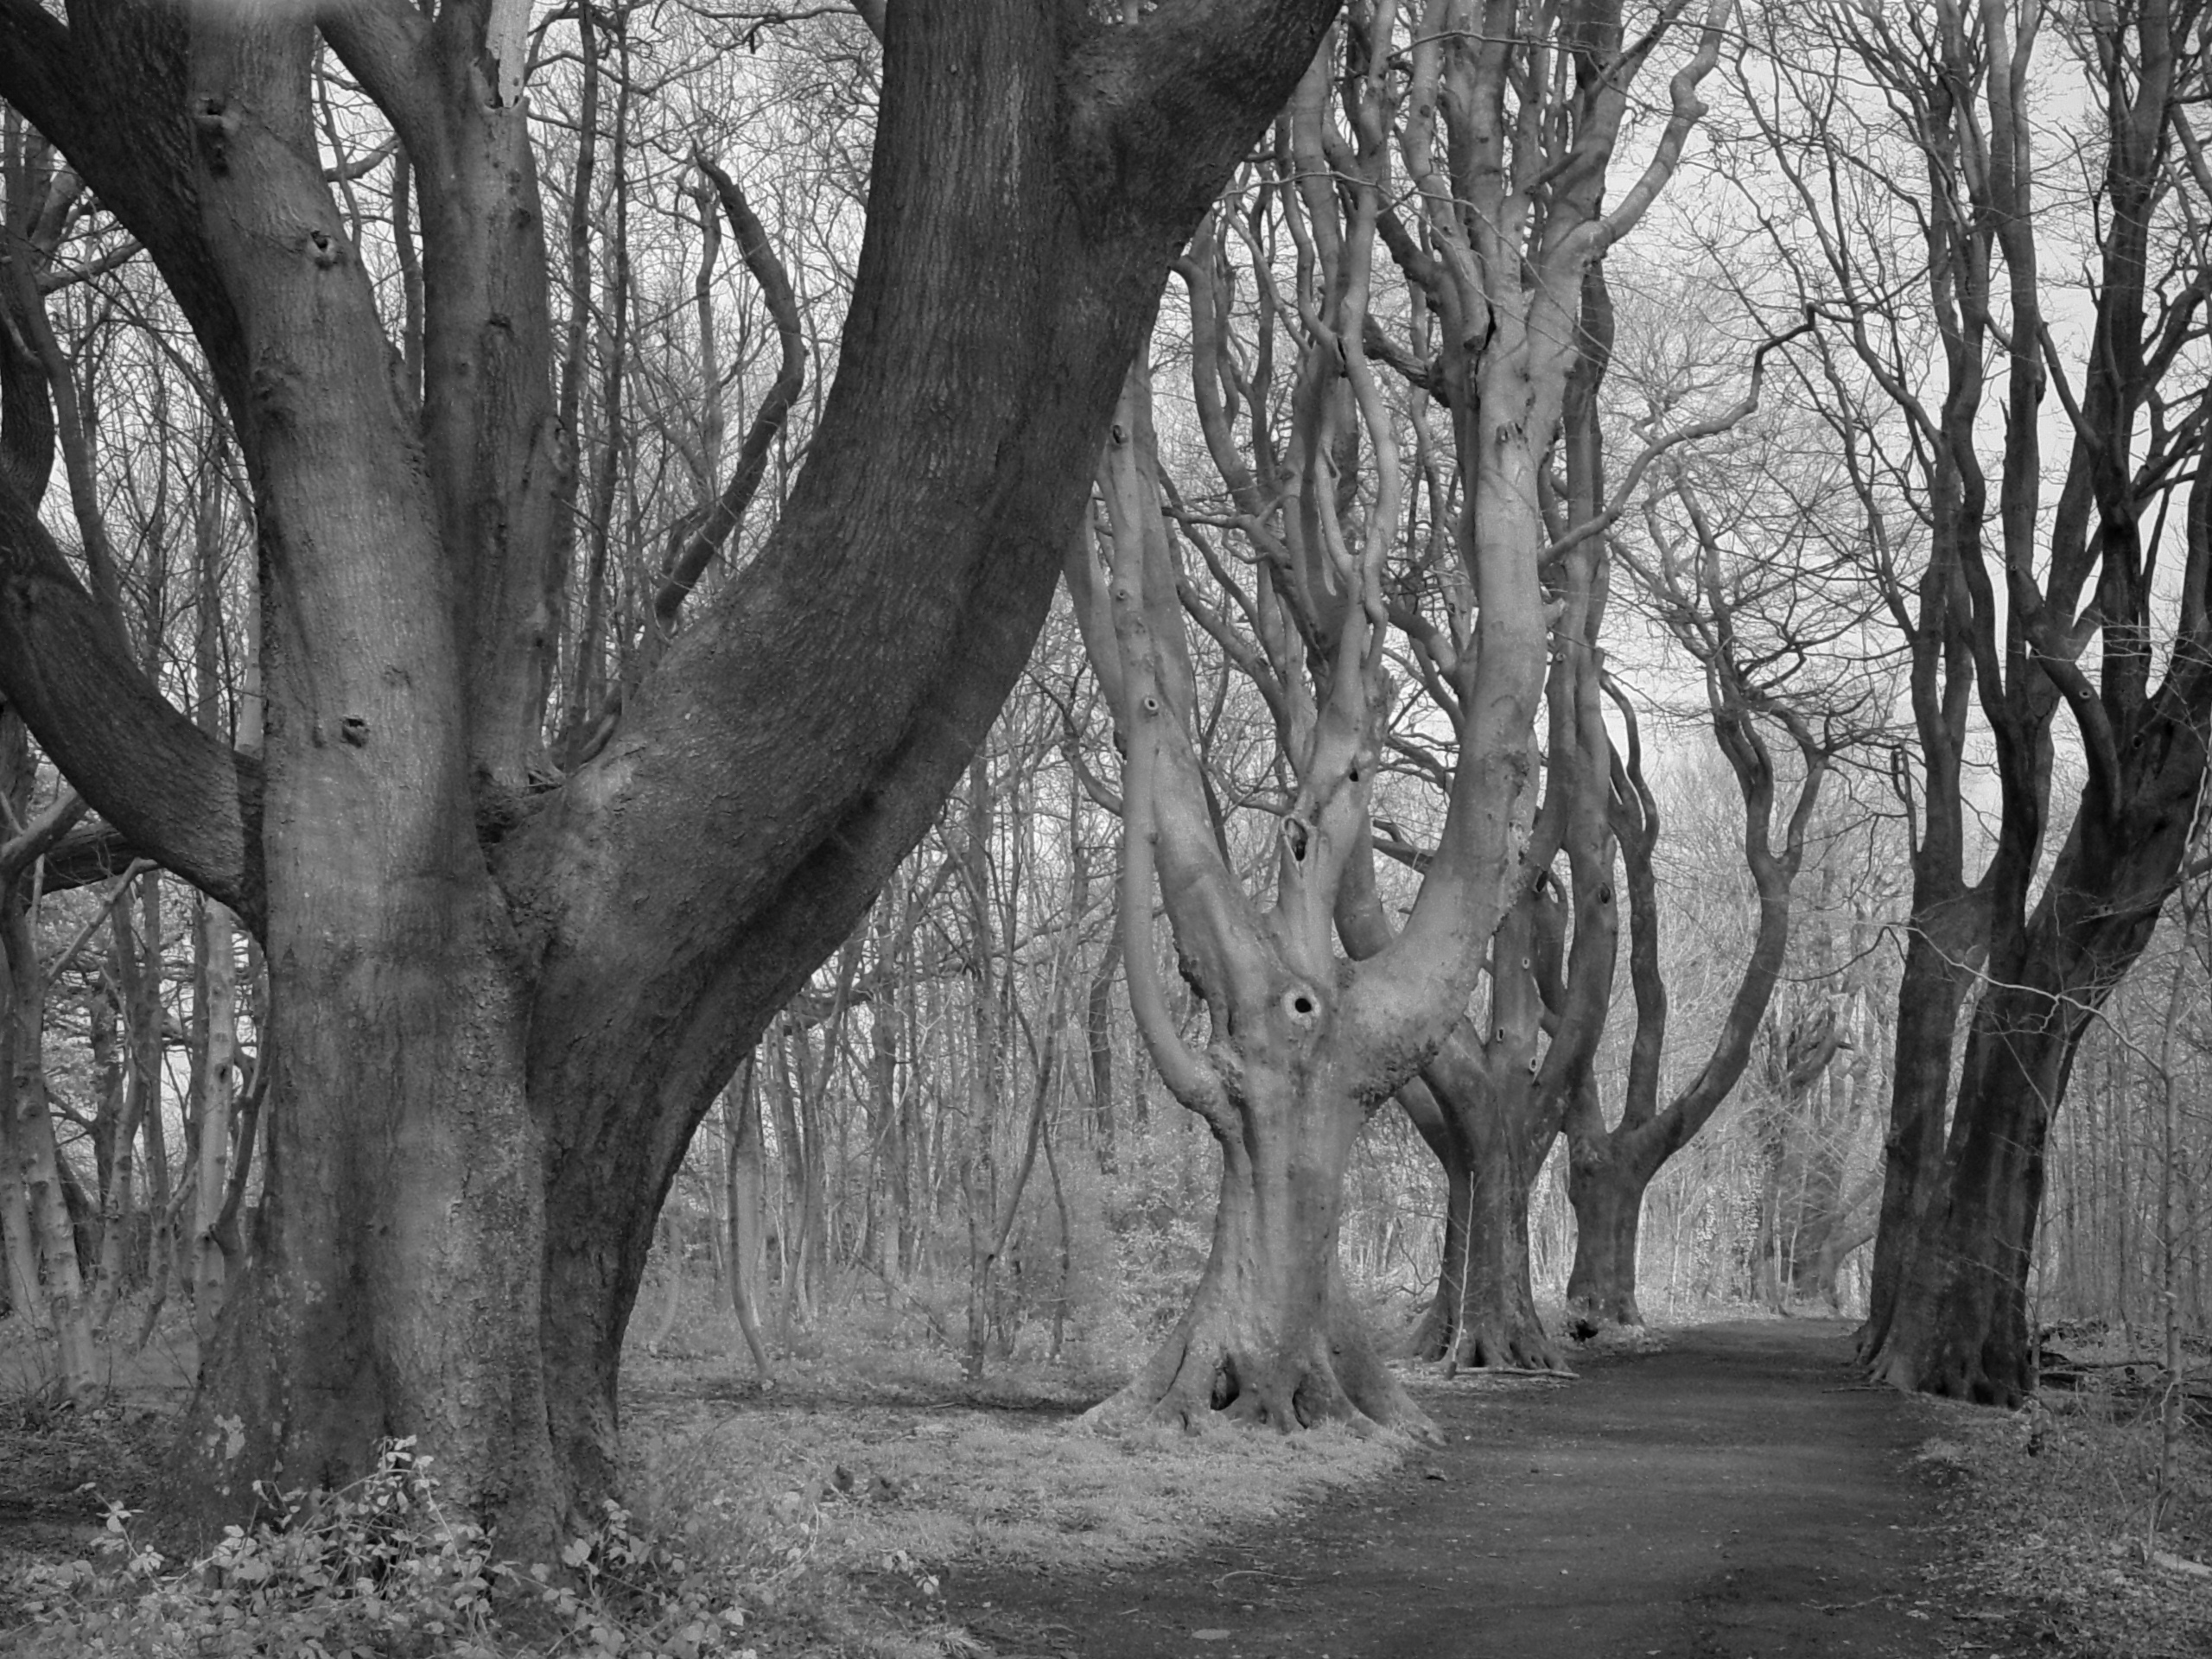
There are a couple of gotchas: in Nightshot, the 717 will illuminate those two LEDs at the end of the barrel which could cause reflections with filters, so for the best results tape them over. Second, Sony’s greenish tint is still applied whether you like it or not, so you’ll need to do some work in post to counteract that, or do what I do and simply turn your images into black and white. And third, as it’s expecting low light conditions, you’ll be limited to slowish shutter speeds, so hold steady or use a tripod.
Above: Sony F717 in Nightshot mode with ND filter and IR filter fitted. Converted to black and white in Photoshop
But then some enthusiasts discovered the internal IR blocking filter could actually be moved out the way by an external magnet instead, allowing you to bypass Nightshot and use any exposure mode including full manual. This so-called magnet hack involves placing a powerful magnet by an area on the underside of the barrel near to the certification sticker. If the magnet’s strong enough and the correct way round, you’ll hear the click of the filter moving out the way and be greeted by a full-spectrum image with a reddish tint. Don’t worry, this is reversible by simply turning the magnet around and repositioning it against the barrel, or if you prefer by turning the camera off and on again.
Bingo, a camera that can be easily switched between visible light and full-spectrum, or infra red by screwing a suitable filter on the barrel. Plus full manual control over exposure and none of those cheesy night-goggle green effects.
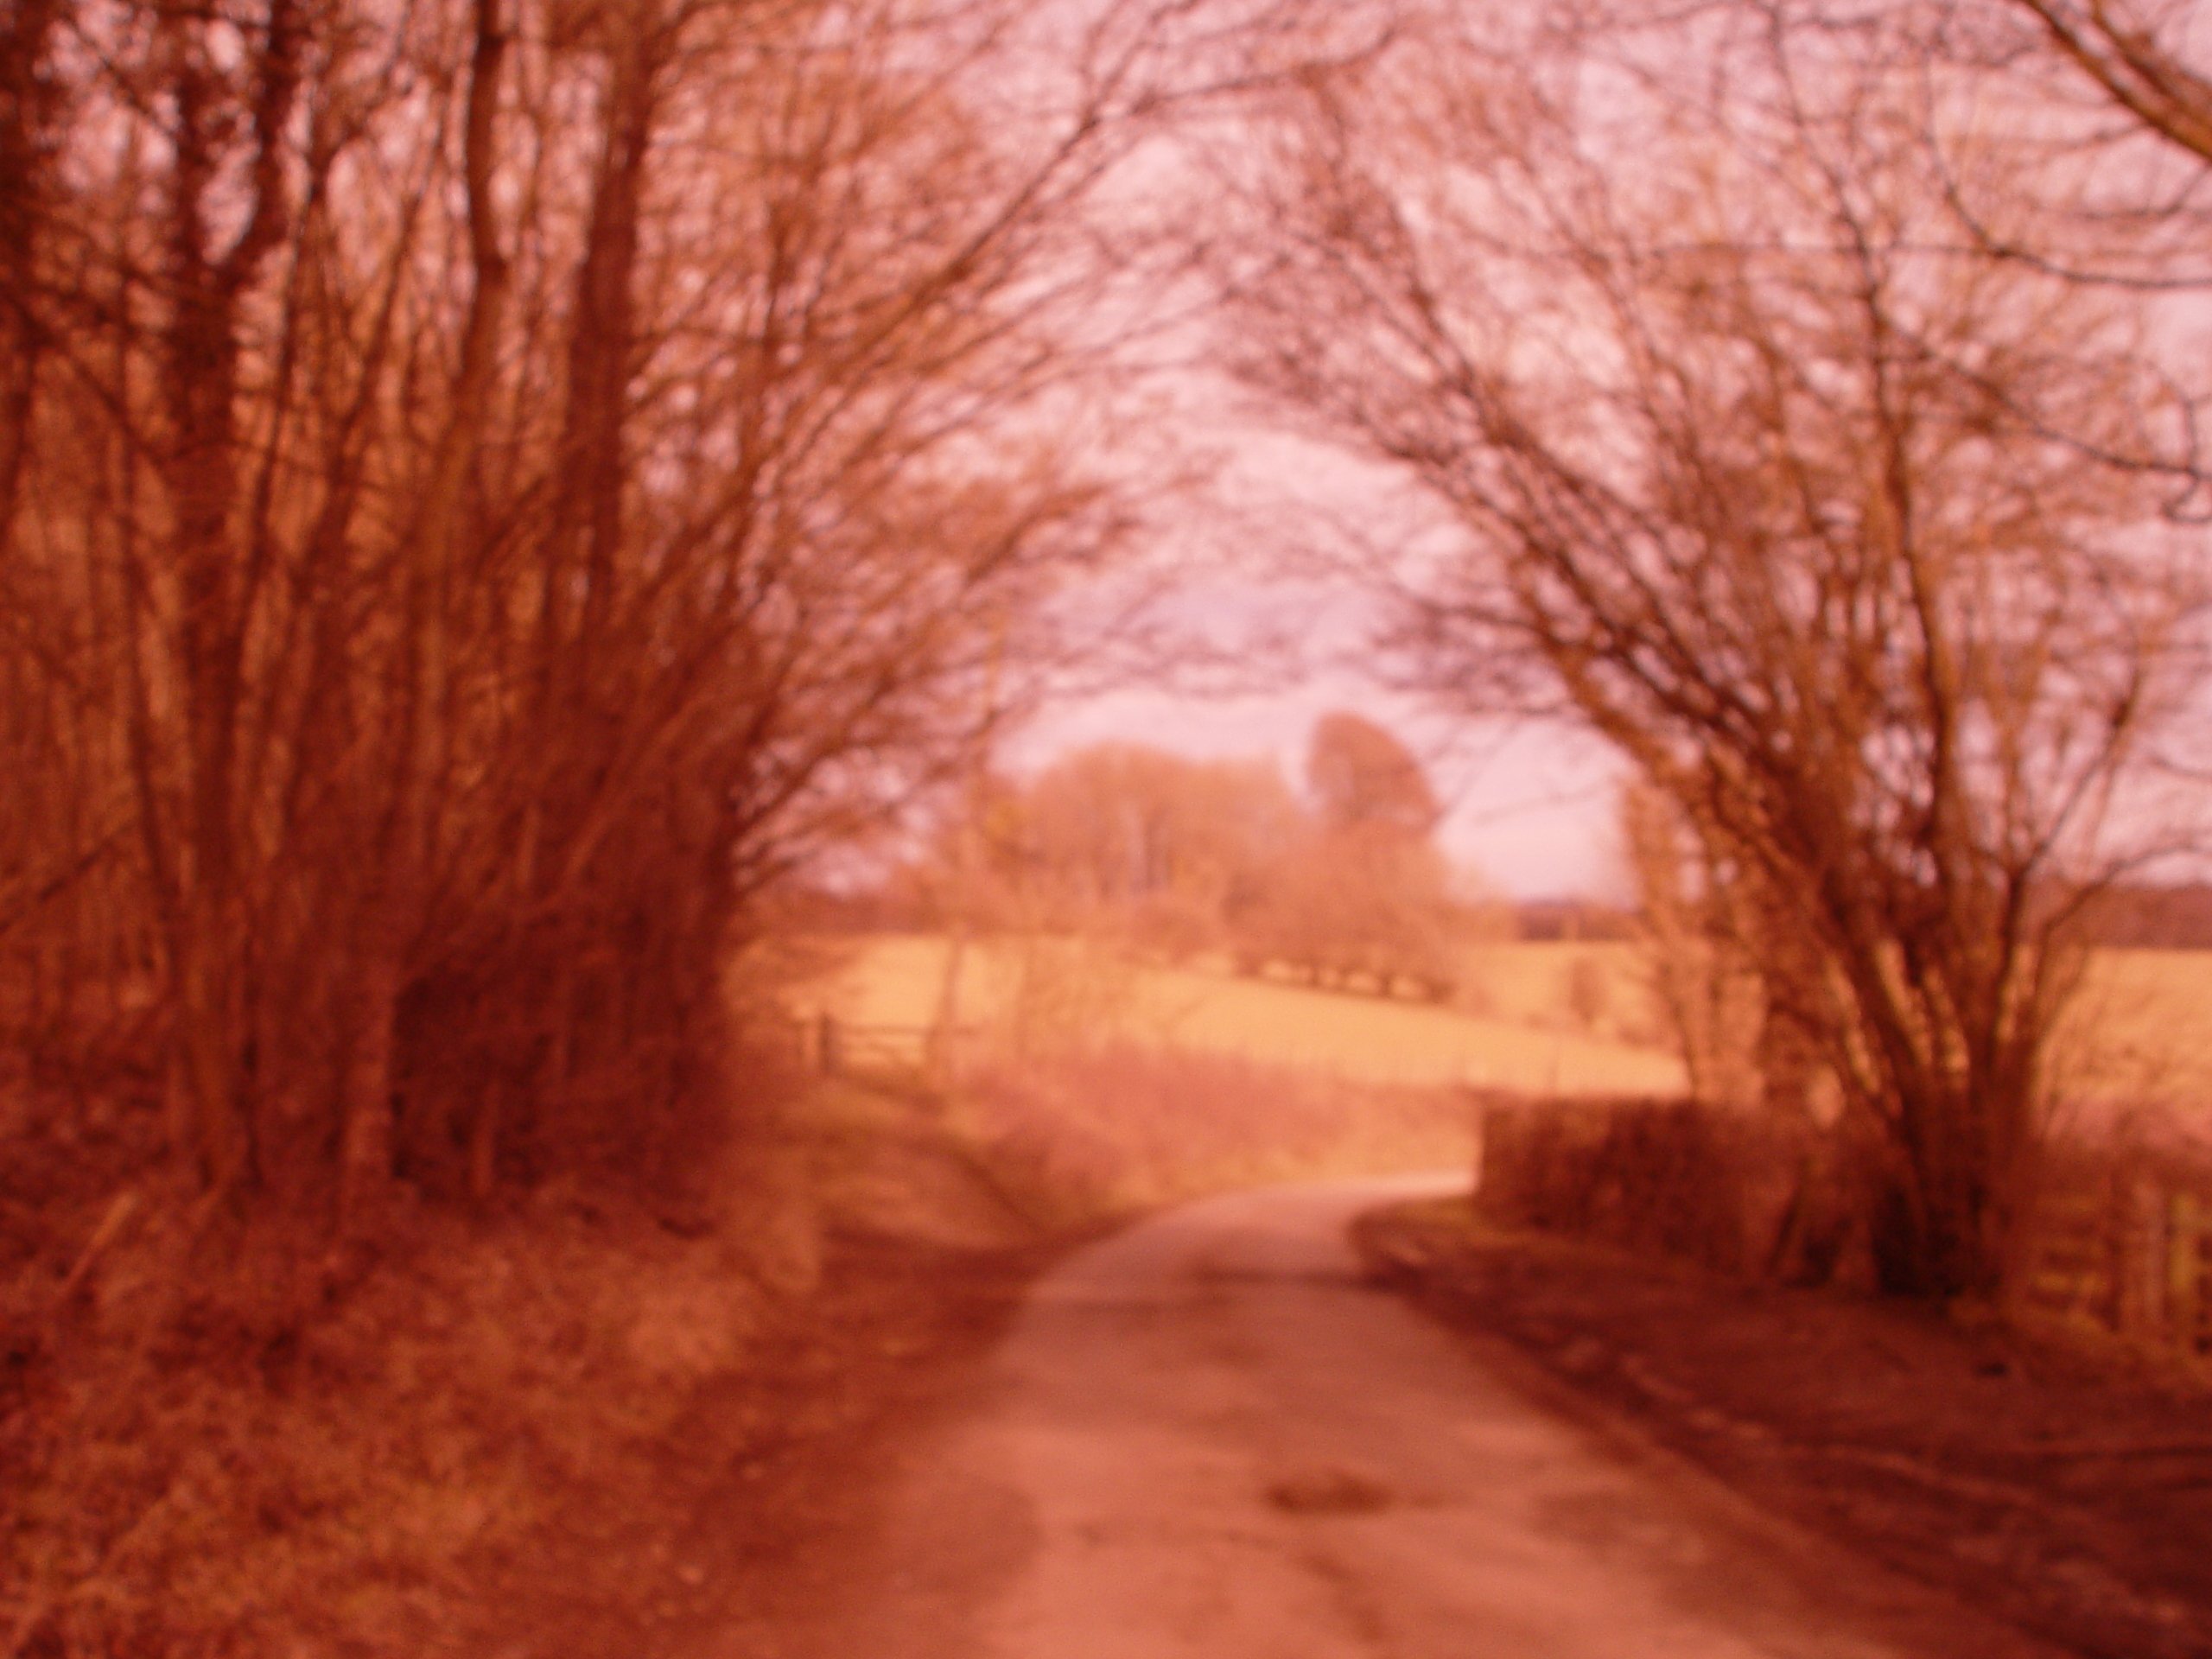
Above: Sony F717 with magnet hack moving IR blocking filter. Note the image may be full spectrum but is invariably out of focus
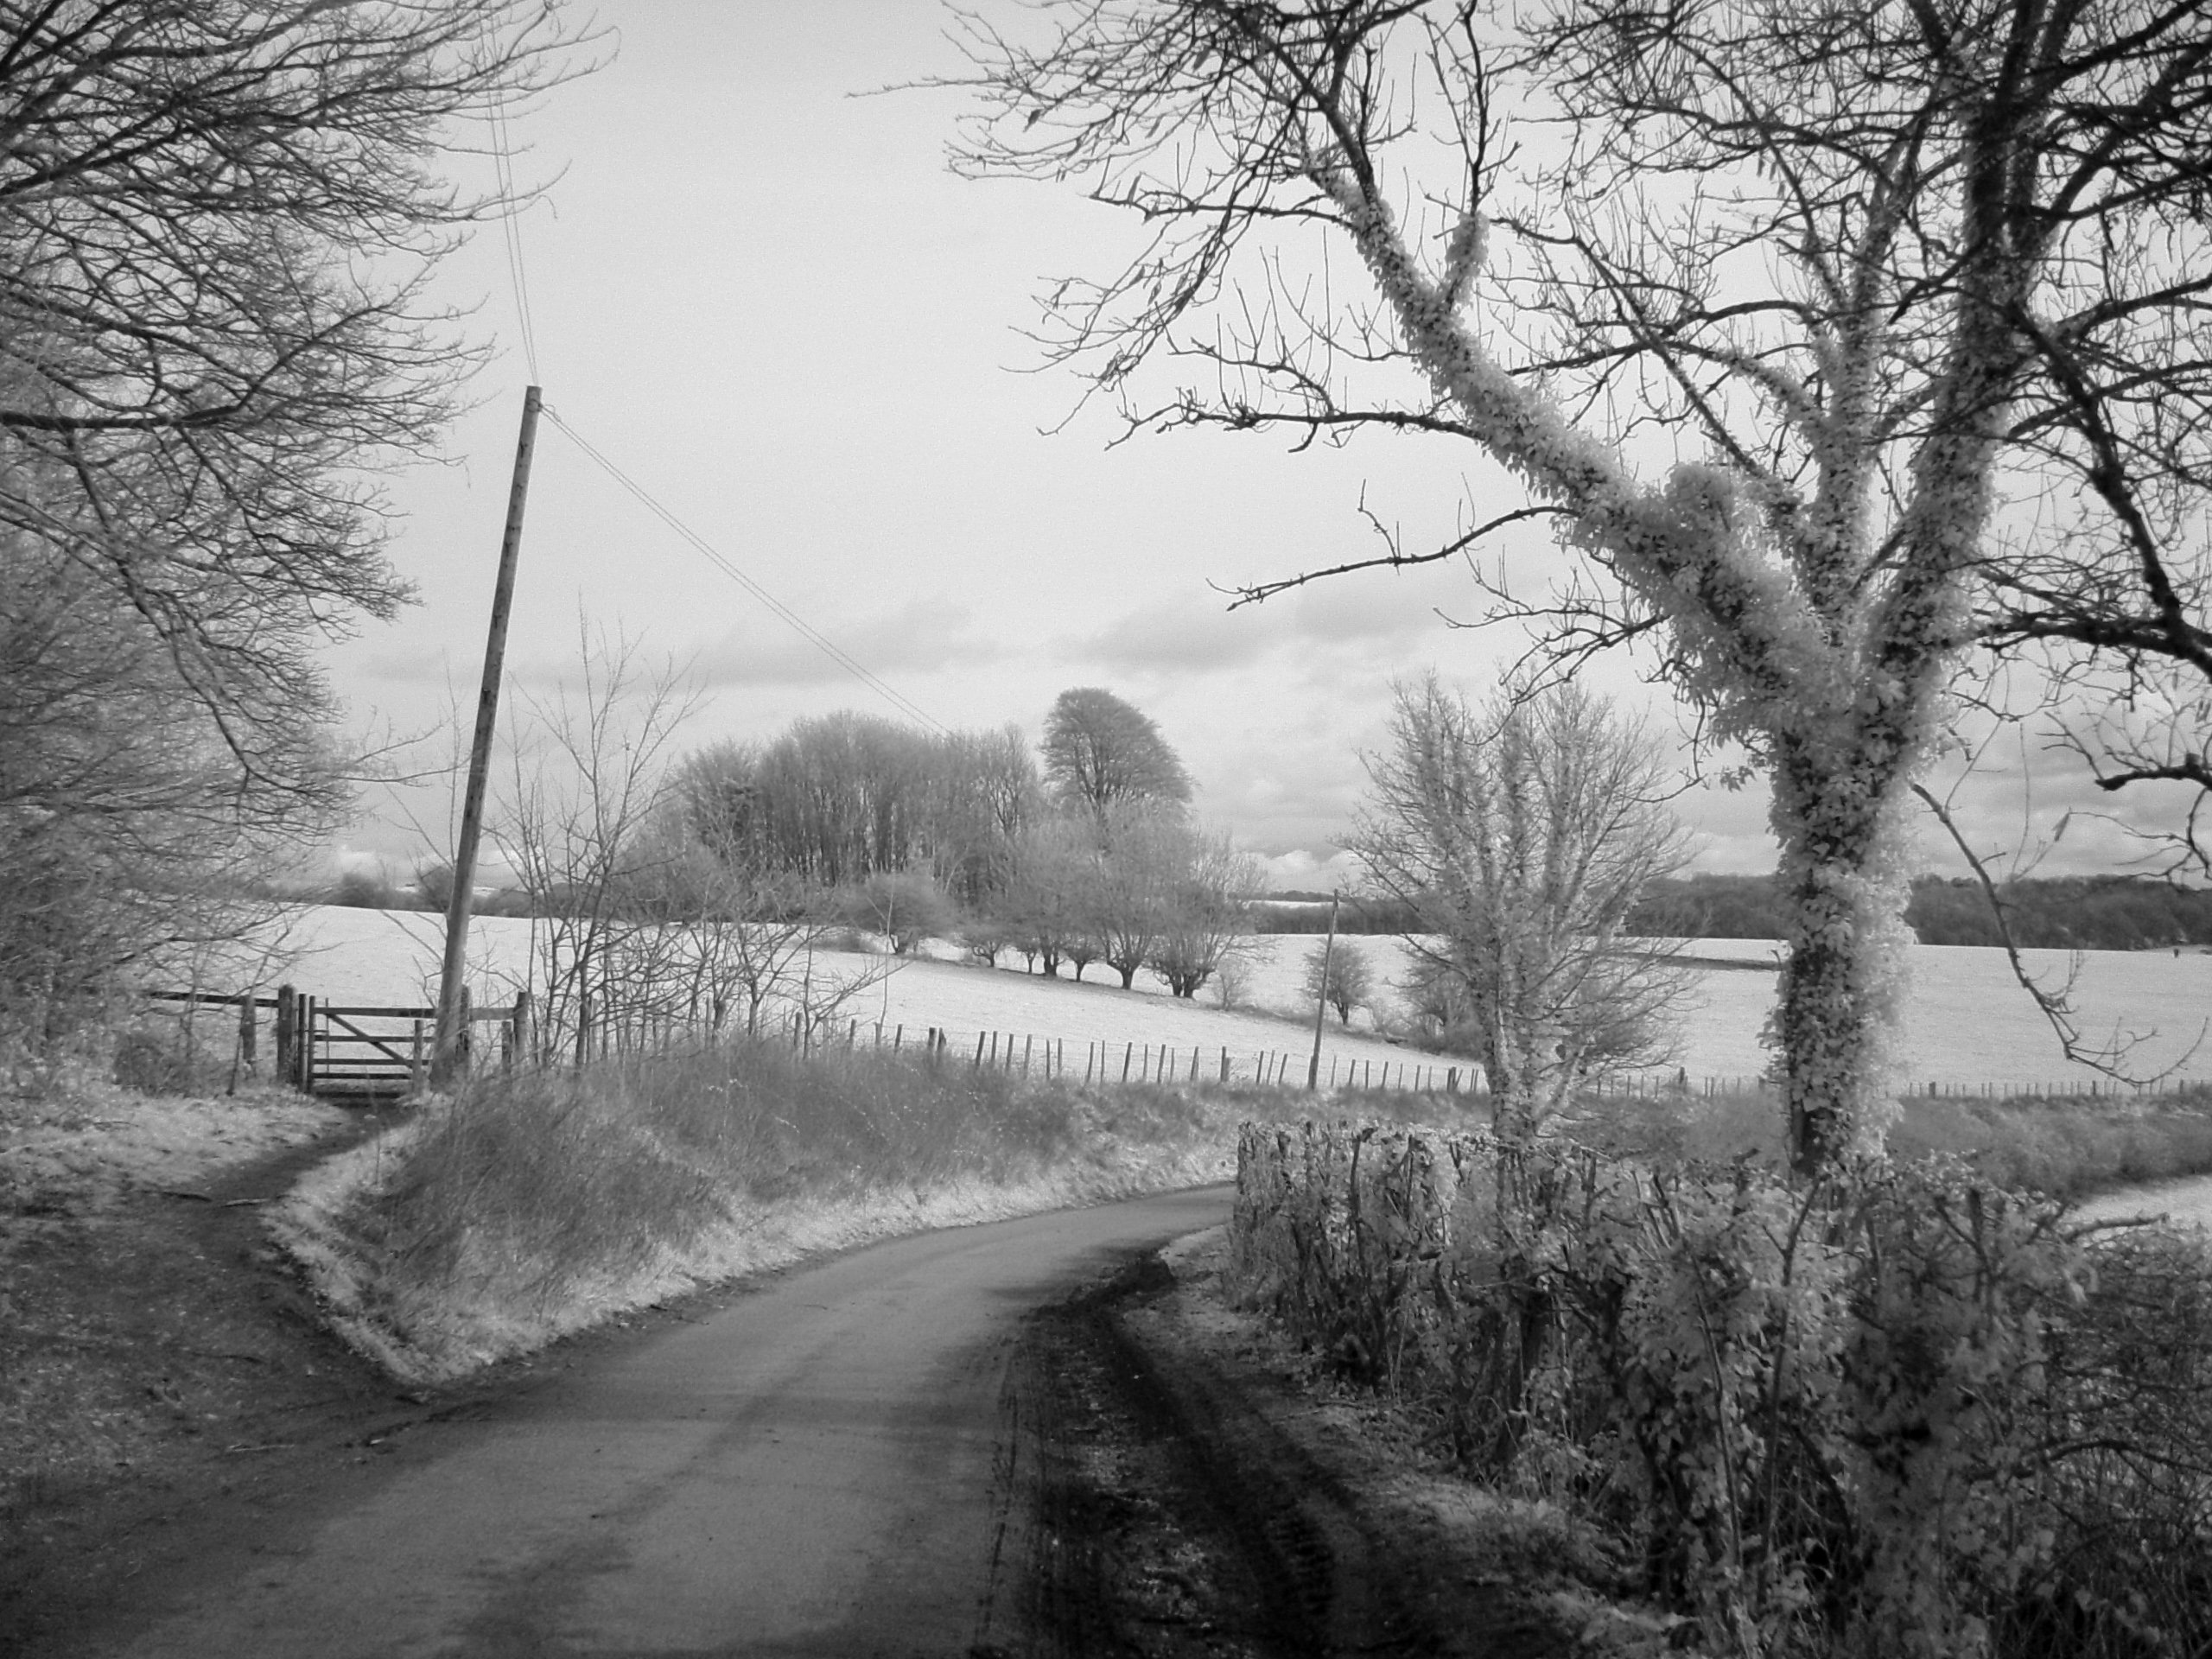
But the bad news is the camera still focuses as if it were expecting visible light, which means your infra red or full-spectrum image will almost always be slightly blurred, especially for subjects at or close to infinity, like landscapes. The camera doesn’t help either, cheerfully double-beeping even when the subject is clearly still blurred.
Frustratingly, manual focusing or closing the aperture down doesn’t seem to resolve the issue either. If you adjust the lens zoom, you may stumble upon a distance which focuses better on distant subjects, but it’s very hard to confirm with the fairly coarse screen or viewfinder. You’ll only really know when you zoom-in during playback or examine them on a computer later. In minor consolation, it will focus successfully on nearby subjects, but I’ve struggled to get any distant subjects sharp on the 717 or 707 when using the magnet hack. Which renders this trick mostly useless for daytime infra-red landscape photos.
I can however confirm, it is possible to achieve distant focus when using the magnet hack on the later F828, so if you’re interested in this capability, that’s the model to go for. Meanwhile if you want to shoot infra-red or full-spectrum with the 707 or 717, you’ll just have to use Nightshot and deal with the limitations of that mode.
Above: Sony F717 in Nightshot mode with ND filter and IR filter fitted. Converted to black and white in Photoshop
Throughout this review I’ve included photos I took with the F717 around London and Brighton 22 years after it first came out. As expected, the original FM50 battery wouldn’t accept any charge, so I used a replacement pack that I’d previously bought for the 707 from DSTE for about £15. You will need a working AC adapter to charge this in-camera, and I used an original AC-L15A which came with one of my eBay purchases. Note the camera still occasionally complained it wasn’t an official Info Lithium pack on some power-ups, but generally got over it when switching off and on again.
For memory I used either an original 64MB purple Sony Memory Stick or a 2GB Memory Stick Duo card fitted in an adapter; the bigger card made the 717 so much more practical for a long day’s shooting when normally I’d need several 64MB sticks. And if you don’t have a Memory Stick reader, you can just connect the camera directly to your computer with a Mini USB cable.
As mentioned at the start, my 717 did report Memory Stick access errors from time to time, sometimes refusing to work at all at times. This was especially the case when it first arrived, and I think maybe the internal clock battery or capacitor needed topping-up by a fully charged main battery, perhaps by also leaving the camera powered-up. I’m not sure exactly what resolved the issue, but after a couple of days, my third 717 seemed happy to shoot for about three quarters of the time.
Sony Cyber-shot F717 verdict
I’ve said it before and I’ll say it again: the F-series represented Sony’s design team at the top of their game, combining unique looks, unashamed gadgetry and decent quality images with a surprisingly usable photographic experience. I loved it in 2002 and, caveats aside, still love it 22 years on.
But using the F717 today is a bitter-sweet experience. Sweet for all the reasons above, but bitter as it proved to be one of the company’s least reliable cameras over time. Sensor failures, memory errors, random fussiness over cards and batteries – I’ve never experienced this many faulty or flaky models, and even my least problematic sample is far from 100%. Of course this wouldn’t seem unreasonable for any electronics over two decades old, but I’m constantly struck by the number of vintage digicams I’ve bought which work as well today as they did back then.
As it stands, despite loving the F717, I can’t recommend it to anyone other than collectors who want this exact model. If you want a more reliable F model, go for the previous 707 which still has the Nightshot mode, and if you also want to focus with the infra-red magnet hack, look out for the later 828. Or maybe just have fun with a simpler earlier model, like the cute 505.
Check prices at Amazon, B&H, Adorama, eBay or Wex. Alternatively get yourself a copy of my In Camera book, an official Cameralabs T-shirt or mug, or treat me to a coffee! Thanks!