Lunar Eclipse Photography
-
-
Written by Gordon Laing
A Total Lunar Eclipse is one of Nature’s most spectacular displays and a great deal easier to photograph than a Solar Eclipse, not to mention more frequent too. During a Lunar Eclipse, the Earth gets in the way of the Sun and Moon, casting its shadow over the Moon’s surface. As more of the shadow crosses the Moon, you’ll notice this area is not completely dark, but dimly illuminated by red light which has passed through our atmosphere.
In the following video tutorial I’ll show you everything you need to know about photographing a Lunar Eclipse, although if you prefer to read a written version, keep scrolling!
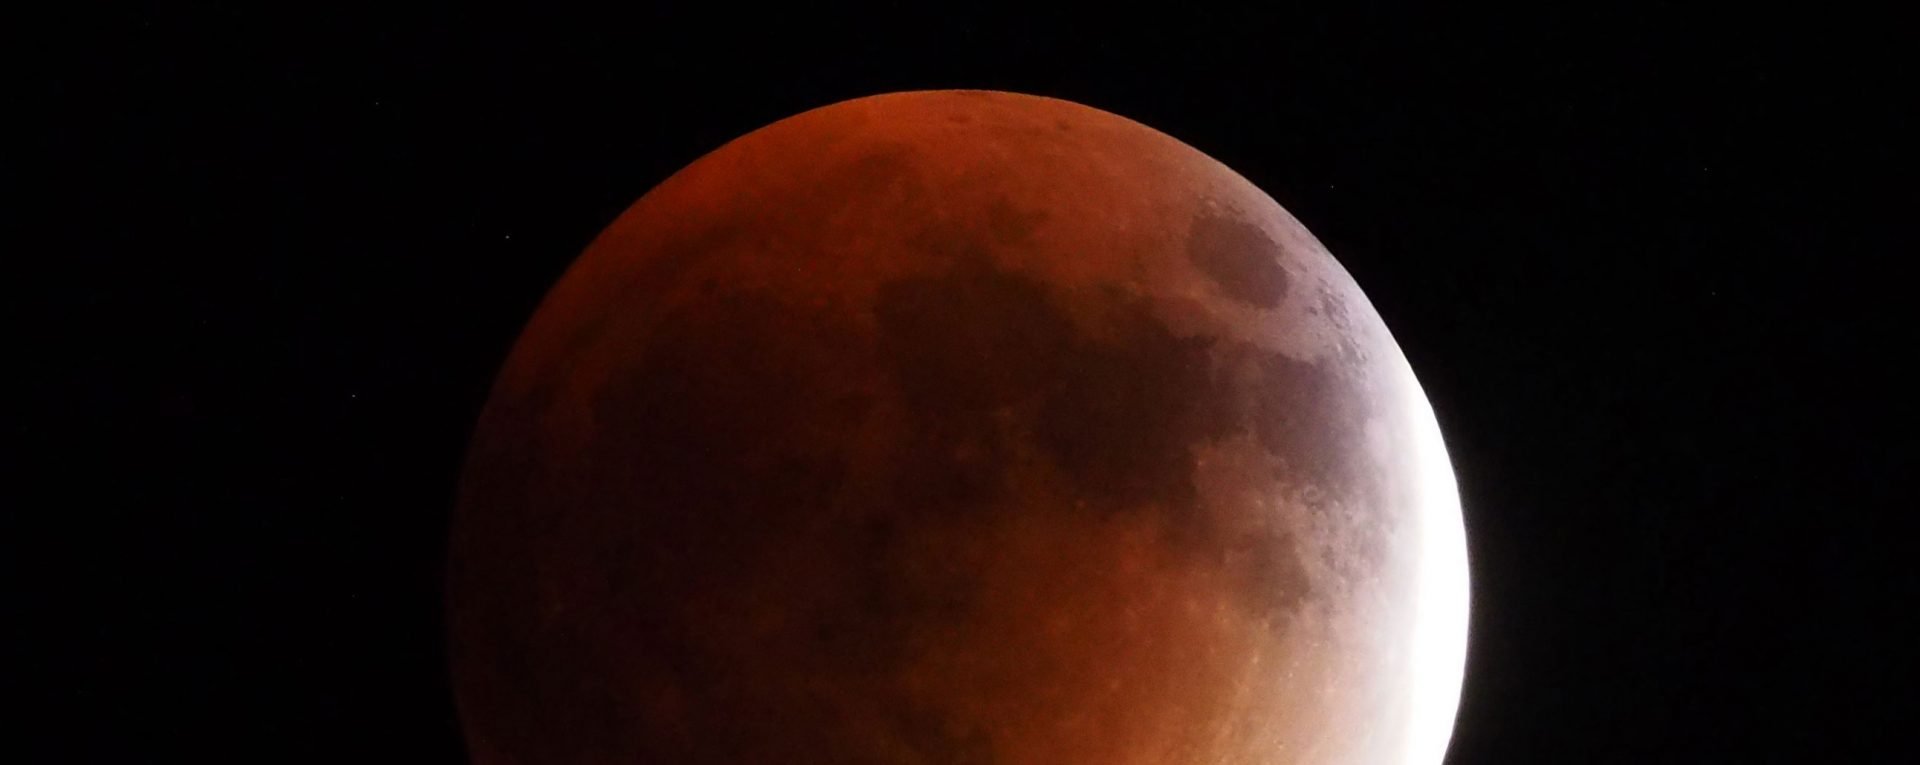
Above: Lunar Eclipse just before totality. 1080mm equivalent focal length. Uncropped image.
My favourite part of a Lunar Eclipse occurs a minute or two before or after Totality when you can expose for this dark shadowy area, revealing the dull red colour, while grossly overexposing the sliver that’s still illuminated by the Sun. That’s what I did for the image above during the Total Lunar Eclipse of September 28 2015. I used an Olympus OMD EM1 mounted on my Televue Genesis SDF telescope – using it as a 540mm f5.4 telephoto lens. The two-times field reduction of the EM1’s sensor effectively doubled the focal length to 1080mm and the image here you see is uncropped. You can of course shoot it with a shorter lens, such as a 70-300mm zoom, then crop the image for a closer-look. Or you could go deliberately wide and incorporate some of the landscape or an attractive building. For me this is where the real creativity lies, so always see if you can incorporate a building or natural element in your composition, like the eclipsed Moon rising over a mountain or alongside a famous tower. Mobile apps which exploit Augmented Reality to preview the position of the Moon in an actual scene are invaluable – I use Sun Surveyor for Android.

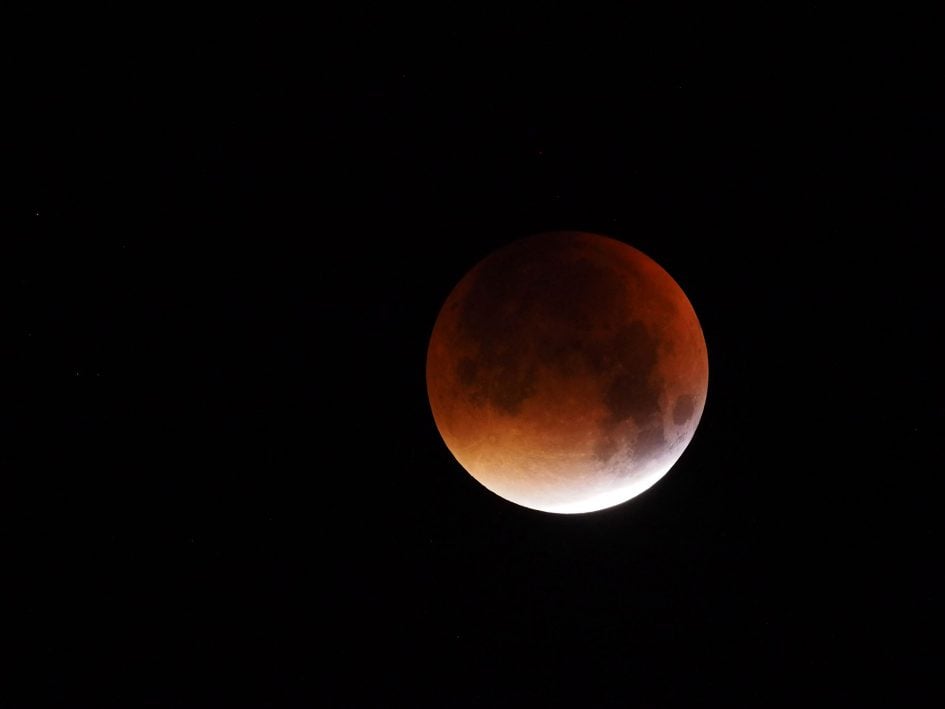
Above: Totality in Brighton, UK, January 21st 2019. Sony A6400 and FE 70-200mm at 200mm (300mm equiv), uncropped. 1 sec, f5.6, 800 ISO.
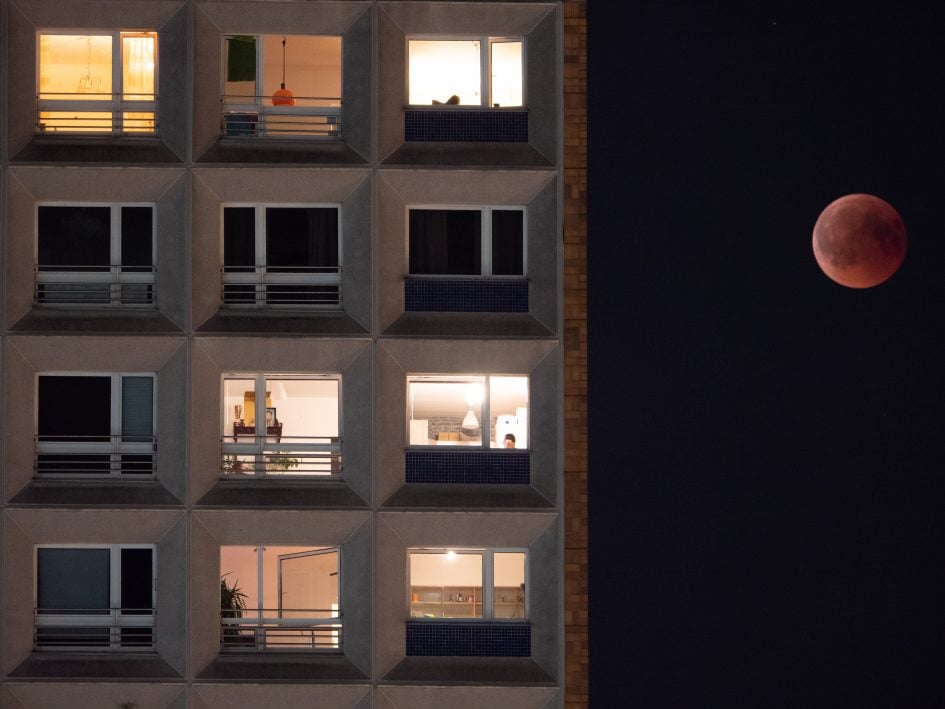
Above: Totality in Berlin, Germany, July 27th 2018. Lumix G9 and Leica 50-200mm at 200mm (400mm equiv), uncropped. 0.8secs, f5, 800 ISO.
Whatever lens you use, it’s best to pre-focus on the Moon, confirming with magnified assistance, then switch to manual focus to prevent any accidental searching. I’d also suggest setting the White Balance to Daylight.
Now for exposure. The Moon will go through a huge range of brightness during a Total Eclipse, starting-off bright and full before gradually darkening and becoming very dim during totality. During the early phases where only a small notch has been taken out the side, I’d recommend shutter speeds of around 1/60 to 1/250 at 100 ISO and f5.6. As always, this is a starting point. Playback your images and adjust as required. Bear in mind the Moon is much brighter than it looks so ignore your camera’s suggested settings or you’ll end up with a horribly over-exposed featureless white circle.
As more of the Moon is covered in shadow, it will become much darker. In the moments before or following totality, such as in my shot here, you’ll need to increase the sensitivity to 800-3200 ISO and use exposures of around half a second at f5.6. Again it’s a starting point. If the image is too bright, try a quicker shutter and lower ISO or vice versa. Suffice it to say at this point you should definitely be using a tripod with either a cable release or the self timer to avoid wobbling the camera as you take the shot.
During totality you may need exposures of one or even two seconds even at 3200 ISO, and if you’re using a longer lens, the effect of the Earth’s rotation will begin to come into play. At 500mm, the Moon will visibly move a little during a one second exposure, causing some motion blur. Unless you have a tracking mount, your only option to avoid this is to keep exposures to less than a second or two and simply bump up the ISO until you get the desired brightness. If the Moon is very low in the sky and close to the horizon, it will also be dimmer than normal and potentially a little distorted too due to atmospheric effects.
Oh, and how do you know when and where the next eclipse will take place? Easy! Head to MrEclipse, the website of NASA’s Eclipse expert Fred Espinak.
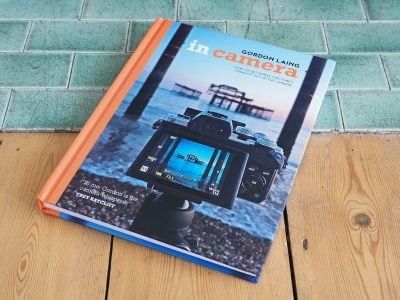
These tips are an excerpt from my photography book, In Camera, which features the stories and techniques behind 100 of my favourite photos, all JPEGs, all In Camera! If you found this article useful, treat yourself to a copy, spend less time post processing and support Cameralabs all in one go, thanks!
Check prices at Amazon, B&H, Adorama, eBay or Wex. Alternatively get yourself a copy of my In Camera book, an official Cameralabs T-shirt or mug, or treat me to a coffee! Thanks!