 The Lomomatic 110 is certainly a fun experience for anyone who wants to try out film photography, and is happy to trade the quality of 35mm for easier loading. It’ll also deliver a heady dose of nostalgia to anyone who shot the format in the 70s and 80s. The ultimate quality is obviously held back by the small format, but once you understand the limitations you can achieve some nice-looking vintage-styled images under the right conditions, and the glass lens can certainly deliver sharper results than budget models. But there’s no getting away from the camera’s price which turns it from a casual purchase into something less frivolous. This is a camera for someone who’s more invested in getting the best out of 110, which puts it in a slightly uncomfortable position. If you’re just after some affordable 110 fun, you could grab a basic vintage model from the Seventies for around a tenner on eBay or from many thrift shops, or if you’d like a new camera, Lomography’s own Diana Baby can be had for around £35. Conversely if you want more control, there’s a bunch of higher-end vintage 110 cameras you could bid on or look for in garage sales which can still work out cheaper. As the sole producer of 110 film though, Lomography wins regardless. They don’t mind if you’re shooting on true vintage or a modern solution. So even if the Lomomatic 110 isn’t right for you, there will be an alternative film camera out there with your name on it.
Lomography Lomomatic 110 review
-
-
Written by Gordon Laing
The Lomomatic 110 from Lomography is a new pocket-sized camera that takes 110 film cartridges. Yes, 110 film, the often forgotten format, invented by Kodak in 1972, briefly popular during the following decade, then mostly abandoned by the late Eighties for the more established and better quality 35mm.
But 110 actually had a lot going for it: easier to load, possible to swap mid-roll by only sacrificing one frame, and no need to rewind when you’re done. Sure the negatives were roughly one-quarter the size of 35mm, but that meant smaller cameras, and besides, who doesn’t love a bit of grain, right?
I know I did: back in the late Seventies, my very first camera was a Hanimex which took 110 film. This is the format that launched my passion for photography, so when Lomography announced their new Lomomatic 110, I took it for a nostalgic walk down memory lane. You can see how I got on in the video below, or keep scrolling for the written highlights.
Lomography fans will know the company has become the soul saviour of the 110 format since 2011, exclusively producing a variety of films for new and old 110 cameras, not to mention creating new cameras of their own.
You’re looking at about $8 or pounds for a 24 exposure roll of their most affordable 110 colour negative film, but they also sell black and white and colour options with various tints.
The Lomomatic 110 is their latest 110 camera, launched in March 2024 and costing around 100 to 150 dollars or pounds depending on the finish and whether it includes the detachable flash accessory.
It’s pitched as an advanced model, with a glass lens, two aperture settings, the chance to take multiple or bulb exposures, and supporting a removable flash accessory.
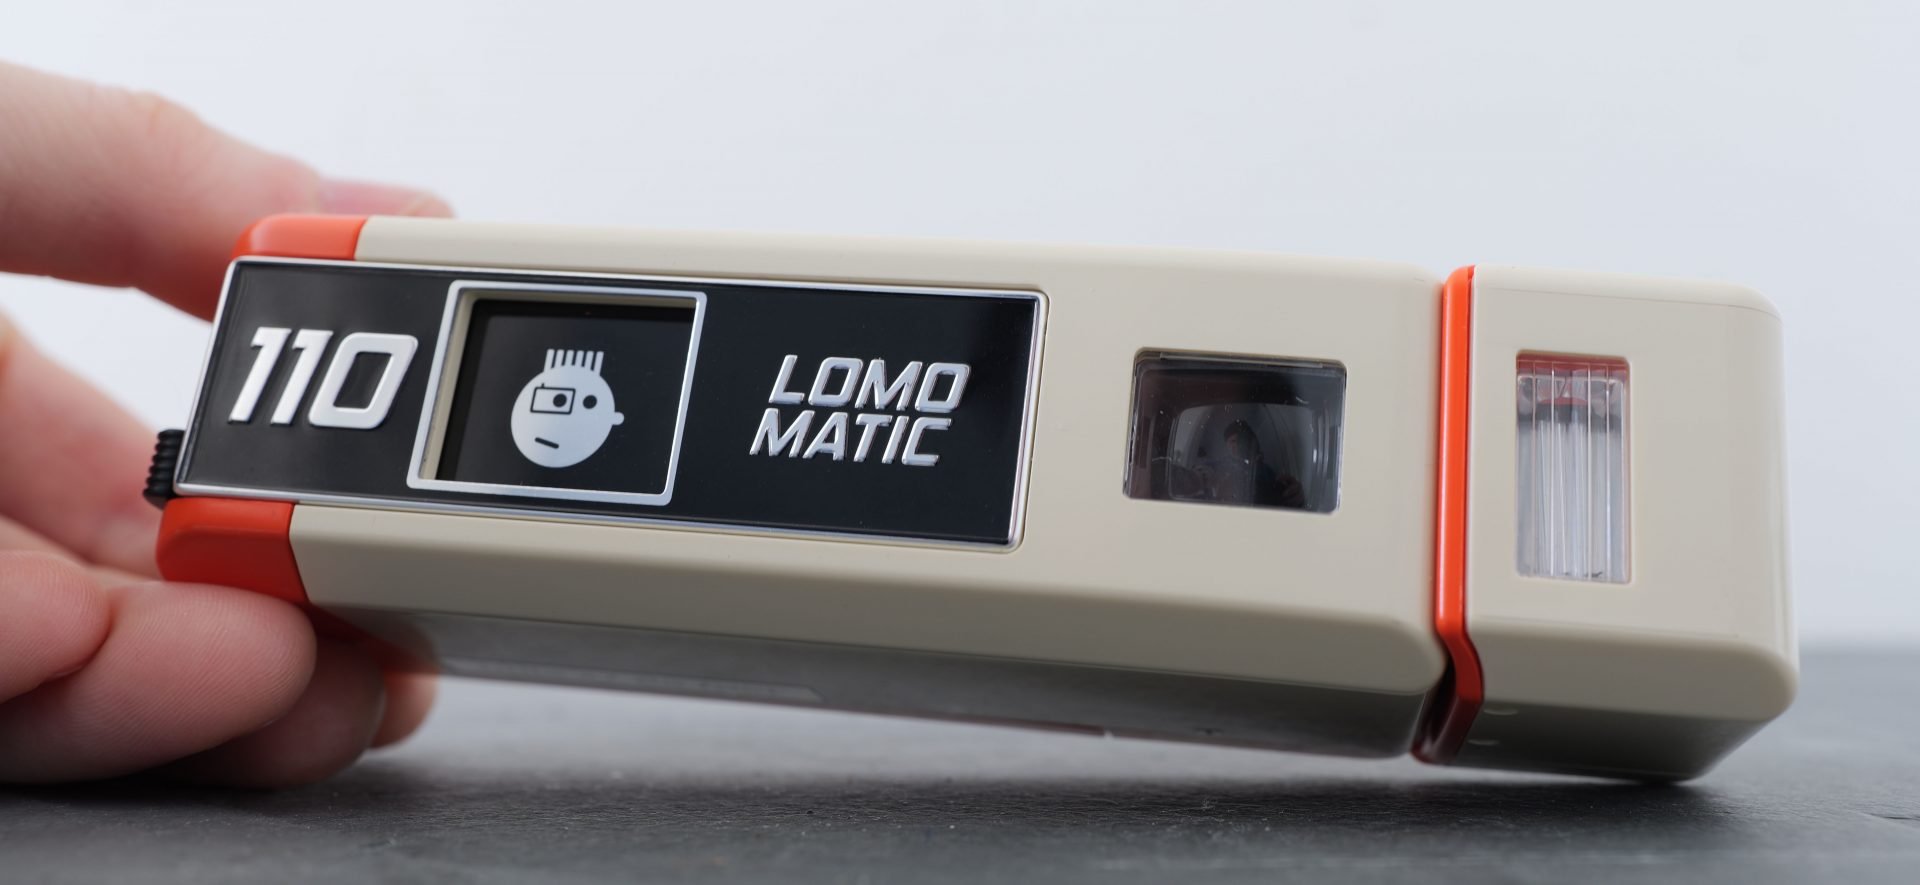
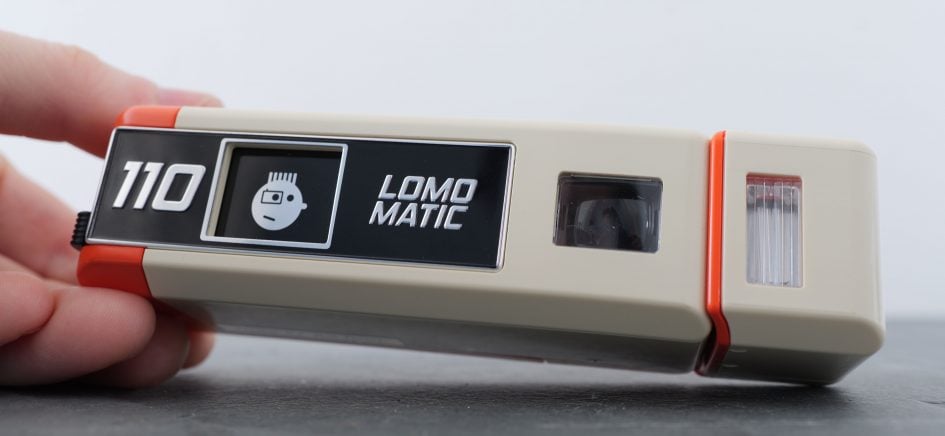
It may be a new camera, but unapologetically retro-styled like a vintage Kodak Instamatic. Lomography sent me the light beige version with orange highlights to live out my Seventies fantasy.
Measuring 112x35x44mm for the main body, it’s more square-shaped from the end than the typically deeper original 110 cameras, kinda like how you remember Mars Bars being before they shrunk, or, you grew up. Weighing 113g with battery but no film, it’ll easily slip into a pocket.
The camera’s powered by a single CR2 battery which fits into a compartment on the right side, but beyond this there’s no apparent controls beyond an unlabelled black lever, nor any obvious means to access the film compartment or compose a shot.
But fear not: grip the far right side and you can pull the body open with a satisfying ratchet sound to reveal everything you need.
From the front the lens becomes visible and from the rear you can now peer through the optical viewfinder to compose your shot. Meanwhile labeling alongside the black lever at the end lets you manually set the focus distance to 0.8m, 1.5m, 3m or infinity.
A panel on the top unveils the rectangular shutter release, along with two tiny buttons to adjust the film sensitivity between 100 and 400 ISO, or set the Bulb mode for exposures up to 30 seconds while you keep the shutter held down.
On the opposite side underneath the camera is a switch for Night or Day, which basically sets the lens aperture to f2.8 or f5.6 respectively. Below this is an MX switch which allows you to make multiple exposures by re-cocking the shutter mechanism as many times as you like without winding the film on.
Speaking of the film, extending the camera also reveals a switch to open the main compartment. To load the film, simply insert the cartridge, with no need to pull-out a strip as you would with 35mm.
To wind the film on, push the camera closed and pull it open again, repeating until frame-one is indicated in the window on the back. You’re then ready to shoot by pushing the silver release button on the top. To advance the film to the next frame, push the camera closed.
I found the mechanism didn’t always grab the sprocket on the film, so you may need to repeat the open and close motion a couple of times until the film advances and the next frame number is shown through the window in the back.
The glass lens is described as a Minitar 23mm, and when comparing the field of view to a 35mm or full-frame camera, I found it delivered roughly 50mm or standard coverage. Unlike some vintage 110 cameras, there’s no lever to switch to a different focal length.
Beyond the Bulb option, the shutter speed is fully automatic, based on the aperture and ISO settings, and available light. In theory, the Night and Day switch could give you some control over depth of field, while deliberately setting the ISO value too high or low could act as exposure compensation, but I’d consider the Lomomatic 110 a mostly automatic experience.
Lomography also supplies some bundles with a flash accessory that screws into the end of the main body. This is powered by the camera’s battery and lets you set it to off, fill or always on. There’s also a small slot into which you can slide coloured filters for different flash effects.
To see what it could do, I ran a few of Lomography’s own Colour Tiger 200 ISO cartridges through it on the streets of Brighton under a variety of conditions.
I had my films processed by my local lab, ColourStream, who charged £12 for developing and a set of postcard sized prints. I chose a matt finish for that vintage 70’s look.
Note the common 6x4in print is a little wider than a frame of 110, so choosing it at your lab will result in cropping a bit from the top and bottom. So if your lab can do it, ask for a slightly squarer shape, like 6×4.5in. Extra bonus points to ColourStream for exactly matching the 110 shape by dialing-in a custom 6×4.4in size. It’s always worth asking.
110 is a small format, so happiest under bright sunny conditions. With the Sun facing the subject and the focus set correctly, the Lomomatic 110 could certainly capture well-exposed images with crisp details, and just enough grain visible for an attractive vintage look. These are definitely more detailed than the 110 photos I remember from my childhood.
I found the basic optical viewfinder did a fair job at matching the coverage I captured, at least for more distant subjects. As you get closer, you may experience some parallax errors where your framing will become less accurate.
Also remember if you’re printing 6x4in, you will be cropping the top and bottom, so compose appropriately, or again ask your lab for a shape that better matches 110 film.
It’s easy to fool the metering though, with even mildly backlit scenes often becoming underexposed in my test shots. Unless you actually want a silhouette, I’d consider setting the ISO to a lower value than the film to force the camera into an over-exposure. If you’re using 200 ISO film, setting the camera to 100 should effectively double the brightness if desired.
You’ll also need to be careful to set the appropriate focusing distance on the lens, and appreciate that the minimum of 0.8m may still be too far for some subjects.
It’s been a while since I’d tried multiple exposures with film, so ended up with over-exposed results. Since you’re adding more light with each exposure, aim for dimmer subjects or deliberately under-exposing them by increasing the camera’s ISO setting. I also tried a bit of light painting with my phone’s torch by using the Bulb mode in a darkened room. Your mileage may vary!
It’s also important to remember the limitations of 110, especially at lower sensitivities of 200 ISO. As the conditions get dimmer, the camera will happily set a slower shutter speed for the correct exposure, but these can quickly become too slow to handhold without shake.
The flash can also be harsh at close range, so again consider using it with a higher ISO value to under-expose, or slide in a filter. Or simply take the shot from a little further away.
Lomography Lomomatic 110 verdict
The Lomomatic 110 is certainly a fun experience for anyone who wants to try out film photography, and is happy to trade the quality of 35mm for easier loading. It’ll also deliver a heady dose of nostalgia to anyone who shot the format in the 70s and 80s. The ultimate quality is obviously held back by the small format, but once you understand the limitations you can achieve some nice-looking vintage-styled images under the right conditions, and the glass lens can certainly deliver sharper results than budget models.
But there’s no getting away from the camera’s price which turns it from a casual purchase into something less frivolous. This is a camera for someone who’s more invested in getting the best out of 110, which puts it in a slightly uncomfortable position.
If you’re just after some affordable 110 fun, you could grab a basic vintage model from the Seventies for around a tenner on eBay or from many thrift shops, or if you’d like a new camera, Lomography’s own Diana Baby can be had for around £35. Conversely if you want more control, there’s a bunch of higher-end vintage 110 cameras you could bid on or look for in garage sales which can still work out cheaper.
As the sole producer of 110 film though, Lomography wins regardless. They don’t mind if you’re shooting on true vintage or a modern solution. Personally I love that companies like Lomography are keeping these formats alive, breathing new life into vintage cameras or offering options to those who’d prefer a new model. So even if the Lomomatic 110 isn’t right for you, there will be an alternative film camera out there with your name on it.
Check prices at Amazon, B&H, Adorama, eBay or Wex. Alternatively get yourself a copy of my In Camera book, an official Cameralabs T-shirt or mug, or treat me to a coffee! Thanks!


