How to photograph fireworks
-
-
Written by Gordon Laing
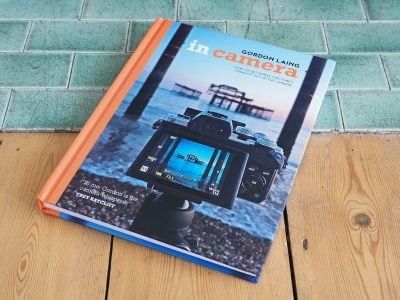
Fireworks photography is very much like home baking with strict rules for the best results. In this video and article I’d like to share my basic recipe to get you started. I used it for all the photos you see on this page. For more detailed instructions, including specifics on capturing Disney’s Epcot and Magic Kingdom displays, check out my In Camera book! Buy a copy of In Camera by Gordon Laing at Amazon. Thanks!
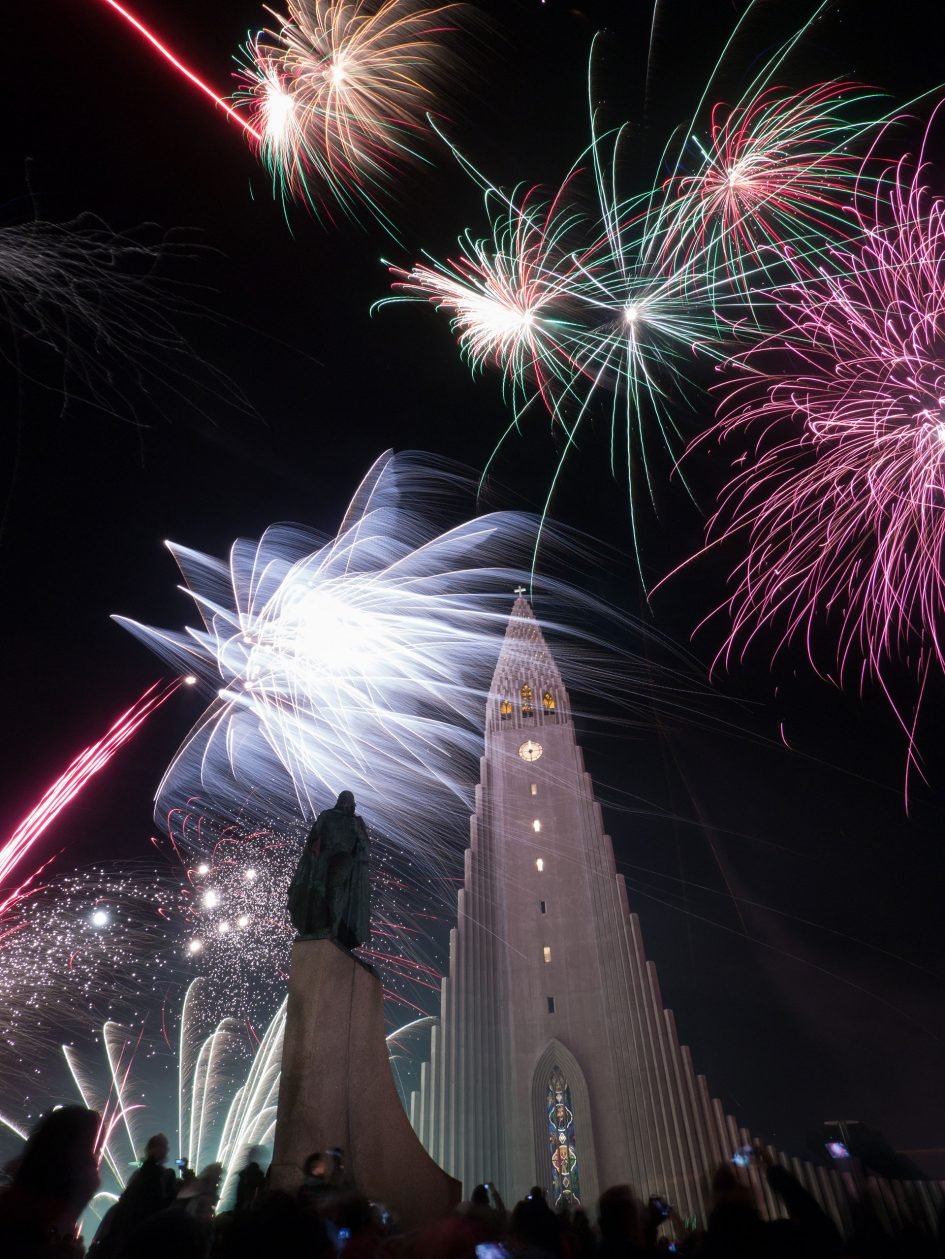
Above: New Year in Reykjavik, Iceland. Lumix GX1 and 7-14mm, 6 seconds, f14, 160 ISO
Step1: Find a good spot with an unobstructed view of the sky where the action will take place, and preferably where you can avoid knocks and bumps from passers-by. Try to find out where the rockets will launch from – if it’s a show over water, look out for anchored boats and potential reflections.
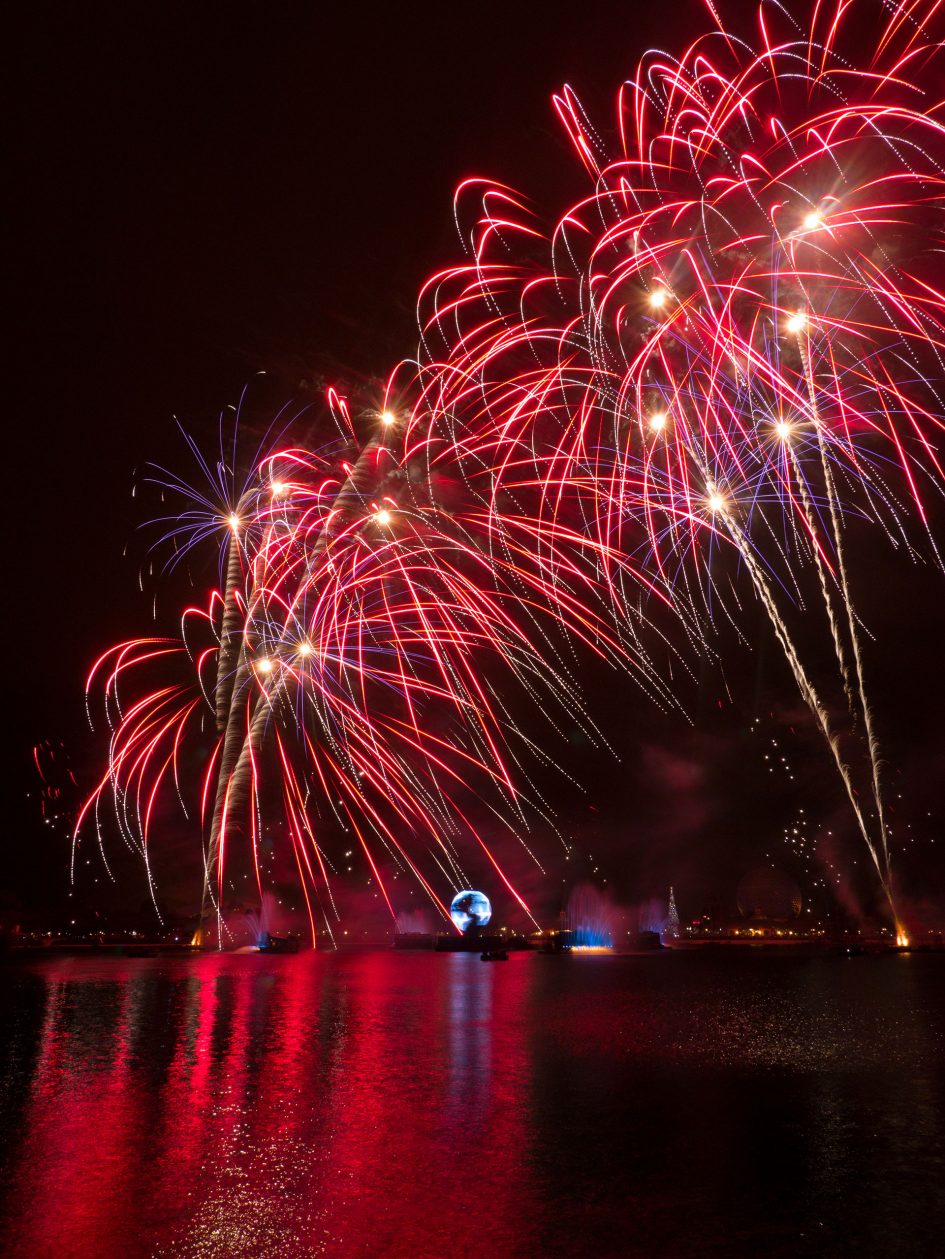
Above: Fireworks over Epcot Lake, DisneyWorld. Lumix GX1, 7-14mm, 4 seconds, f11, 160 ISO
Step 2: Unless you want lots of shaky trails, you will need a tripod. Set it up and frame your shot if you have an idea where the fireworks are going to explode, incorporating any foreground subjects if desired. I always feel the best fireworks images include some local scenery to give them some context. You can always readjust during the display.
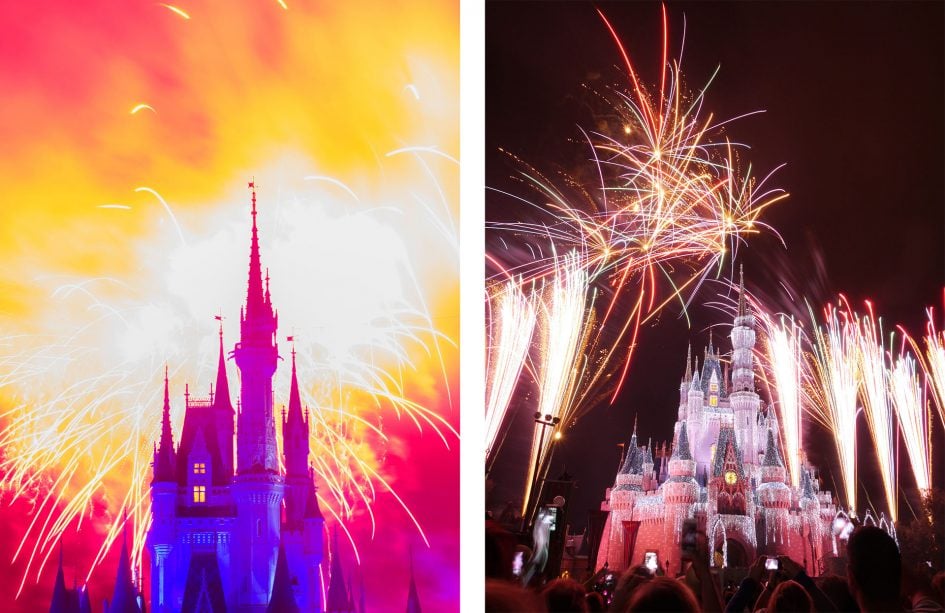
Above: Fireworks at Magic Kingdom, DisneyWorld. Lumix GX1, 7-14mm. Left, 4 secs f8, Right: 5 secs f13.
Step 3: Most cameras won’t stand a chance at autofocusing on fireworks, so manually focus your lens on a distant subject before the show begins and try not to touch the focusing from this point; owners of mirrorless cameras beware that when their camera powers-down or goes to sleep, it might reset the focus, so either disable this option or keep it awake during the show with half-presses of the shutter release.
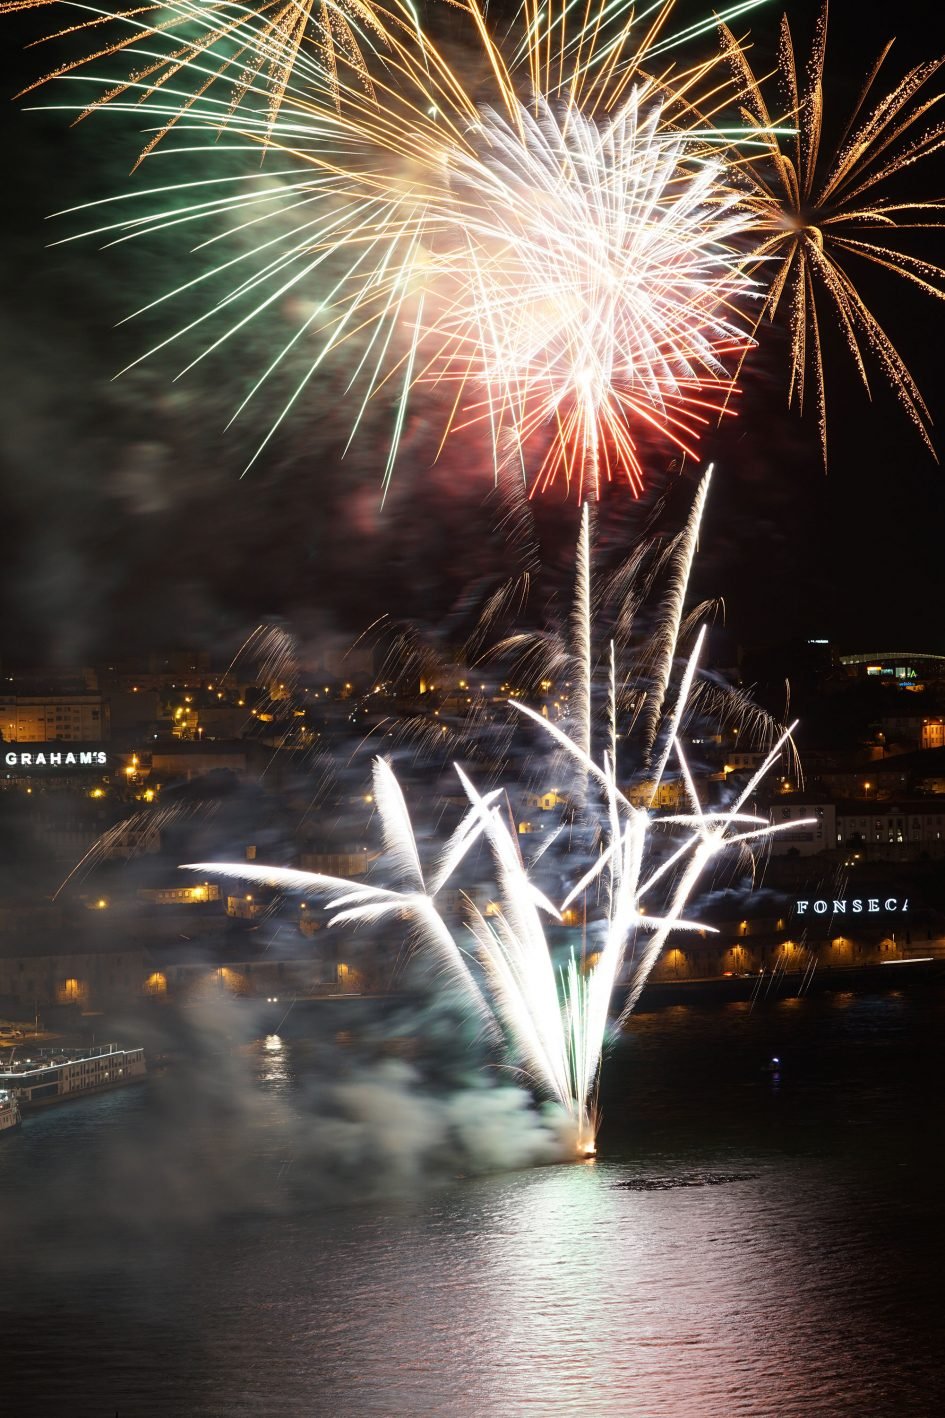
Above: Fireworks over River Duoro, Porto. Sony A6000, 70-200mm, 1.3 seconds, f8, 200 ISO
Step 4: The combination of dark skies and bright explosions presents a challenge to auto exposure systems, so put your camera into Manual exposure mode instead. I start off with the following settings, then refine during the show as desired. First, set the sensitivity to the minimum ISO value (typically 100 or 200 ISO). Next adjust the lens aperture to f8, then set the shutter speed to four seconds. As the show progresses, playback your first images and see if the brightness and length of the trails are looking as desired. To adjust the brightness, adjust the aperture: larger f-numbers close the aperture and make the trails darker, while smaller f-numbers open the aperture and make the trails brighter. Meanwhile the shutter speed impacts the actual length of the trails, with longer or shorter shutter speeds lengthening or shrinking the trails respectively. Easy.
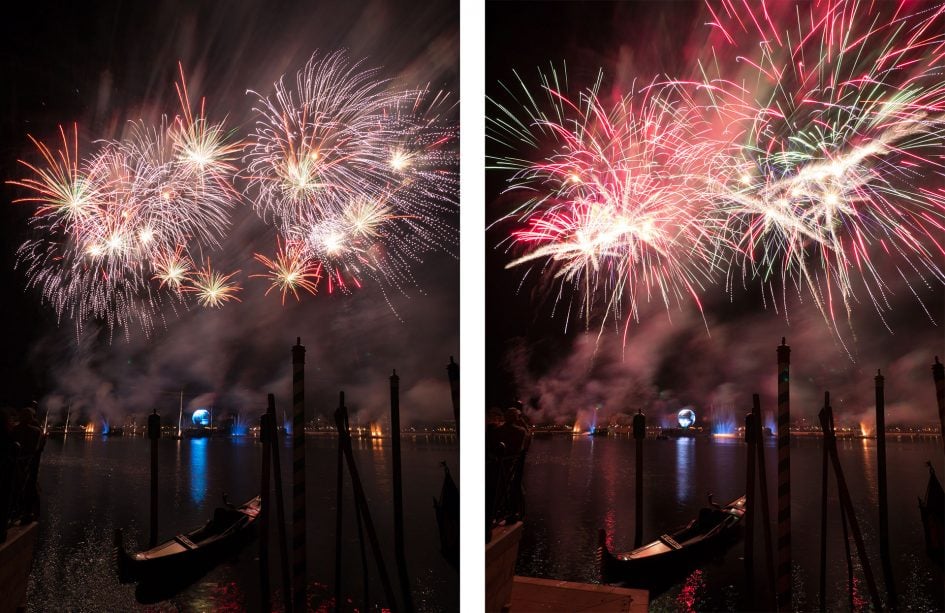
Above: Fireworks over Epcot Lake, DisneyWorld. Lumix GX1, 7-14mm, 4 seconds, f9, 160 ISO
Step 5: When the action kicks-off, trigger the shutter with a cable release or two-second self-timer when you hear the rockets being launched, and hopefully they’ll explode in your frame while the shutter is open. Then refine and repeat.
Quick tip: Most cameras automatically apply ‘Long Exposure Noise Reduction’ for exposures of one second or longer. This takes an additional exposure lasting the same length as the first one, but without any image data; the idea being this ‘dark-frame’ can then be used to subtract any electronic noise from the first. It can be an effective technique at reducing noise, especially on smaller format cameras, but obviously delays when you can take your next shot. This can become particularly frustrating for longer exposures and or when a show finale is taking place. As such most firework photographers disable Long Exposure Noise Reduction so their camera never misses a moment. You’ll find the option in your camera menus.
Sounds simple right? In some respects it really is. Obviously as the show progresses you may wish to recompose your shot, and you will also almost certainly need to make some exposure adjustments too – this is easy though, just remember if you want brighter trails, open the aperture, using a smaller f-number. For darker trails which retain their colour, close the aperture with a bigger f-number. And if you want longer trails, use a longer shutter speed. If you want shorter trails, use a shorter shutter speed. Happy shooting!
Check prices at Amazon, B&H, Adorama, eBay or Wex. Alternatively get yourself a copy of my In Camera book, an official Cameralabs T-shirt or mug, or treat me to a coffee! Thanks!