Canon EOS Rebel SL1 / 100D review
-
-
Written by Gordon Laing
Quality
Canon EOS SL1 100D Multi-shot Noise Reduction
 Canon’s EOS SL1 / 100D inherits the composite shooting options of the EOS T4i / 650D and EOS M to reduce noise levels. The Multi-shot Noise Reduction mode takes a leaf from Sony by not only combining multiple shots, but also letting you manually choose the ISO sensitivity. The earlier Handheld Night Shot preset, still available in the Scene menu of the SL1 / 100D, operated with auto ISO, often choosing a higher value than you’d want. Multi-shot Noise Reduction is selected from the High ISO Noise Reduction menu, but is greyed-out when the image quality is set to RAW or RAW+JPEG; this option is only available when the quality is set to JPEG alone. Once selected the camera operates as normal, letting you manually choose the sensitivity if desired. But when the shutter is triggered, the camera takes four consecutive shots and automatically combines them into one a few seconds later. To put it to the test I captured images for the entire sensitivity range for single frame JPEGs and those with Multi-shot Noise Reduction applied. Between 100 and 400 ISO I’d say there’s no benefit to using Multi-shot Noise Reduction, although at least there’s no evidence of the softening we saw in previous tests compared to the single frame versions. What is in common with earlier tests though is a difference in visible noise from 800 ISO and up. At 800 ISO the single frame JPEG has visible noise artefacts in flat areas which remain smooth on the version with Multi-shot Noise Reduction. Somewhere between 1600 and 3200 ISO, noise artefacts become apparent on the composite versions too, but less so than the single frames. This continues up to the maximum sensitivity but arguably with little more than a stop advantage over the single frame versions in noise levels. Like other composite modes, Multi-shot Noise Reduction isn’t creating new detail, but acts as a good smoother of noise without compromising detail in the frame. I’d say it’s worth using above 800 ISO for subjects which are static, but it’s shame it only applies to JPEGs. If you’re after the ultimate quality you may find it better to shoot a single RAW frame and use more sophisticated noise reduction in software later. Now let’s check out a selection of Canon EOS SL1 / 100D sample images taken with the new EF-S 18-55mm STM kit lens!
|
Canon EOS SL1 100D vs Panasonic Lumix G3 Quality RAW
|
Canon EOS SL1 / 100D RAW | Panasonic Lumix G3 RAW | |
 | ||
f5.6, 100 ISO | f5.6, 160 ISO | |
 |  | |
f5.6, 100 ISO | f5.6, 160 ISO | |
 |  | |
f5.6, 100 ISO | f5.6, 160 ISO | |
 |  | |
f5.6, 100 ISO | f5.6, 160 ISO |
Canon EOS SL1 100D vs Panasonic Lumix G3 Noise RAW
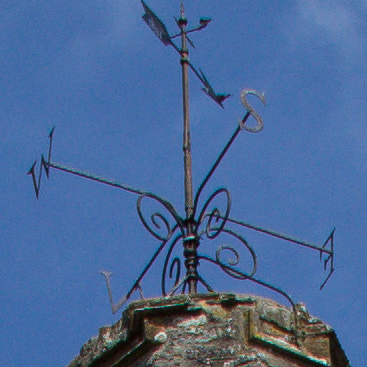
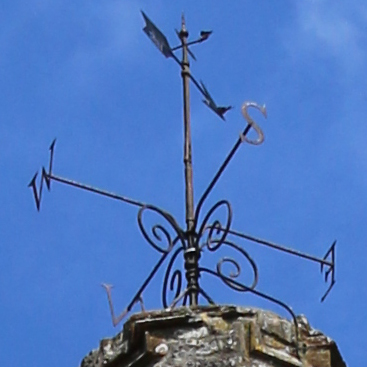
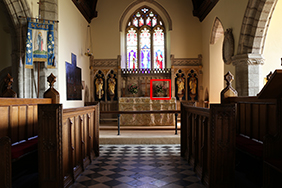
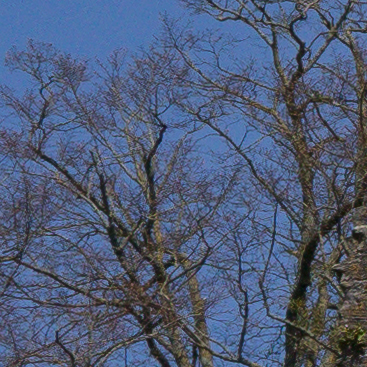
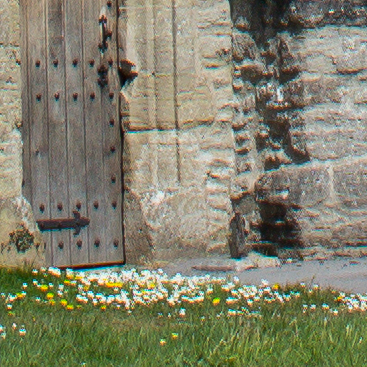
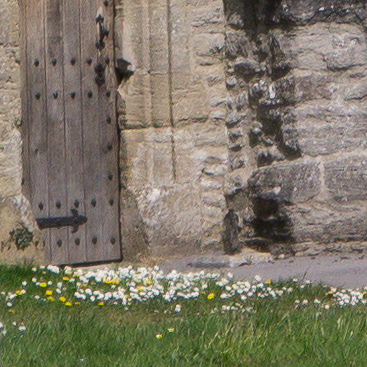
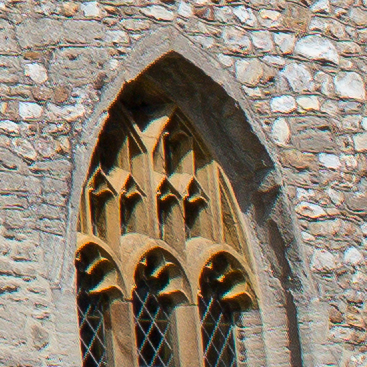
 To compare RAW noise levels under real-life conditions, I shot this scene with the Canon EOS SL1 / 100D and the Panasonic Lumix G3, within a few moments of each other using their RAW modes at each of their ISO sensitivity settings; my Multi-Shot Noise Reduction results are on the next page. I plan to repeat this test with the Lumix G6 when it becomes available. The Canon EOS SL1 / 100D was fitted with the Canon EF-S 18-55mm f3.5-5.6 STM kit lens and the Lumix G3 with the Lumix G 14-42mm f3.5-5.6 kit lens. Both lenses were adjusted to deliver the same picture height as seen opposite. The narrower 4:3 aspect ratio of the Lumix G3 meant small strips were cropped from either side of the composition compared to the Canon. The image above was taken with the Canon EOS SL1 / 100D. The camera was set to f5.6 in Aperture priority mode and the sensitivity to 100 ISO; I’d previously confirmed that f5.6 delivered the sharpest result with the new EF-S 18-55mm STM kit lens. I used the same aperture for the Lumix G3, again having pre-determined this to deliver the best results. I processed all files in Adobe Camera RAW using identical settings: Sharpening at 70 / 0.5 / 36 / 10, Luminance and Colour Noise Reduction both set to zero, the White Balance set to 3800K and the Process to 2012 with the Adobe Standard profile. These settings were chosen to reveal the differences in sensor quality and isolate them from in-camera processing. The high degree of sharpening with a small radius enhances the finest details without causing undesirable artefacts, while the zero noise reduction unveils what’s really going on behind the scenes – as such the visible noise levels at higher ISOs will be much greater than you’re used to seeing in many comparisons, but again it’s an approach that’s designed to show the actual detail that’s being recorded before you start work on processing and cleaning it up if desired. The Canon features 18 Megapixels across a 3:2 aspect ratio frame, while the Panasonic features 16 Megapixels across a squarer 4:3 shaped frame. I adjusted their lenses to deliver the same picture height, so the Lumix G3 cropped a little from the sides of the Canon’s original coverage. As such, both cameras were sharing roughly the same pixel density across the area evaluated, and hence show similar magnification in the crops. Speaking of which, I took the same crop from each image, indicated by the red square in the photo above left and reproduced them at 100% below. One quick note before analyzing the results: both cameras metered the same exposures, but the Lumix G3 delivered slightly darker images as a result. So to match the brightness below I applied +0.3EV to a subsequent set of Lumix G3 exposures, but this in turn implies the Panasonic is approximately 0.3EV less sensitive at each ISO value. Looking at the crops below, you’ll notice a very faint sprinkling of noise at even the lowest sensitivities – this is normal when you turn the noise reduction off and turn the sharpening up. But in terms of real-life detail I’d say they’re pretty much neck-in-neck at the start of this test. As we saw on the JPEG comparison, the noise levels don’t change a great deal at 200 ISO, or indeed 400 ISO for that matter. At 800 and 1600 ISO you could arguably say the noise speckles are more defined on the Panasonic samples, but the actual degree of noise looks quite similar on both cameras. At 3200 ISO and above, the noise again looks a tad more defined on the Lumix G3 than the EOS SL1 / 100D, but it’s really close. Even with 0.3EV compensation applied, I reckon the Lumix G3 images are still a tad darker than those from the EOS SL1 / 100D, implying a sensitivity difference closer to 0.5EV in the favour of the Canon. But the slightly darker samples below from the Panasonic are perhaps responsible for the slightly more obvious noise speckles. I reckon there’s definitely a hint of greater chroma noise from the Panasonic, but again we’re talking about pixel-peeping here. I’d say from the results below there’s essentially no difference in the resolved detail and noise levels at the RAW level between the Canon EOS SL1 / 100D and the Panasonic Lumix G3, at least up to 3200 ISO. Most of the differences you see between them concern alternative processing strategies for in-camera JPEGs with Canon going for its usual punchier approach with higher contrast and sharpening by default. Before I wrap-up my results though I have one more page to share, demonstrating the Canon EOS SL1 / 100D Multi-shot Noise Reduction feature. Alternatively if you’ve seen enough, head on over to my extended Canon EOS SL1 / 100D sample images.
|
Canon EOS SL1 100D vs Panasonic Lumix G3 Quality
|
Canon EOS SL1 / 100D JPEG | Panasonic Lumix G3 JPEG | |
 | ||
f5.6, 100 ISO | f5.6, 160 ISO | |
 |  | |
f5.6, 100 ISO | f5.6, 160 ISO | |
 |  | |
f5.6, 100 ISO | f5.6, 160 ISO | |
 |  | |
f5.6, 100 ISO | f5.6, 160 ISO |
Canon EOS SL1 100D vs Panasonic Lumix G3 Noise
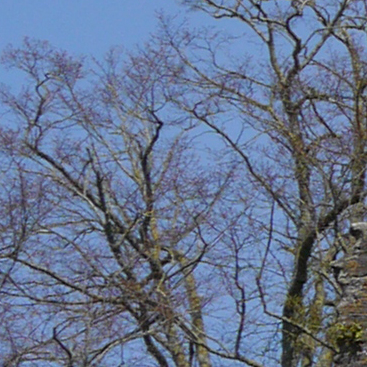
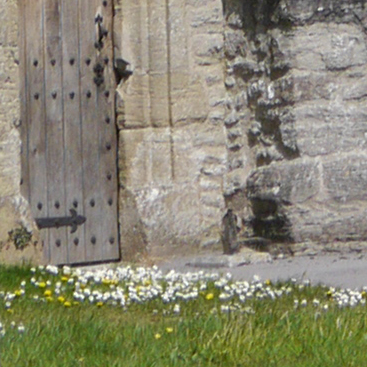
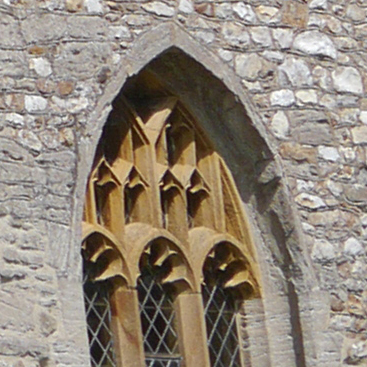
 To compare noise levels under real-life conditions, I shot this scene with the Canon EOS SL1 / 100D and the Panasonic Lumix G3, within a few moments of each other using their best quality JPEG settings at each of their ISO sensitivity settings; my RAW comparison is on the next page. I plan to repeat this test with the Lumix G6 when it becomes available. The Canon EOS SL1 / 100D was fitted with the Canon EF-S 18-55mm f3.5-5.6 STM kit lens and the Lumix G3 with the Lumix G 14-42mm f3.5-5.6 kit lens. Both lenses were adjusted to deliver the same picture height as seen opposite. The narrower 4:3 aspect ratio of the Lumix G3 meant small strips were cropped from either side of the composition compared to the Canon. The image above was taken with the Canon EOS SL1 / 100D. The camera was set to f5.6 in Aperture priority mode and the sensitivity to 100 ISO; I’d previously confirmed that f5.6 delivered the sharpest result with the new EF-S 18-55mm STM kit lens. I used the same aperture for the Lumix G3, again having pre-determined this to deliver the best results. I disabled Auto Lighting Optimiser and any other contrast enhancers as they can artificially increase noise levels; note I have a second comparison using RAW files on the next page. The Canon features 18 Megapixels across a 3:2 aspect ratio frame, while the Panasonic features 16 Megapixels across a squarer 4:3 shaped frame. I adjusted their lenses to deliver the same picture height, so the Lumix G3 cropped a little from the sides of the Canon’s original coverage. As such, both cameras were sharing roughly the same pixel density across the area evaluated, and hence show similar magnification in the crops. Speaking of which, I took the same crop from each image, indicated by the red square in the photo above left and reproduced them at 100% below. One quick note before analyzing the results: both cameras metered the same exposures, but the Lumix G3 delivered slightly darker images as a result. So to match the brightness below I applied +0.3EV to a subsequent set of Lumix G3 exposures, but this in turn implies the Panasonic is approximately 0.3EV less sensitive at each ISO value. Glancing at the crops below the most obvious difference is the white balance automatically selected by each camera, with the Canon delivering a much warmer-looking result under the same lighting conditions. You can of course manually set the White Balance in-camera, or indeed enter it manually when processing RAW files and that’s what I’ve done for my RAW results on the next page. You’ll also see the Canon crops are punchier than those from the Lumix G3 using their default settings. We saw on the previous pages that Canon prefers a punchier approach to processing for out-of-camera JPEGs, but it’s easy to match the style with another camera or vice versa if desired. So on this page you’ll need to try and look beyond their respective processing strategies to evaluate their performance. From their base sensitivities up to 200 ISO I’d say there’s little to choose between the two cameras. Both are displaying similar levels of detail and clean backgrounds with minimal noise artefacts. At 400 ISO pixel-peepers may notice a minor increase in noise on the Lumix G3 over the EOS SL1 / 100D, but it’s really nothing to worry about yet. From 800 ISO upwards, both cameras exhibit increasing noise artefacts, and while those from the Lumix G are slightly more obvious, it doesn’t take more than a second glance to spot them on the Canon too. I’d say the Canon enjoys an edge over the Panasonic at 800 ISO and above, but it really is a minor edge and much of the difference you see below is down to their respective processing strategies. So what happens when you lift this? Find out in my Canon EOS SL1 / 100D RAW noise results where I’ll process files from both cameras using the same settings to really see what’s happening.
|


