Canon EOS M review
-
-
Written by Ken McMahon
Quality
|
Canon EOS M |
Oympus PEN E-PL5 | |
 |  | |
f5.6, 100 ISO |
f5.6, 200 ISO | |
 |  | |
f5.6, 100 ISO |
f5.6, 200 ISO | |
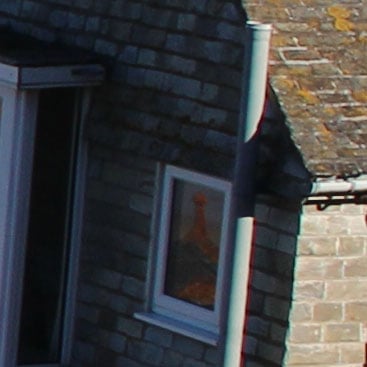 | 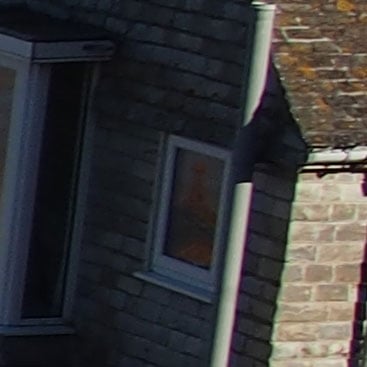 | |
f5.6, 100 ISO |
f5.6, 200 ISO | |
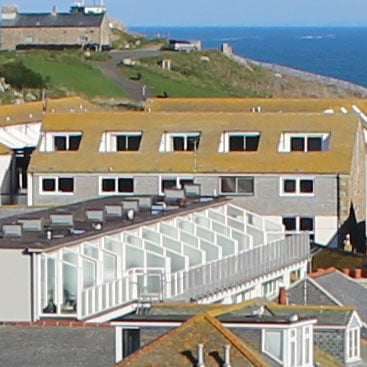 |  | |
f5.6, 100 ISO |
f5.6, 200 ISO |
Canon EOS M results : Quality / RAW vs JPEG / Noise / RAW Noise / Multi Shot NR
Canon EOS M RAW Quality
|
Canon EOS M |
Olympus PEN E-PL5 | |
 |  | |
f5.6, 100 ISO |
f5.6, 200 ISO | |
 |  | |
f5.6, 100 ISO |
f5.6, 200 ISO | |
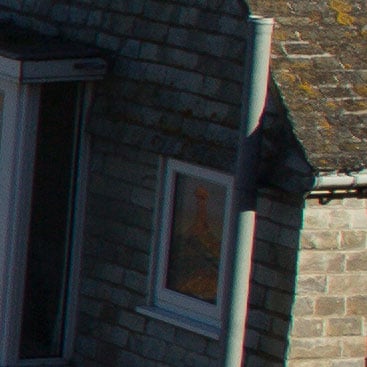 |  | |
f5.6, 100 ISO |
f5.6, 200 ISO | |
 |  | |
f5.6, 100 ISO |
f5.6, 200 ISO |
Canon EOS M results : Quality / RAW vs JPEG / Noise / RAW Noise / Multi Shot NR
Canon EOS M Noise RAW
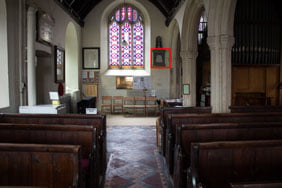
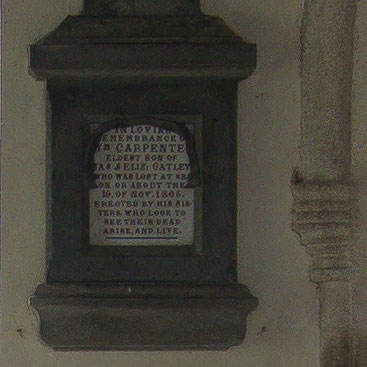
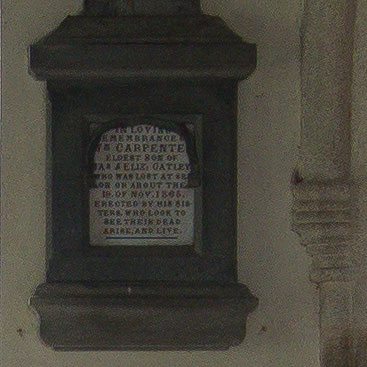
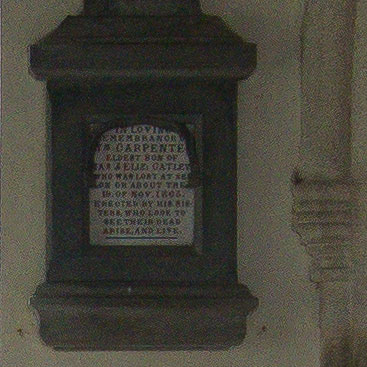
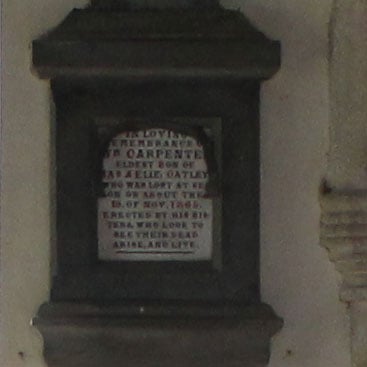
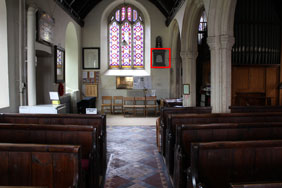
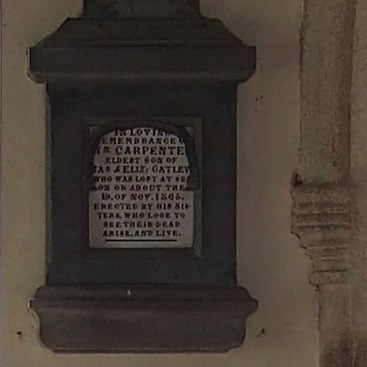
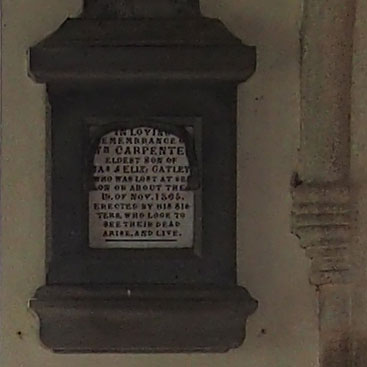
The image above was taken with the Canon EOS M. The camera was set to Aperture priority mode with the aperture set to f4 and the sensitivity was set to 100 ISO. The EOS M metered an exposure of 2 seconds at f4 and the Olympus PEN E-PL5 selected 1.3s at its base ISO sensitivity setting of 200. The file size was 5.59MB and, as always, the red square in the image above shows the cropped area, which is shown below at 1:1. I processed both sets of files in Adobe Camera RAW using identical settings: Sharpening at 70 / 0.5 / 36 / 10, Luminance and Colour Noise Reduction both set to zero, and the Process to 2012 with the Adobe Standard profile. To further reduce any distracting visual differences between the crops I also set custom white balance to 4500K and tint to 0.These settings were chosen to reveal the differences in sensor quality and isolate them from in-camera processing. The high degree of sharpening with a small radius enhances the finest details without causing undesirable artefacts, while the zero noise reduction unveils what’s really going on behind the scenes – as such the visible noise levels at higher ISOs will be much greater than you’re used to seeing in many of my comparisons, but again it’s an approach that’s designed to show the actual detail that’s being recorded before you start work on processing and cleaning it up if desired. Once again, these files processed in Adobe Camera RAW using the same settings reveal far more about the noise performance of these two sensors than the JPEG results alone. In the absence of the EOS M’s in-camera JPEG processing the results from the two cameras look much closer at the lower ISO sensitivity settings. The PEN E-PL5 crops look a tiny bit sharper, but there’s really very little to choose between them up to and including the 400 ISO crop. In the JPEG results, 800 ISO was where the EOS M took a definite downward turn and the crop from the RAW file gives a clue to the possible cause, there’s a lot more colour noise in this crop than the previous one and indeed from here on up the sensitivity scale colour noise appears to be more of a problem for the sensor in the EOS M than the PEN E-PL5. As with the outdoor RAW results, these RAW noise results confirm that it should be possible to squeeze a better quality result from the EOS M RAW files than shooting JPEGs, at least at the lower ISO sensitivity settings. But wait, there’s one more page of results, showcasing the Canon EOS M Multi Shot Noise Reduction mode. Alternatively head over to my Canon EOS M sample images to see some more real-life shots in a variety of conditions.
|
|
Canon EOS M Multi Shot Noise Reduction
The image above was taken with the Canon EOS M.The camera was placed on a tripod and the stabilisation was disabled, but otherwise the default settings were used. Canon introduced the new Multi Shot Noise Reduction feature on the Rebel T4i / EOS 650D and it’s good news that they’ve chosen also to include it on the EOS M. It takes a fast sequence of four shots and combines them to produce a single low-noise image. The crucial thing with Multi Shot Noise Reduction is that, unlike Handheld NightScene, the EOS M’s other low-light stacking mode, Multi shot noise reduction allows you to manually set the ISO sensitivity. The crops below show Multi shot noise reduction at each ISO setting compared with the single-shot equivalent. As you might expect, you don’t really begin to see any advantage from Multi Shot Noise Reduction until 800 ISO. At the lower sensitivity settings I’d definitely recommend you avoid it as it further softens detail in the EOS M’s already soft JPEGs and there’s really nothing to be gained from a composite at lower ISO sensitivities where the single shot quality is excellent. From 800 ISO upwards, though, there’s a clear quality benefit, probably in the region of one to two stops, to be gained from using Multi shot noise reduction. Now head over to my Canon EOS M sample images to see some more real-life shots in a variety of conditions.
|
|
Canon EOS M Noise
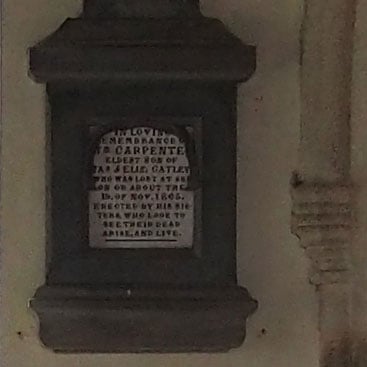
The image above was taken with the Canon EOS M.The camera was set to Aperture priority mode set to f4 and the sensitivity was set to 100 ISO. The EOS M metered an exposure of 2 seconds at f4 and the Olympus PEN E-PL5 selected 1.3s at its base ISO sensitivity setting of 200. The file size was 5.59MB and, as always, the red square in the image above shows the cropped area, which is shown below at 1:1. The EOS M 100 ISO crop suffers from the same softness as was evident in the outdoor quality test, but in terms of noise there’s little to find fault with. There’s no noticeable texture anywhere there shouldn’t be, from the light coloured wall to the dark wood of the memorial panel. At 200 and 400 ISO there is a small, barely perceptible increase in noise levels which you can just about make out as a slight graininess most visible in the panel with the text. This is a great start for the EOS M, you can use the sensitivity settings up to 400 ISO more or less interchangeably with little consequence for the quality. At 800 ISO there’s a marked deterioration though. It’s not so much that the noise is significantly worse as the processing is becoming intrusive with some smearing of the detail, again, most noticeable in the text panel. At 1600 ISO it’s a little worse despite the fact that the suppression isn’t working so well and the noise is more evident. Despite that, though, the 1600 ISO crop still looks pretty good and I’d have no hesitation making full sized prints from it. 3200 ISO is the point of no return where the noise is concerned, still ok for viewing at smaller sizes, but the 100 percent crop doesn’t look very pretty. On a more positive note, despite the predominance of noisy pixels and clumping, the larger detail looks okay and the edges are holding up well. They don’t start to break up until the next step up the range at 6400 ISO. But by now we really are into ‘must get the shot at any cost’ territory. Compared with the crops from the Olympus PEN E-PL5, the Canon EOS M crops look softer, but in terms of noise, there’s little to choose between them. The PEN E-PL5 doesn’t have a 100 ISO setting, but its 200 ISO crop compares favourably with the EOS M’s base 100 ISO crop as well as the equivalent 200 ISO one. At 400 ISO there’s arguably a more textured look to the E-PL5 crop, but I prefer that to the softness of the EOS M one. At 800 ISO the PEN has a clear edge, with cleaner detail and less noise, at 1600 ISO the detail is still there, but there’s a harshness to it and the edges are beginning to look a little clumpy. From there on up, to the 25,600 ISO setting neither looks particularly great. To sum up, the PEN-E-PL5 looks better in the low to mid ISO range, largely as a result of its more punchy JPEG processing and more successful noise reduction. But the EOS M also offers Multi Shot Noise reduction to produce better quality shots in the mid to high ISO range. You can see the results from that on my Canon EOS M Multi Shot Noise Reduction page. It’ also possible that, once you remove Canons in-camera JPEG processing from the equation, things could look different. To find out how much of a role processing plays in the noise quality in these crops take a look at my Canon EOS M RAW noise results page to see just how much noise is present behind the scenes. Or head over to my Canon EOS M sample images to see some more real-life shots in a variety of conditions.
|
|
