Canon EOS 1Dx III review
-
-
Written by Gordon Laing
Samples
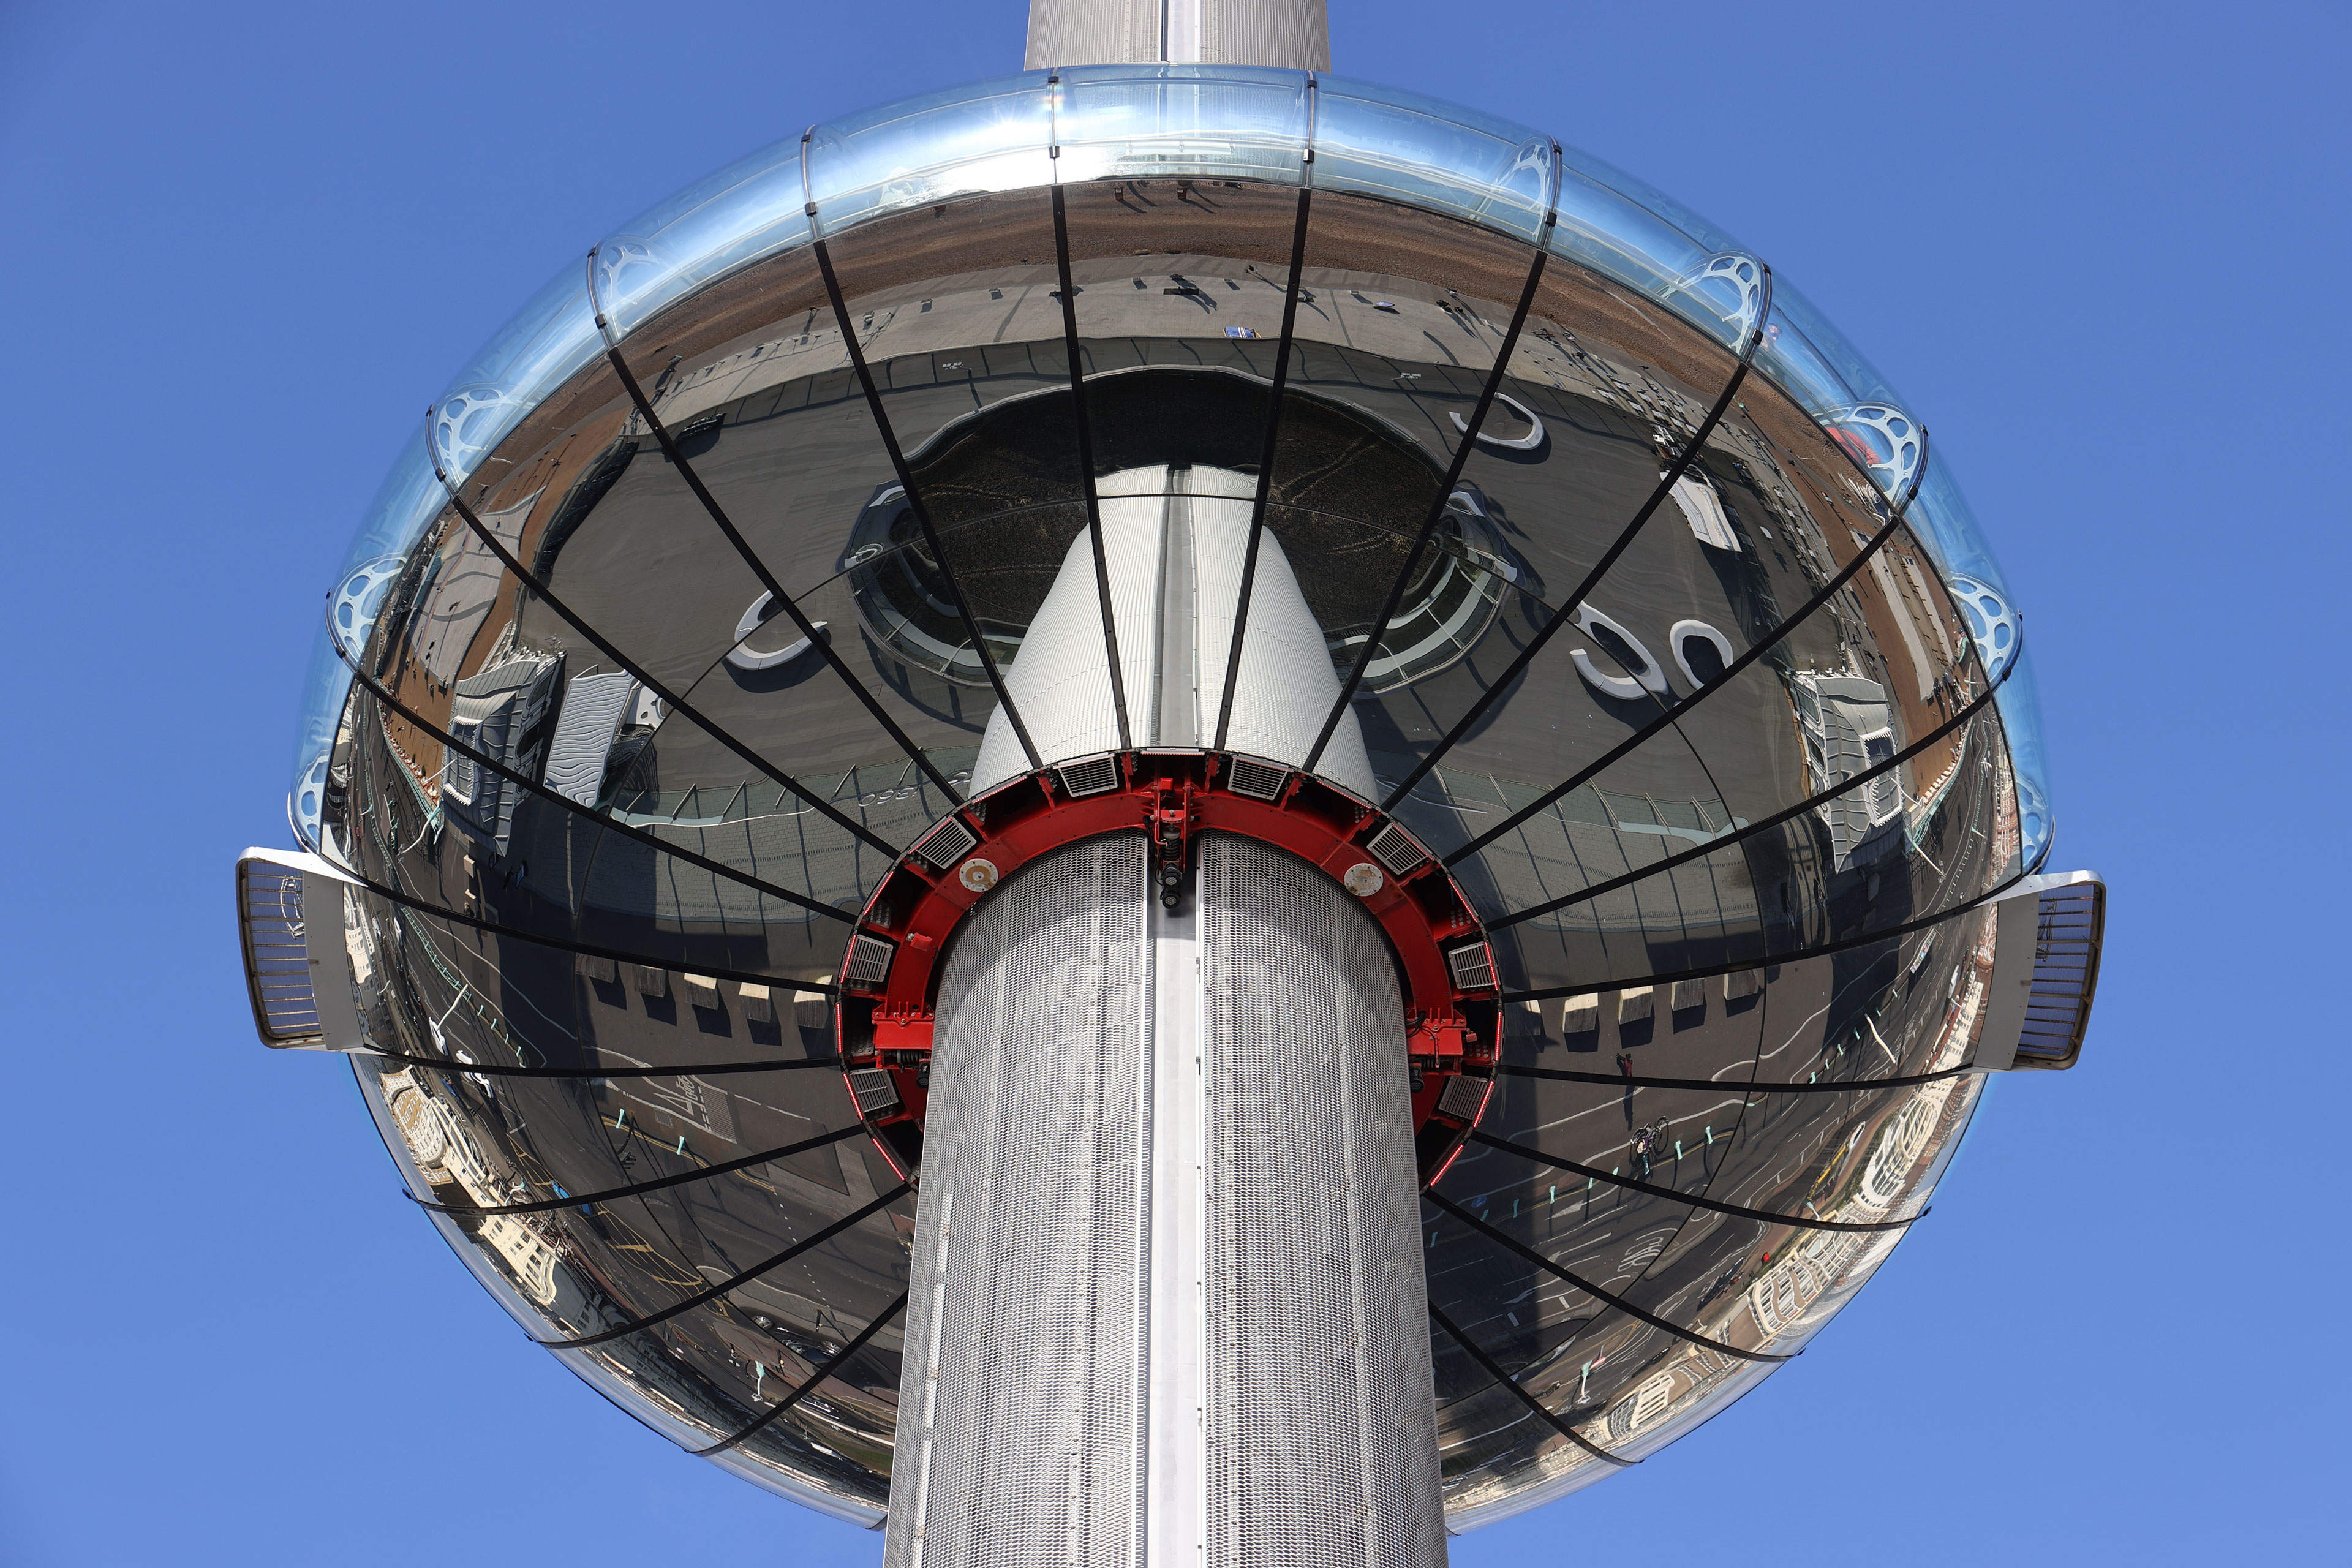
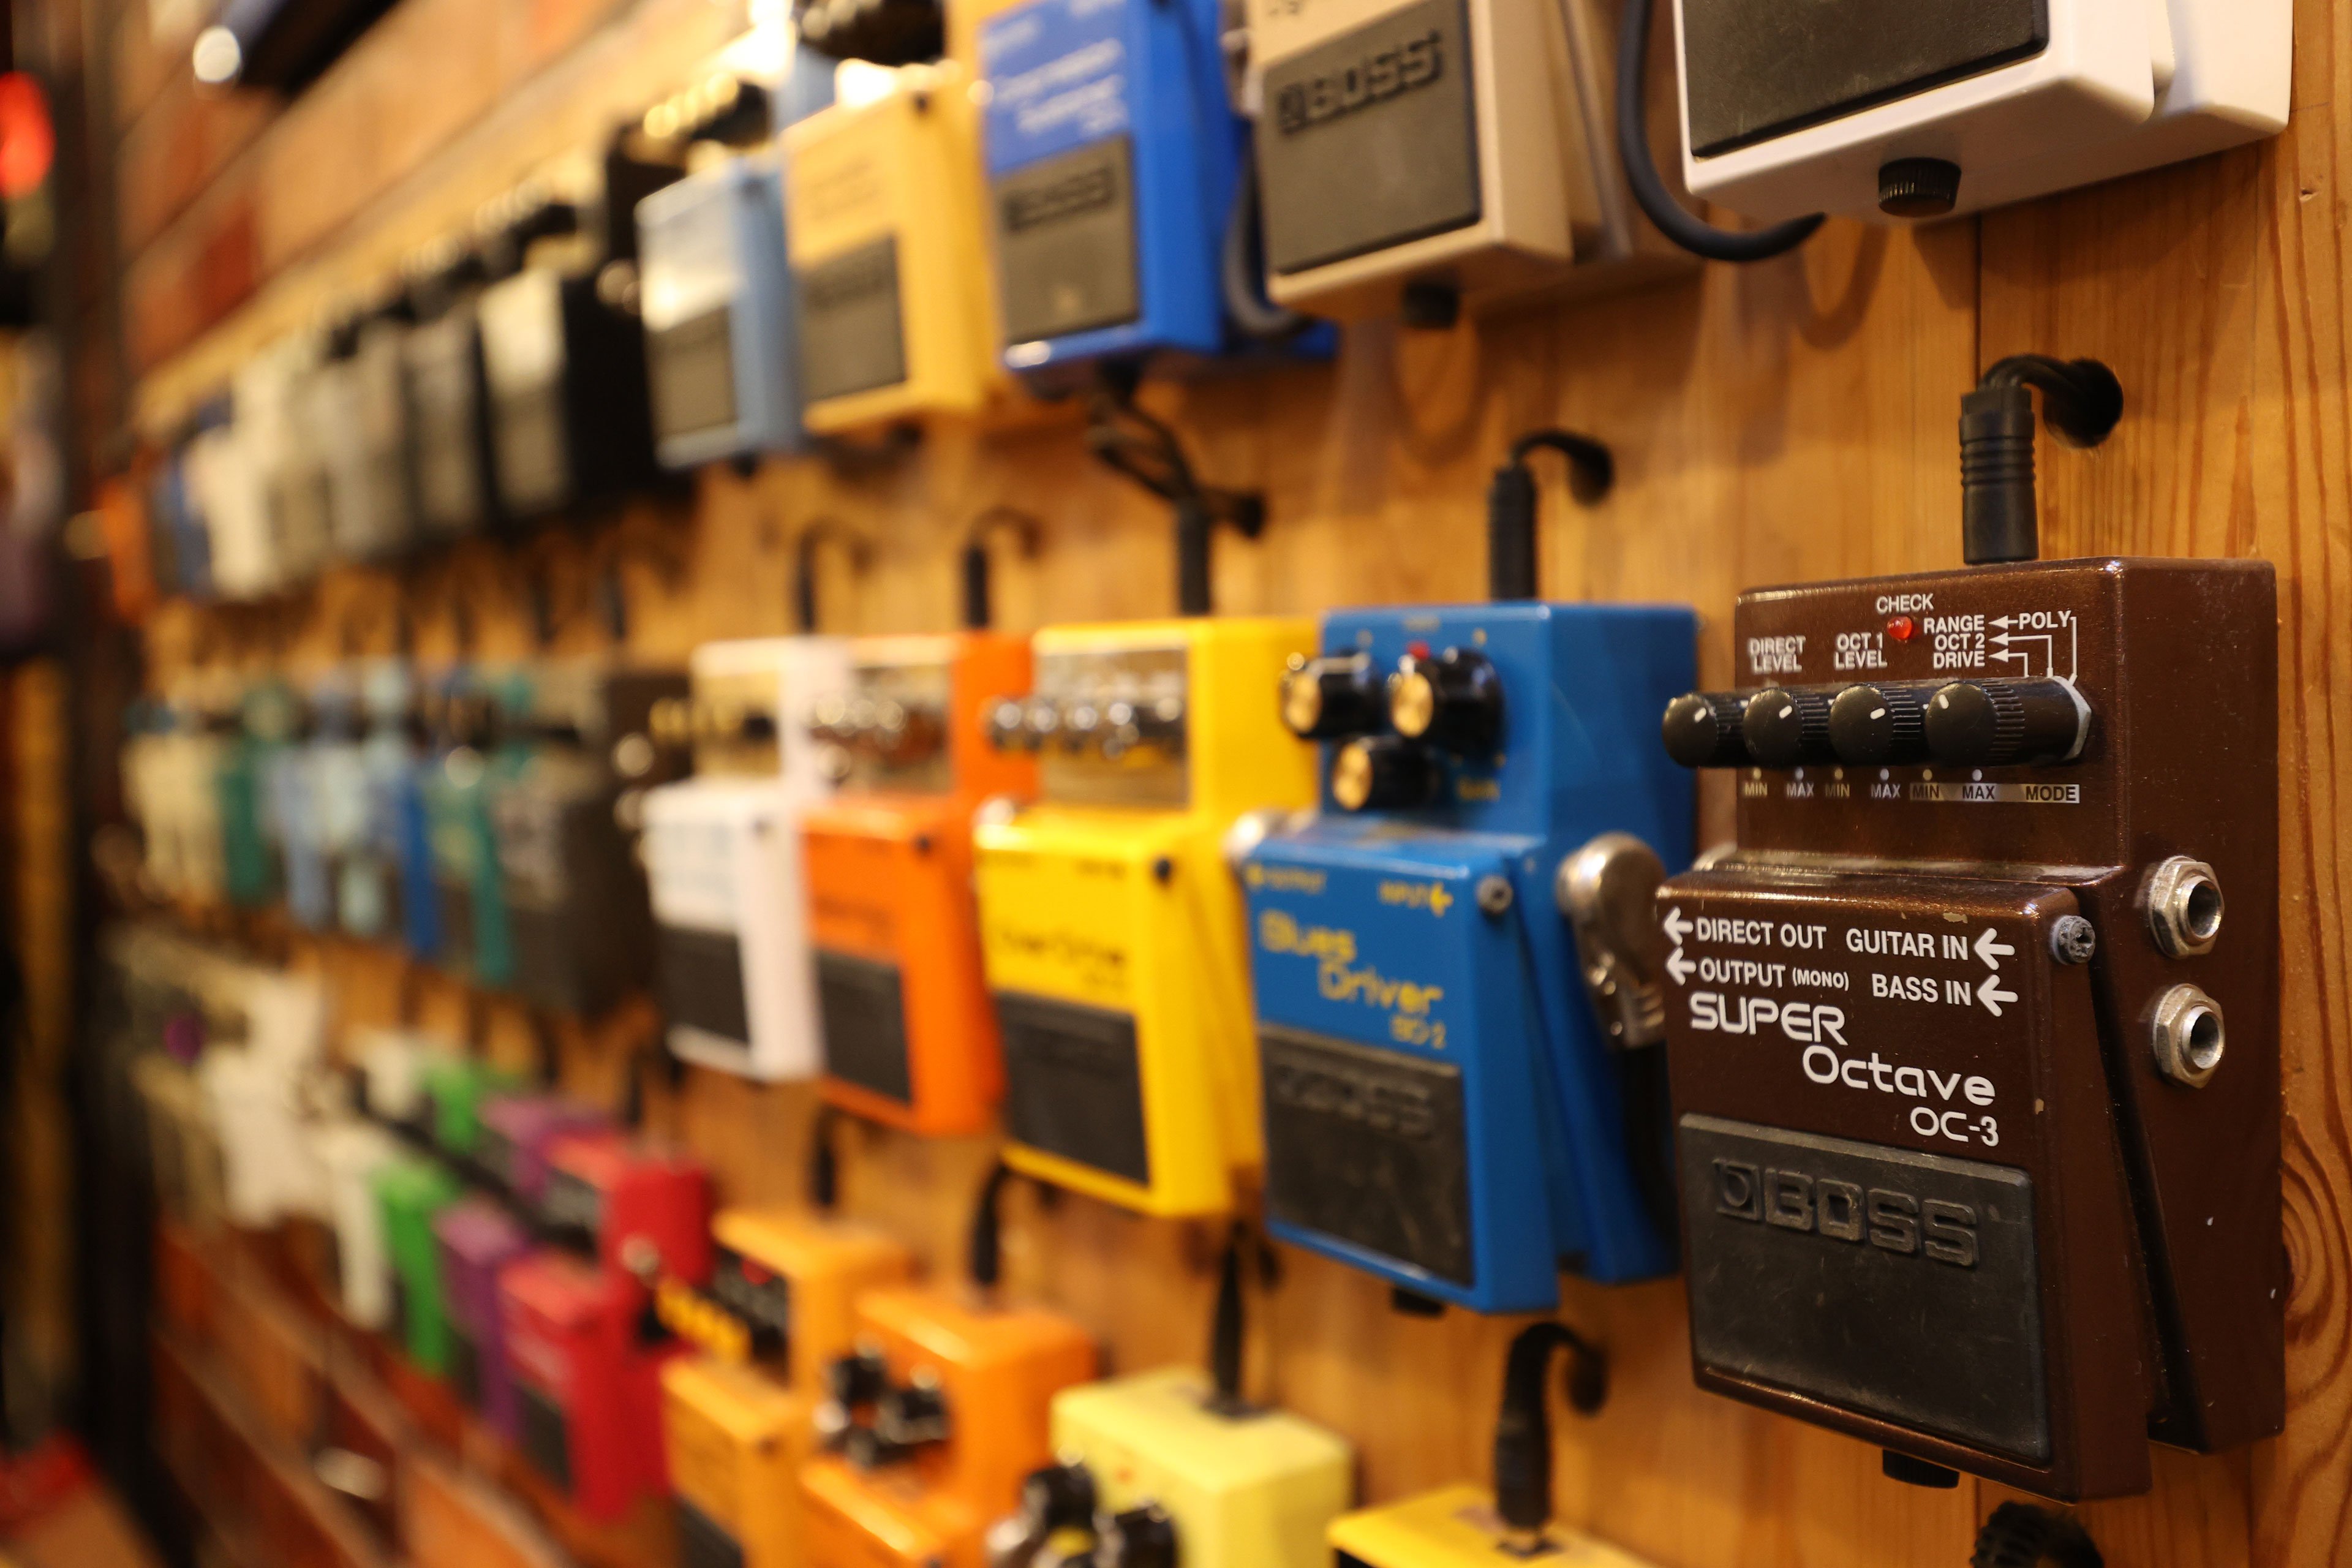
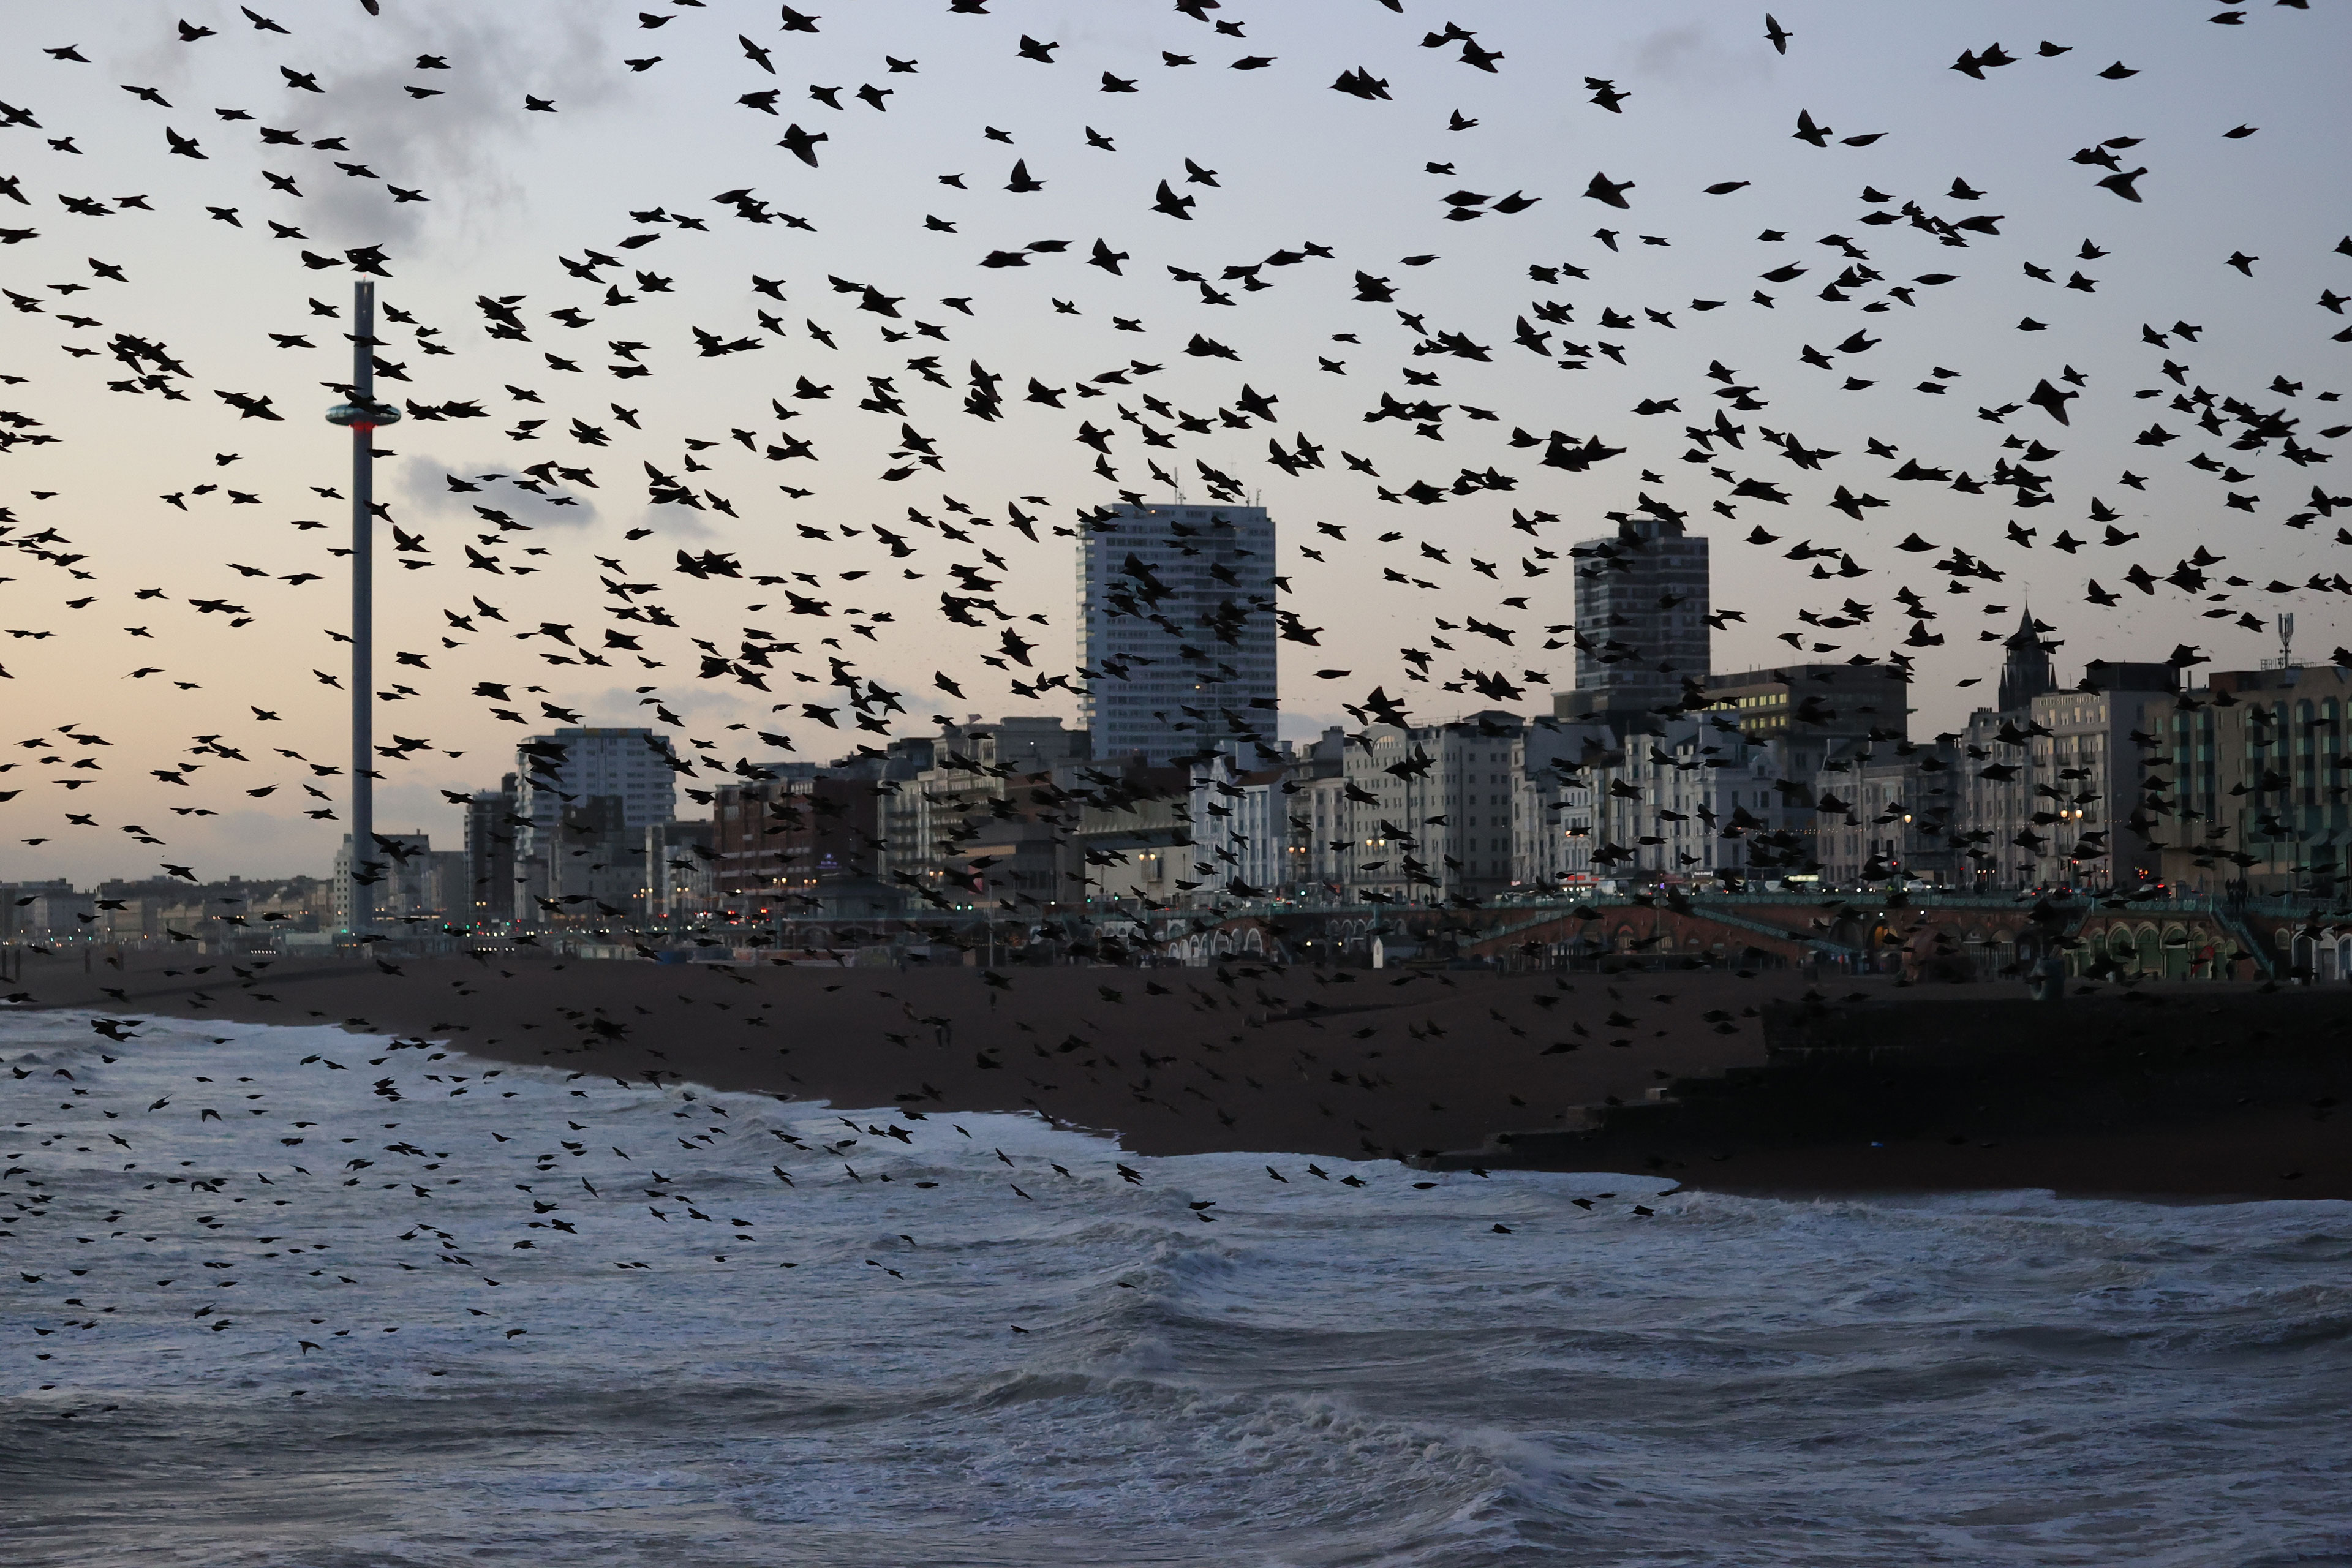
On this page I’ve provided a selection of sample images I took with a final production Canon EOS 1Dx Mark III. All are JPEGs straight out of camera. Click each image to view a more detailed 4k version, or if you’d like to download the original files, head over to my Canon EOS 1Dx Mark III sample images at Flickr. I’ll be adding more images soon.

Above: Canon EOS 1Dx Mark III with EF 24-70mm f4L USM
Above: Canon EOS 1Dx Mark III with EF 24-70mm f4L USM

Above: Canon EOS 1Dx Mark III with EF 24-70mm f4L USM

Above: Canon EOS 1Dx Mark III with EF 24-70mm f4L USM

Above: Canon EOS 1Dx Mark III with EF 24-70mm f4L USM

Above: Canon EOS 1Dx Mark III with EF 24-70mm f4L USM

Above: Canon EOS 1Dx Mark III with EF 24-70mm f4L USM

Above: Canon EOS 1Dx Mark III with EF 24-70mm f4L USM

Above: Canon EOS 1Dx Mark III with EF 24-70mm f4L USM

Above: Canon EOS 1Dx Mark III with EF 24-70mm f4L USM

Above: Canon EOS 1Dx Mark III with EF 24-70mm f4L USM

Above: Canon EOS 1Dx Mark III with EF 24-70mm f4L USM

Above: Canon EOS 1Dx Mark III with EF 24-70mm f4L USM

Above: Canon EOS 1Dx Mark III with EF 24-70mm f4L USM

Above: Canon EOS 1Dx Mark III with EF 24-70mm f4L USM

Above: Canon EOS 1Dx Mark III with EF 70-200mm f4L USM

Above: Canon EOS 1Dx Mark III with EF 70-200mm f4L USM

Above: Canon EOS 1Dx Mark III with EF 70-200mm f4L USM

Above: Canon EOS 1Dx Mark III with EF 24-70mm f4L USM
Above: Canon EOS 1Dx Mark III with EF 16-35mm f4L USM

Above: Canon EOS 1Dx Mark III with EF 16-35mm f4L USM

Above: Canon EOS 1Dx Mark III with EF 16-35mm f4L USM

Above: Canon EOS 1Dx Mark III with EF 16-35mm f4L USM

Above: Canon EOS 1Dx Mark III with EF 16-35mm f4L USM

Above: Canon EOS 1Dx Mark III with EF 16-35mm f4L USM

Above: Canon EOS 1Dx Mark III with EF 70-200mm f4L USM
Above: Canon EOS 1Dx Mark III with EF 70-200mm f4L USM
Check prices on the Canon EOS 1Dx III at B&H, Adorama, or Wex. Alternatively get yourself a copy of my In Camera book or treat me to a coffee! Thanks!