Sony Cyber-shot DSC-H9
-
-
Written by Gordon Laing
Sony Cyber-shot DSC-H9 screen
Sony Cyber-shot DSC-H9 features continued…
Lenses and SteadyShot / Screen and menus / Sensor and processing
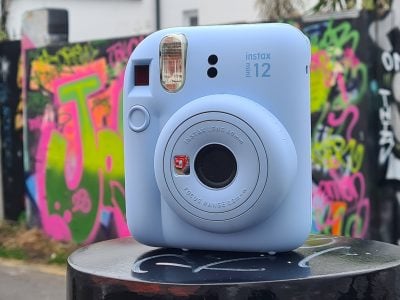
One of the major highlights of the Sony H9 is its screen. Measuring 3in with 230k pixels, it would already be impressive enough, but Sony’s gone one step beyond its predecessor and mounted it on a flip-out platform.
 |
A hinge under the viewfinder allows you to tilt the screen upwards by 90 degrees, allowing comfortable shooting at very low angles, or at waist-level like a medium format camera. Once flipped upward, you can then rotate the screen through 180 degrees so it’s pointing vertically down. This in turn allows you to comfortably shoot with the camera held high and is very useful for photographing over the heads of crowds. The arm which supports the display during this process feels very smooth and well-built – see our H9 video tour for a demonstration.
You could be really picky and complain the H9’s screen doesn’t twist to the side, preventing you from doing the above for portrait aspect shots, or of course turning the screen round so its visible for self-portraits, but that would seem churlish. The combination of a large, detailed flip-out screen is fantastic and places the H9 ahead of all its rivals in terms of composition and playback.
If you prefer more traditional framing, the H9’s also equipped with a decent electronic viewfinder.
Sony Cyber-shot DSC-H9 shooting display
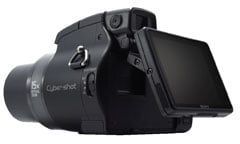
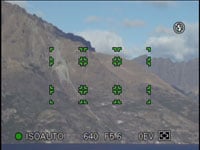
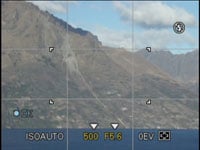
Like most super-zooms, the Sony H9 offers a choice of on-screen shooting information and guides. Pushing the four-way rocker upwards (labelled DISP) cycles between a clean image, one with exposure and shooting information, another showing the same but with the brightness increased, and finally one with a live histogram in the bottom right corner. A menu option overlays three-by-three grid lines for all display modes if desired.
 |
 |
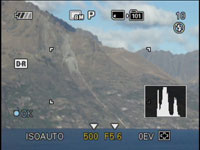 |
A series of settings run along the bottom of the screen; depending on your current shooting mode, this could include ISO, shutter speed, aperture, exposure compensation value and AF mode. As mentioned in our design page, the thumb dial on the back of the H9 can be used to adjust whichever of these is currently highlighted in yellow. To change the highlighted setting, simply press the button in the middle of the four-way rocker and use the thumb dial to move a yellow triangle above the desired item, then click the centre button again to highlight it.
In practice this works quite well, especially for modes like Shutter Priority which have the shutter speed highlighted by default and therefore ready for easy adjustment. It does seem a little slow for adjusting ISO and AF modes though compared to the drop-down function menus of Panasonic’s cameras. If you want to adjust the quality, white balance, colour mode and other image processing options, you’ll need to press the Menu button – more of which on the next page.
 |
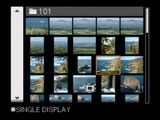 | |
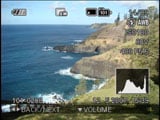
Pressing the Play button on the back of the H9 presents the last image taken and you can use the zoom rocker to either enlarge by up to five times or out to display either six or 20 thumbnails. You can also view a histogram on playback.
 |
 |
On the upside the H9 allows you to apply a choice of transitions with slideshows and even play a choice of four different tunes in the background; the H9 comes with four tunes built-in but lets you replace them with MP3s of your own lasting no more than three minutes each. With an optional Component video cable, you can even output High Definition slideshows in the 1080i format which look great on HD TVs.
On the downside though, zooming-in by only five times during playback isn’t always quite sufficient to check critical focusing (or even to have a good look around the image), but it’s an unusual tradition for Sony cameras.
Pressing the Home button on the back of the H9 presents five tabbed menus covering shooting, playback, printing, memory and main setup options; the configuration pages specific to each mode can also be accessed by pressing the Menu button and scrolling down to the bottom.
The main shooting options are set over two menus which allow you to adjust settings including the grid, flash sync curtain, conversion lens and manual focus enlargement.