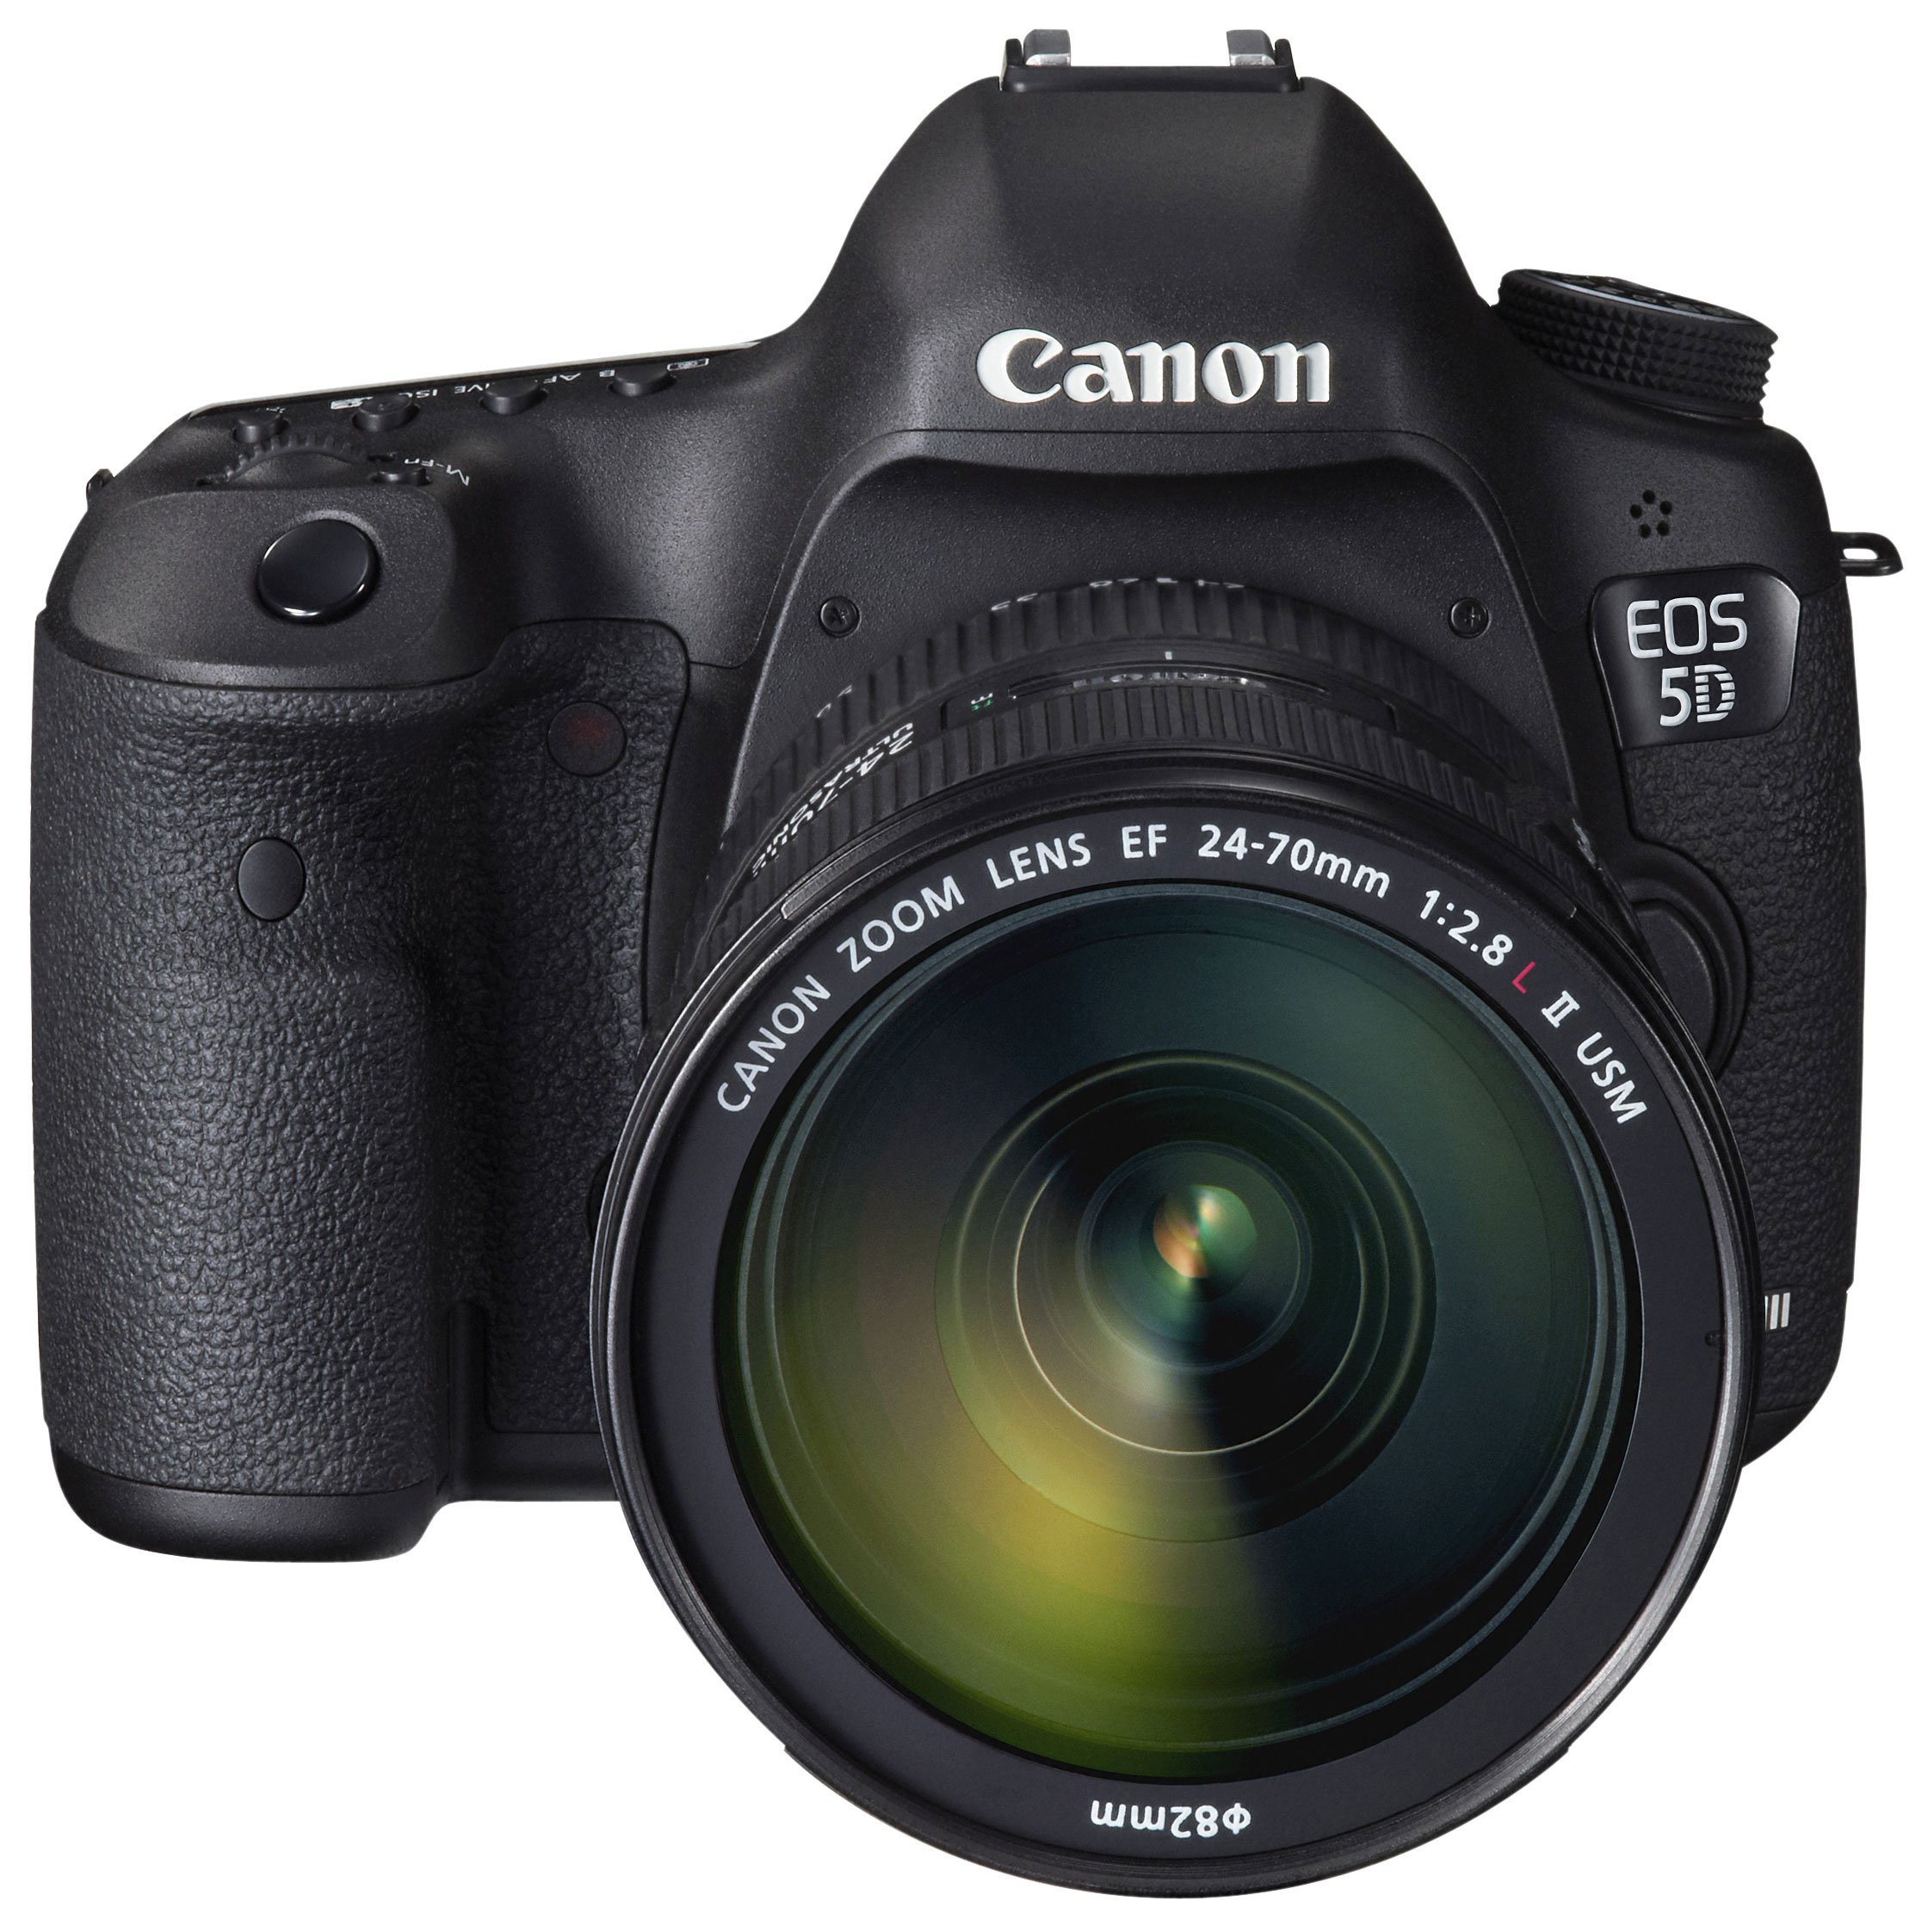
Canon EOS 5D Mark III
-
-
Written by Gordon Laing
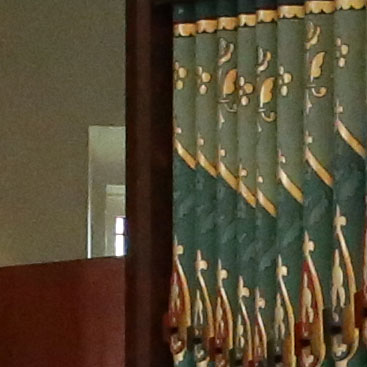
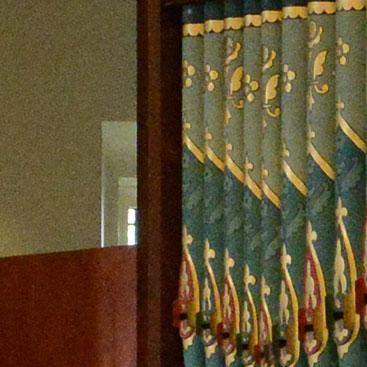
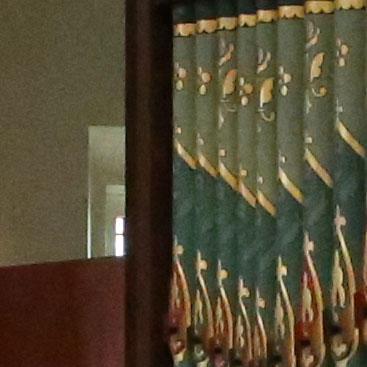
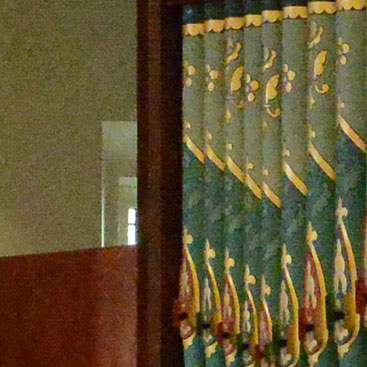
Canon EOS 5D Mark III vs Nikon D800 (down-sampled) noise (JPEG) (RAW and many more results to follow)
The Mark III was fitted with the Canon EF 24-105mm f4L IS USM and the D800 with the AF-S 24-70mm f2.8G ED, both with the aperture set to f8. Both were using their standard processing styles and White Balance was set manually to 3300K. Auto Lighting Optimiser and Active D-Lighting were disabled. I shot this sequence in RAW+JPEG mode and will provide RAW comparisons once the most common processing applications are fully updated and delivering satisfactory results. |
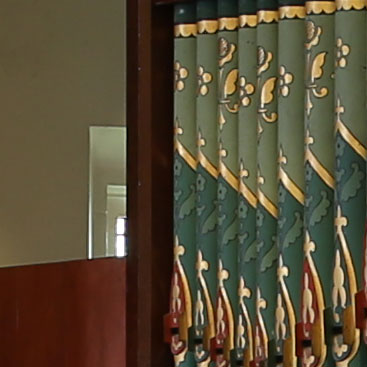
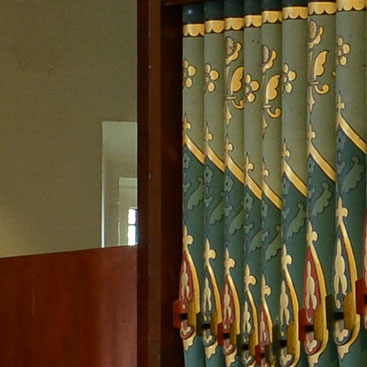
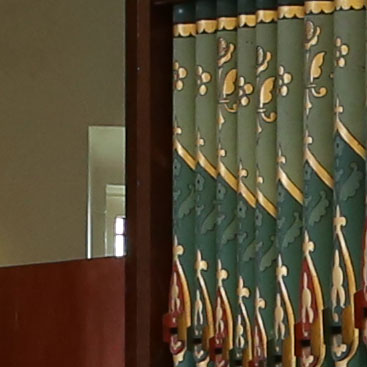
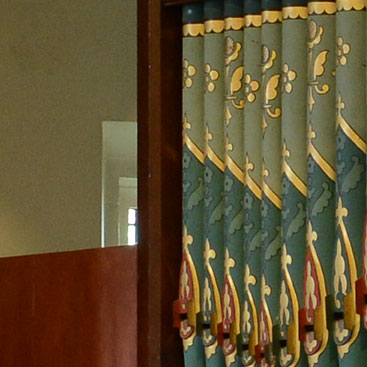
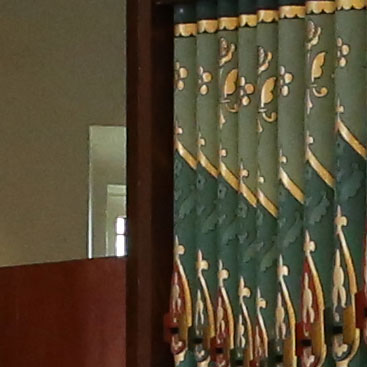
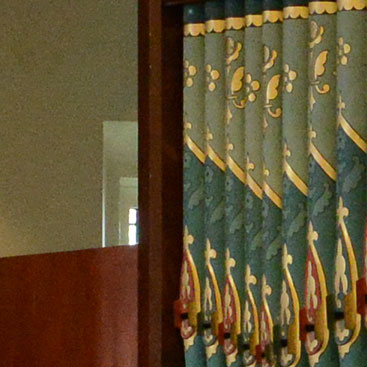
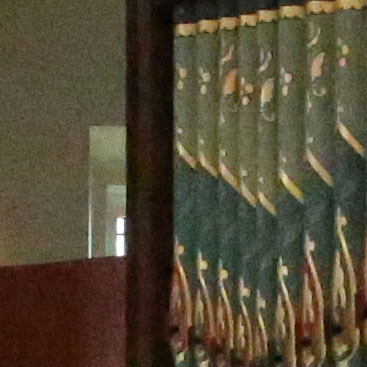
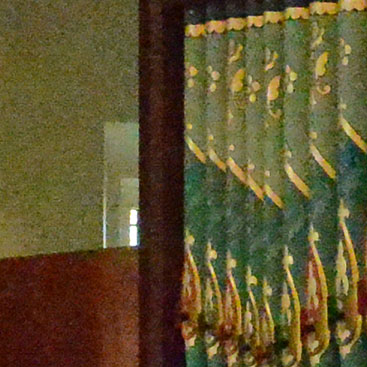
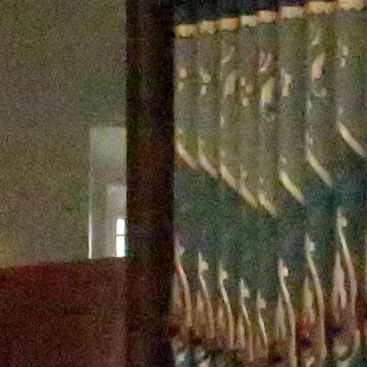
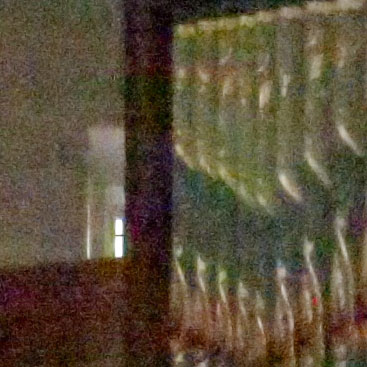
The image above was taken with the Canon EOS 5D Mark III with the EF 24-105mm f4L IS USM lens set to 40mm and the aperture set to f8 in Aperture Priority mode. At its expanded Low sensitivity of 50 ISO, the Mark III metered an exposure of 5 seconds for this composition. The Nikon D800 metered an identical exposure, so you’re comparing like-with-like below.
A common criticism of camera tests online is the presentation of results at 100% or 1:1. This involves taking crops at fixed pixel dimensions, such as 367×367 pixels as seen on my results pages here. Crops from higher resolution images therefore show a smaller portion of the total frame. The counter-argument is images should be compared at the same physical size – that is to say the crops should show the same portion of the frame, which means the higher resolution image will have a higher pixel density per inch. It also means any artefacts, such as noise, will appear smaller.
This is the argument you’ll hear for presenting fair results from the D800 against lower resolution bodies like the Canon EOS 5D Mark III. When the images are viewed at 1:1 without scaling, the D800 inevitably looks noisier due to its higher pixel density, but if images from both models were reproduced at the same size, then the D800’s noise would appear more discreet and could in fact place them on a more level playing field.
There’s pros and cons to each approach. If you’re comparing printed images, then scaling is definitely the right approach. If the print is sufficiently large, or the process sufficiently fine, then the higher resolution image should benefit from finer details and smaller noise artefacts. But if you’re presenting images online as I do, then scaling suffers from a number of issues. First is the fixed pixel density of monitors which means if I were to scale D800 images to the same physical size as 5D Mark III images, you wouldn’t see any detail advantage of the former – and surely that’s unfair. Secondly if you are down-sampling images, what resolution should you down-sample to? If I were to scale D800 images down to the same resolution of the 5D Mark III, it would involve an uneven number with scaling artefacts as a result. You would in effect be measuring the quality of the down-sampling process. I could of course print the results, but then how could I share them online? If I scanned them, we’d have all manner of additional artefacts to deal with.
This is why I, like most camera review sites, prefer the pure approach of presenting images at 100% or 1:1. It may penalise very high resolution bodies on the presented size of artefacts, but it will equally reveal the finer details captured, and is a pure approach which doesn’t involve scaling, printing or scanning. And while many may argue against pixel-peeping, who doesn’t zoom-into 100% for a good look at their images from time to time? The crops I present are simply a small window of that 100% view, untouched for appraisal.
I realise this isn’t to everyone’s tastes which is why I also always provide original images to download in my sample images gallery. This means you can download and print or rescale as desired.
That said, the D800 is a somewhat exceptional case as it offers a Medium size that delivers 20 Megapixel images which coincidentally are very close to the maximum size of the Canon 5D Mark III’s photos. So in the spirit of fairness – and by popular demand – I’ve presented my D800 noise results again below, this time down-sampled to the 20 Megapixel ‘Medium’ size. I used Photoshop to down-sample the images using the Bicubic Sharper (Best for reduction) option.
First things first: by down-sampling the D800 images to 20 Megapixels, you’re throwing away a lot of data and any resolution benefit over the 5D Mark III. You’d only do this to minimise noise in a 1:1 comparison. Looking closely at the crops, there’s now little if any difference in actual resolution and detail captured, but the D800’s in-camera JPEGs are certainly responding well to the down-sampling process in terms of sharpness. Between 50 and 400 ISO, the down-sampled D800 crops below are very crisp and visibly sharper than those from the Mark III – although you can achieve a similar effect from the Mark III by tweaking the sharpness on RAW files.
Despite the down-sampling though, noise still becomes visible at the same points as before. It’s creeping-in on the D800 crop at 400 ISO and more obvious by 800 and 1600 ISO. Is it any cleaner than the unscaled images on the previous page? Not to my eyes. The noise artefacts are proportionately smaller, which makes them less obtrusive, but they’re still visible to the same extent. Meanwhile the Mark III at the same sensitivities looks cleaner.
Now there’s other factors at play here. Looking at the Mark III crops, you can see some patchiness in the background which implies stronger noise reduction using the default settings. We’ve seen this before: Canon errs on cleanliness with higher noise reduction, whereas Nikon errs on detail with lower noise reduction.
Overall I don’t think down-sampling has changed my opinion from the previous page. It’s been beneficial for the D800 at the low ISOs, delivering very crisp and pleasing images, but at higher ISOs I wouldn’t say the noise is significantly reduced or improved. Of course the next test is to reduce the Mark III’s noise reduction and increase the D800’s noise reduction to see if they’ll meet somewhere in the middle. I’ll leave that for my RAW comparisons once the software converters are working satisfactorily.
That’s the end of my comparisons for now, but you can view and download a selection of original photos for further evaluation in my Canon 5D3 sample images and Nikon D800 sample images galleries.
Canon EOS 5D Mark III (JPEG using in-camera defaults) Using EF 24-105mm f4L IS USM at 40mm f8 | Nikon D800 (JPEG down-sampled to 20MP) Using AF-S 24-70mm f2.8 at 40mm f8 | |
 | 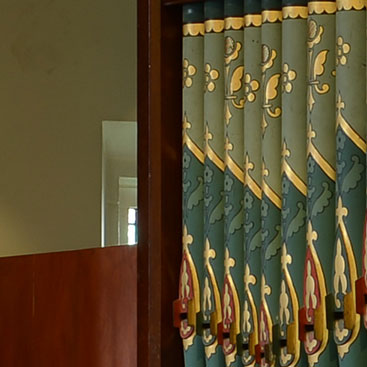 | |
L (50 ISO) | L (50 ISO) | |
 |  | |
100 ISO | 100 ISO | |
 |  | |
200 ISO | 200 ISO | |
 |  | |
400 ISO | 400 ISO | |
 |  | |
800 ISO | 800 ISO | |
 |  | |
1600 ISO | 1600 ISO | |
 |  | |
3200 ISO | 3200 ISO | |
 |  | |
6400 ISO | 6400 ISO | |
 |  | |
12800 ISO | H1 (12800 ISO) | |
 |  | |
25600 ISO | H2 (25600 ISO) | |
 | ||
H1 (51200 ISO) | 51200 ISO not available | |
 | ||
H2 (102400 ISO) | 102400 ISO not available |
Canon EOS 5D Mark III results : Quality vs 5D2 / Quality vs NEX-7 / Quality vs D800 / Noise vs 5D2 / Noise vs D800


